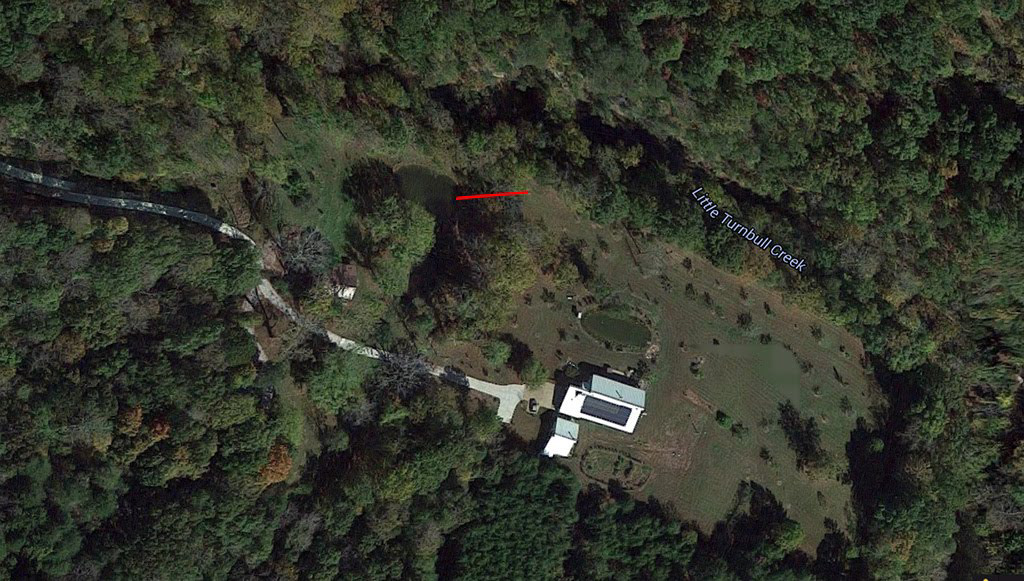
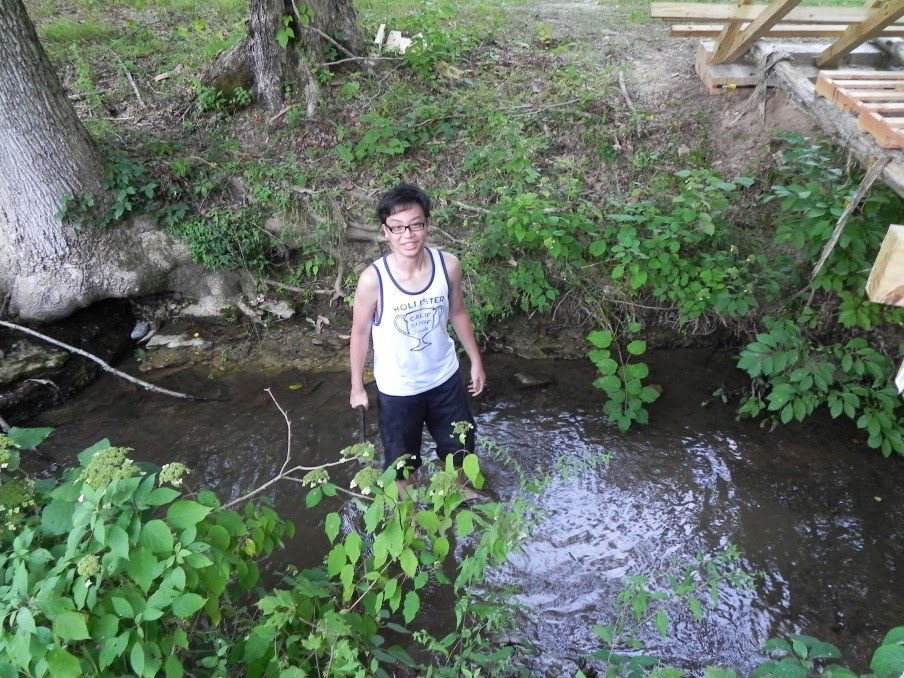
We decided to build a bridge over Thao's creek, (actually an unnamed tributary of the Little Turnbull Creek).
It is about at the level of the red mark on the satellite picture (courtesy of Google Map)
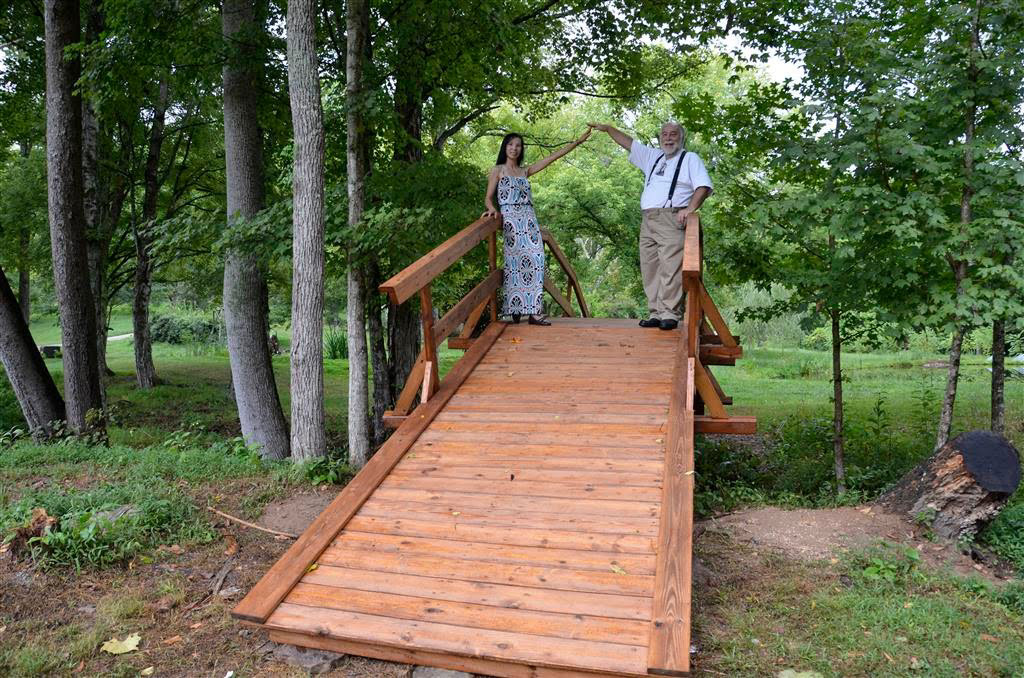
I had build a few bridges before, some simple, such as this little draw bridge, that Cerine Cedric and I build to reach the duck island (down position):
And drawn-up:
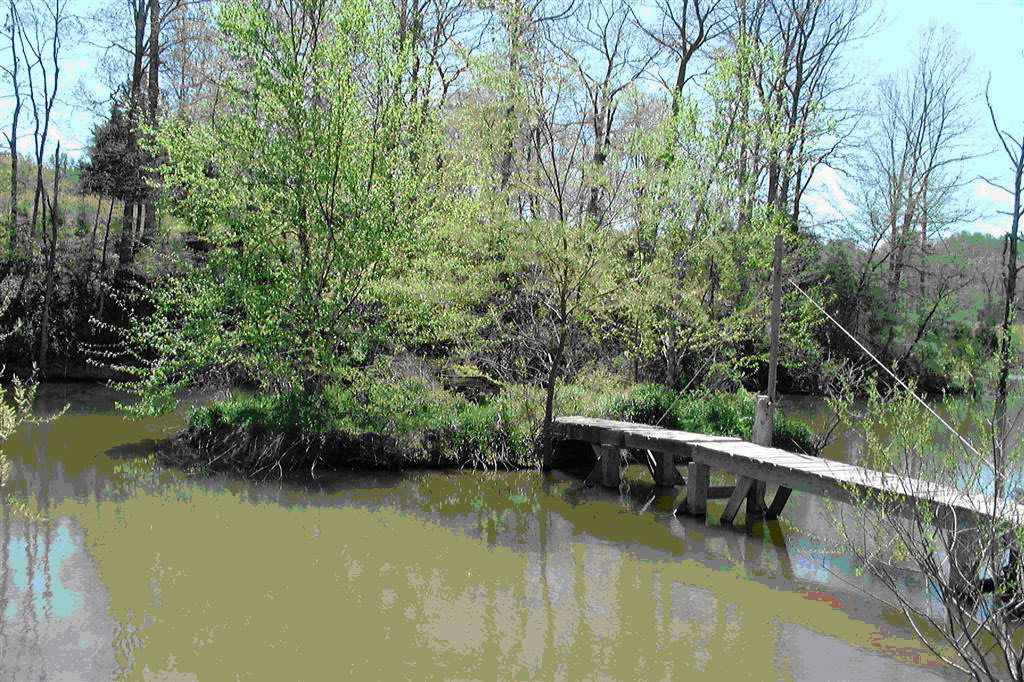
Cedric, Cerine, Dominique and I also built larger bridges to cross to affluent of the lake. These were solid enough to drive over with the tractor. I remember that the most difficult part was to keep the vertical post straight, as they were trying to float and angle.
This was the first bridge we build...

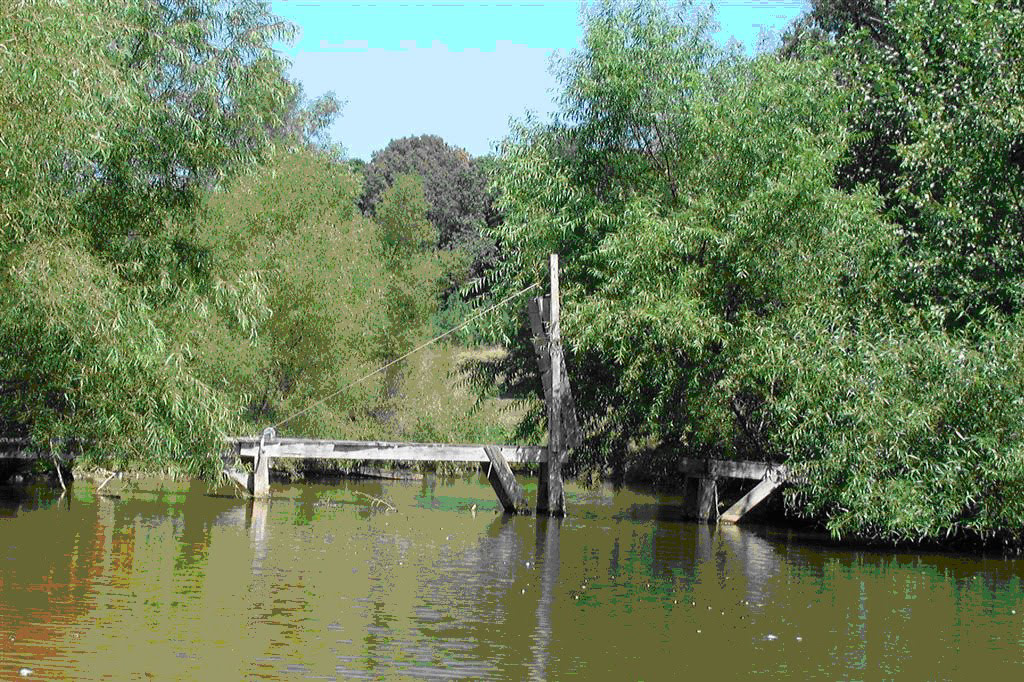
and it was solid enough to resist quite some flash flood!

And this was the second bridge we build together: Same model, resting on some pillars in the middle.
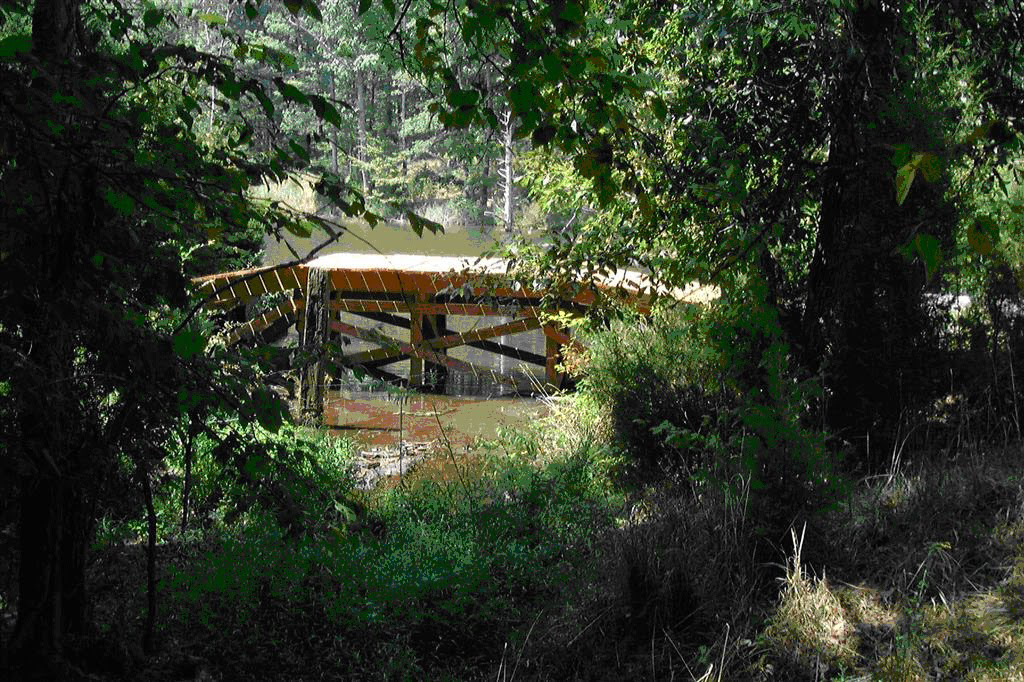
On this little Thao creek, we wanted a bridge with no middle support as we have some strong flash floods in this creek that would wash away anything in the path of the creek. In the May 2010 flood, even the road that cross that little creek was totally washed away. An early attempt, using plentiful cedar from the farm, resulted in an ugly contraption, totally unstable. It was repurposed as firewood after this picture with Thao and Dat !
No further work on this was done for several years until this year, I found a fantastic web site written by Frank Petersohn and maintained by his son Michael.
The idea of a bridge over Thao's creek was revived!
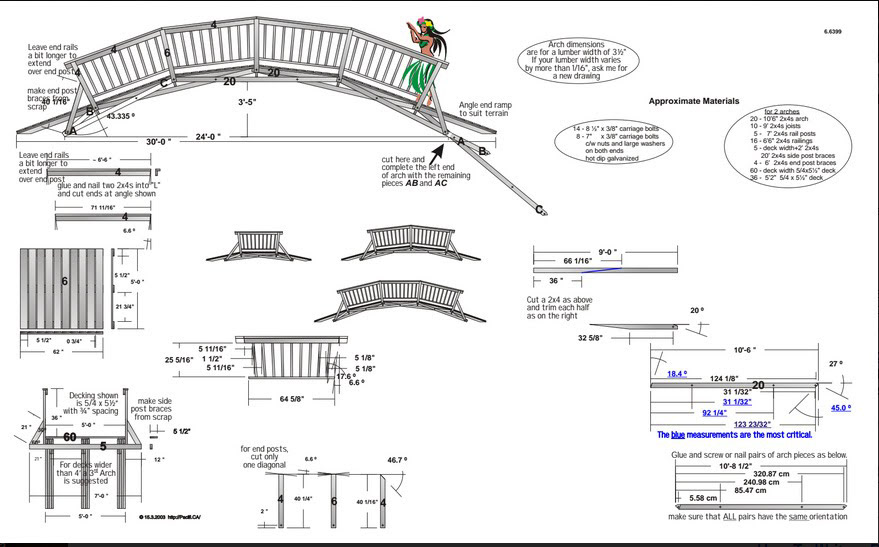
After reading the entire web site several times, I ordered the plans for a 24' bridge:
Michael provided a bunch of pointers and suggestion and mostly he pointed me to the bridge that Keysi Montas had done:
Keysi became my hero for his meticulous work and humor. Go and visit his site, he is a tremendous person. One of his pictures, where he is faced with solving a problem is entitled: “Think, Keysi, think”, and this became a leitmotif when we had problems.
In another, the caption is “I almost look like a carpenter”, which begged the question: “What does this guy really do ?”. I won’t spoil you the answer but you can find but looking at Amazon for “Keiselim A. Montas”.
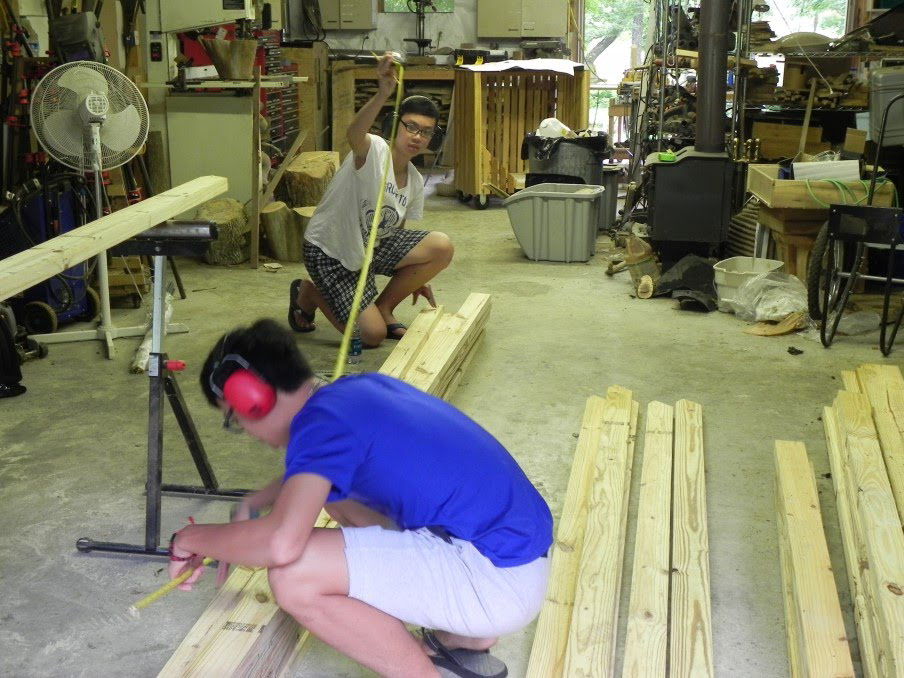
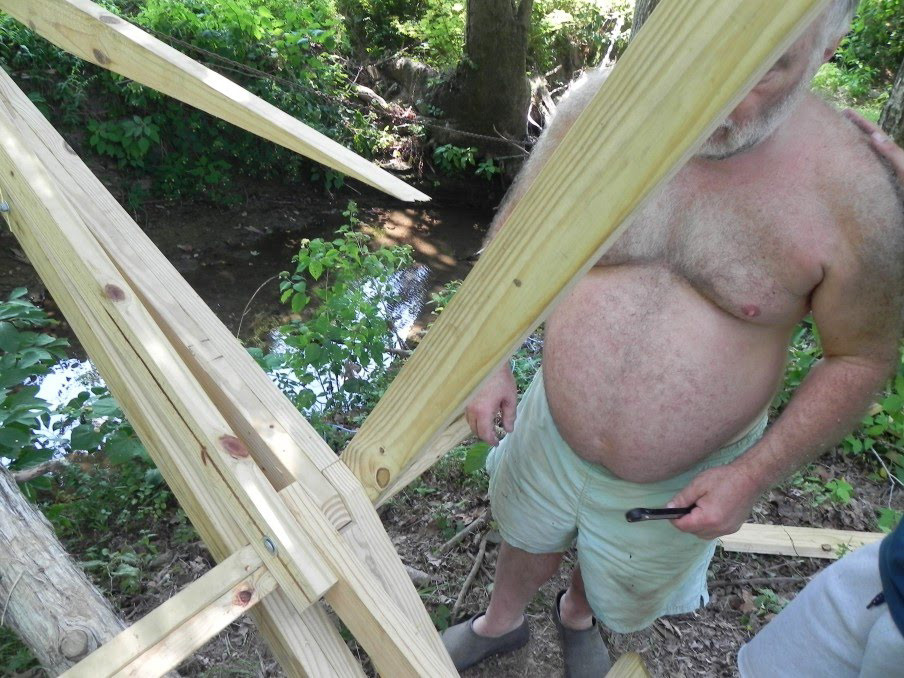
For this summer 2014, Thao’s nephews Khuong (16) and Khoi (13) came to visit from Ho Chi Minh City. These are two nice kids, but city kids, not used to any woodworking. Yet we thought, that what better project for them then to tackle building a bridge. I copied the entire web site of Frank to a doc file and set them to read all of it !
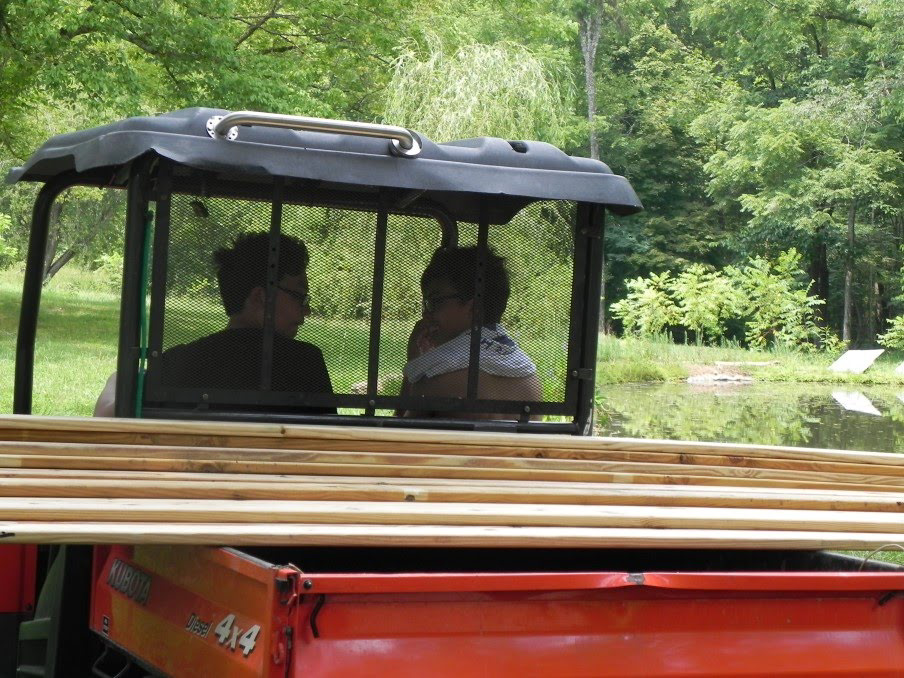
We ordered a gigantic pile of wood from Lowes and an entire pallet of concrete bags. From Keysi’s experience I knew to order the 60 lbs and not the 80 lbs bags !.
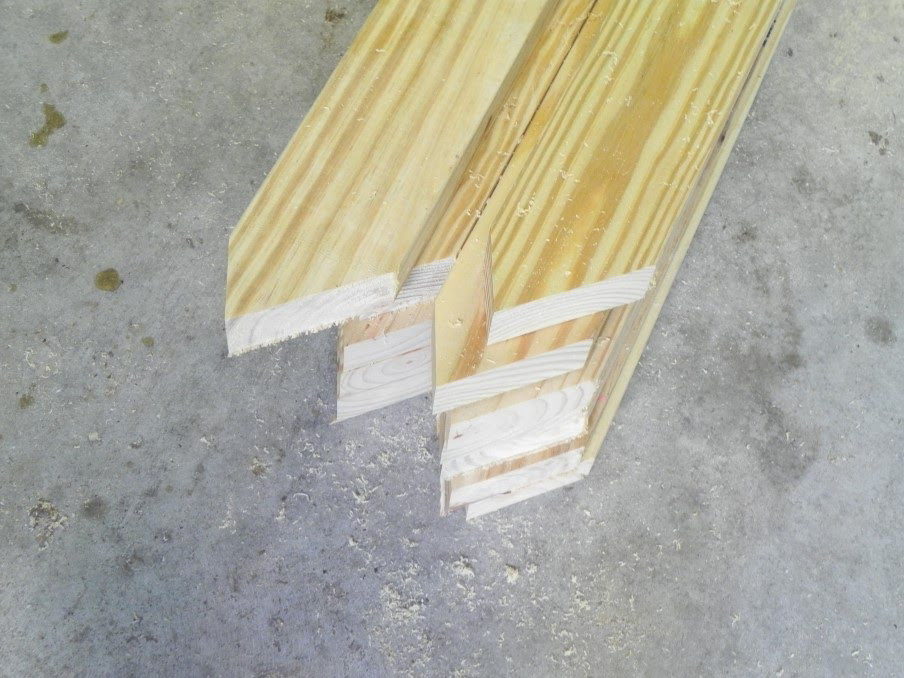
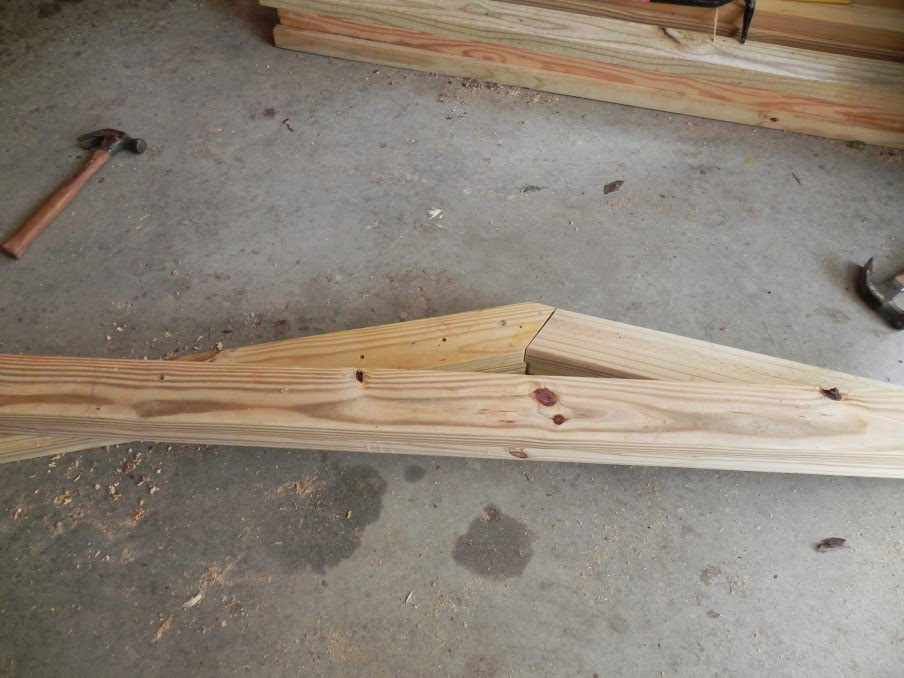
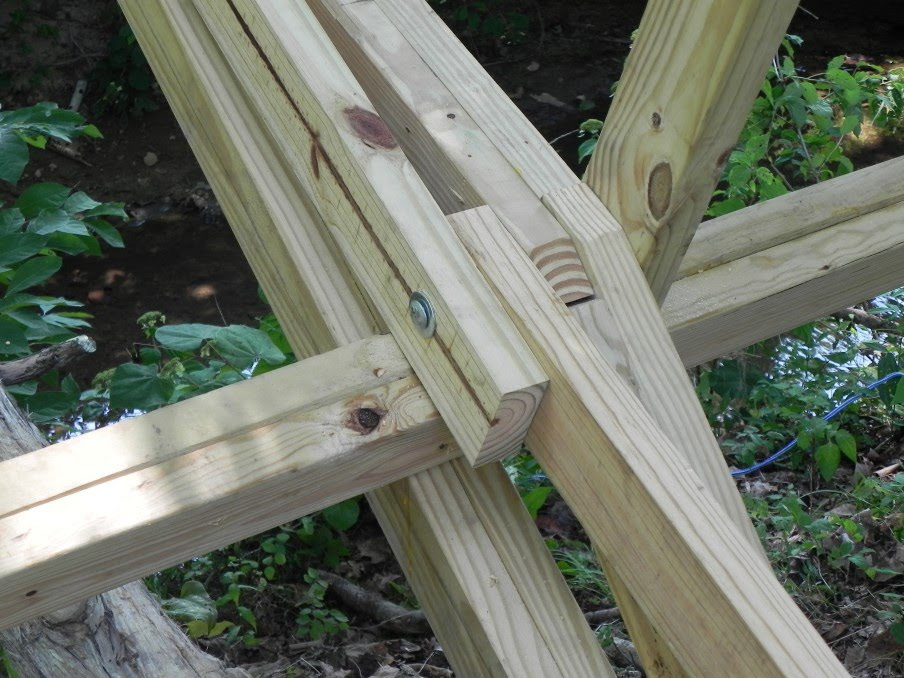
The plan of Frank is brilliant. He builds arches using a series of paired 2” by 4” with angled ends that fit into each other:
All the forces are all in compression so the entire structure is build with simple modules and the wood is not subject to stress at the end of each module.
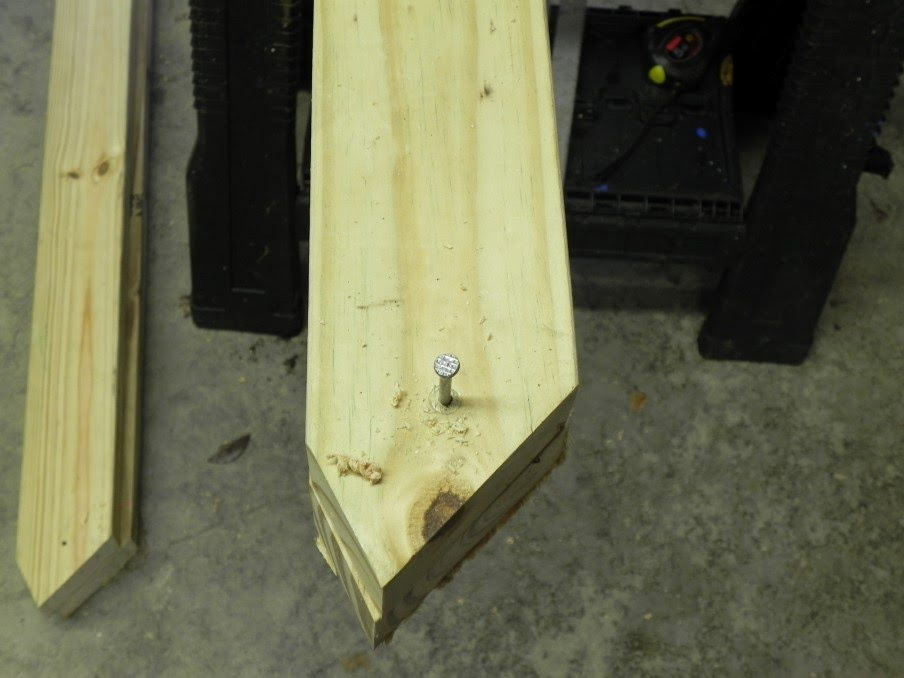
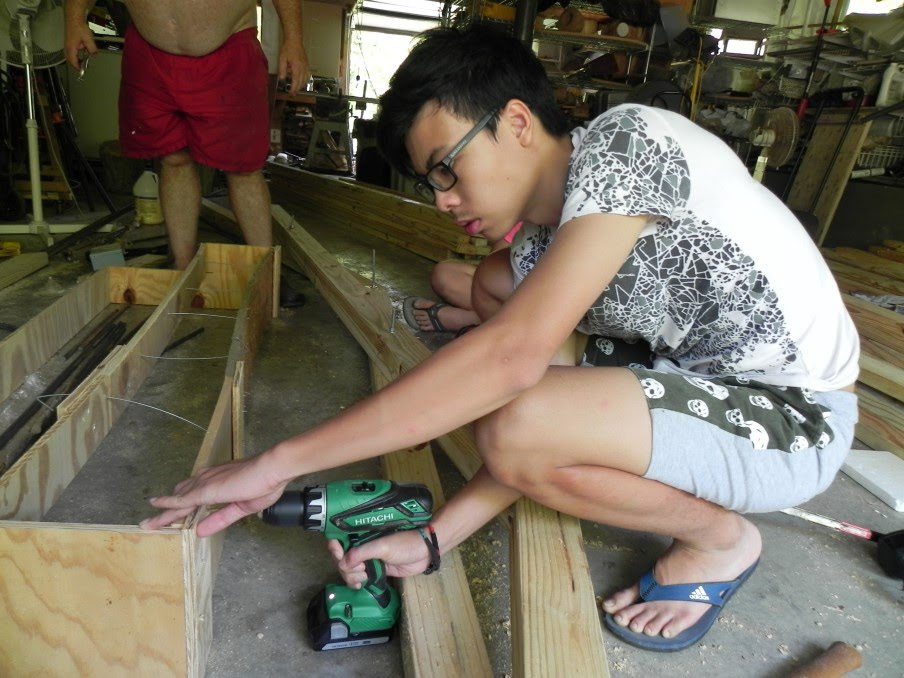
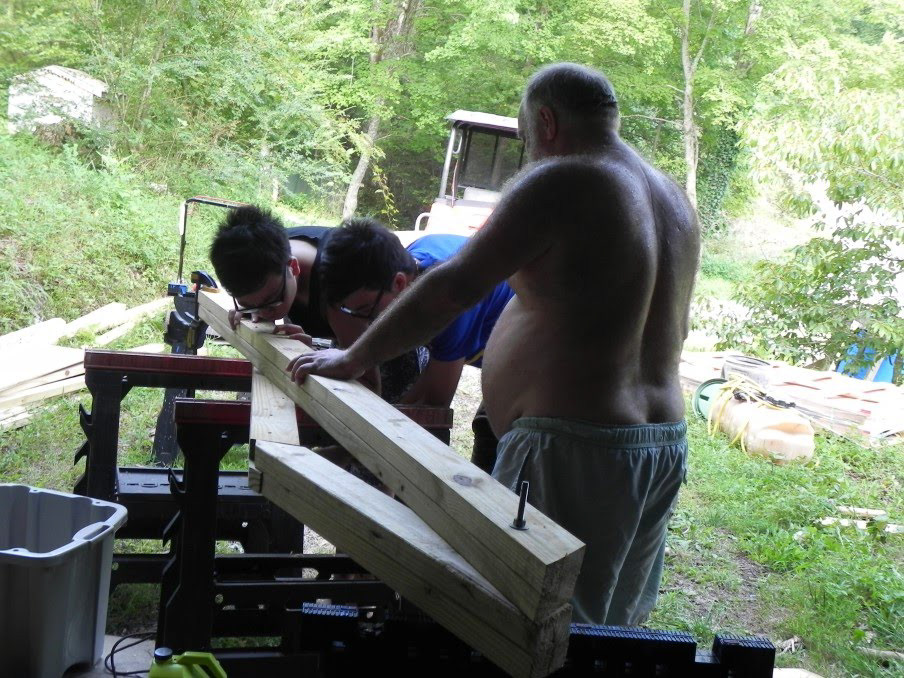
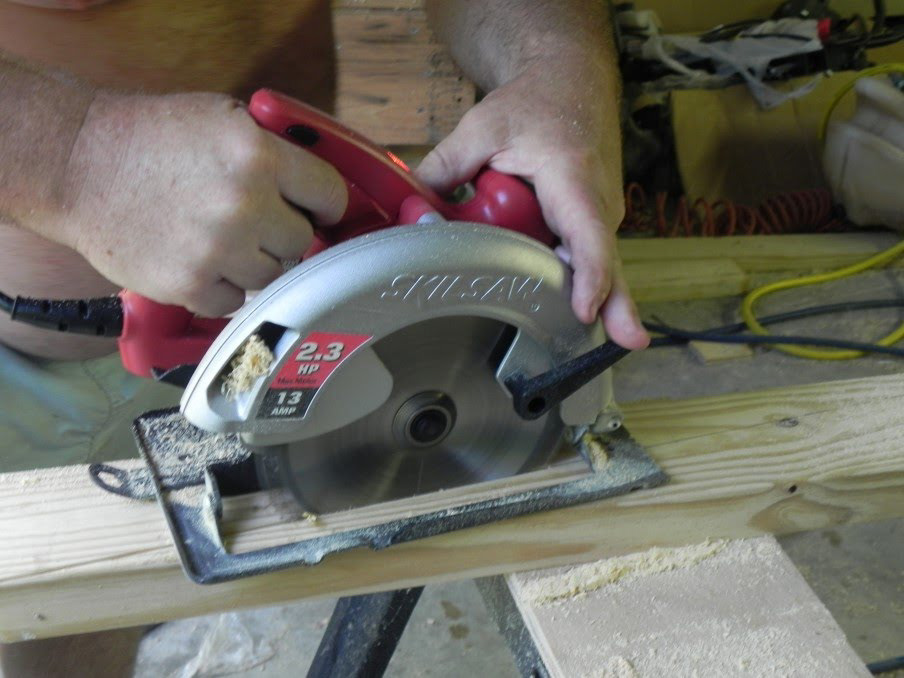
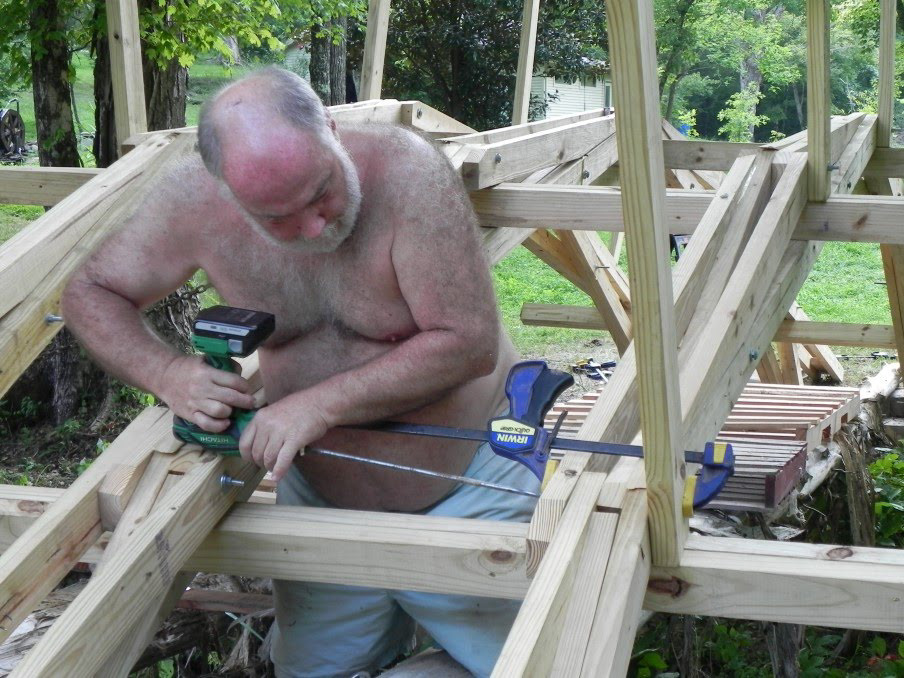
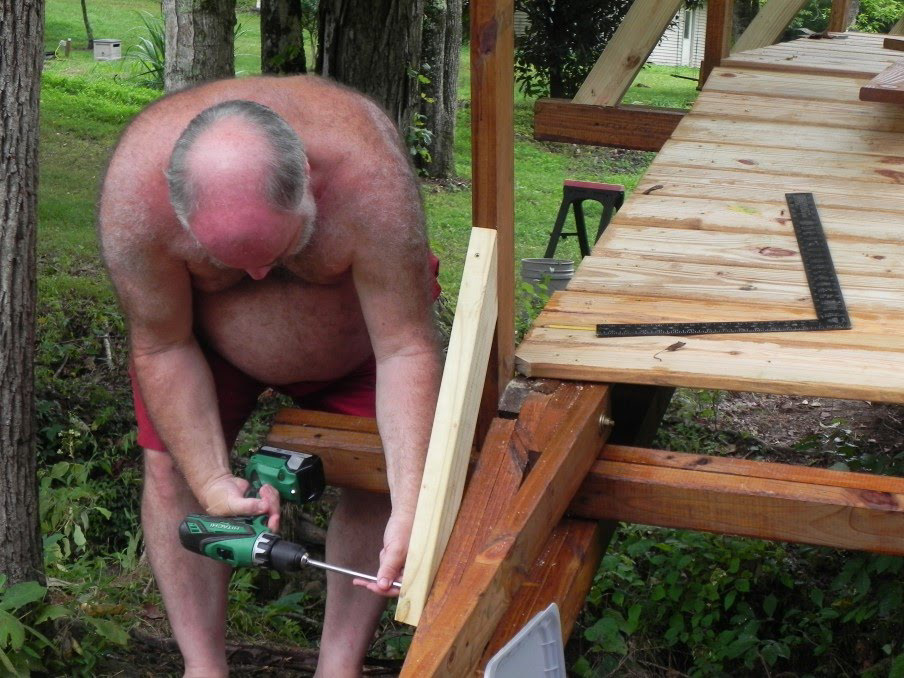
So the first part of the project was to cut a ton of 2 by 4 with the correct angles and then assemble them as pair in a module.
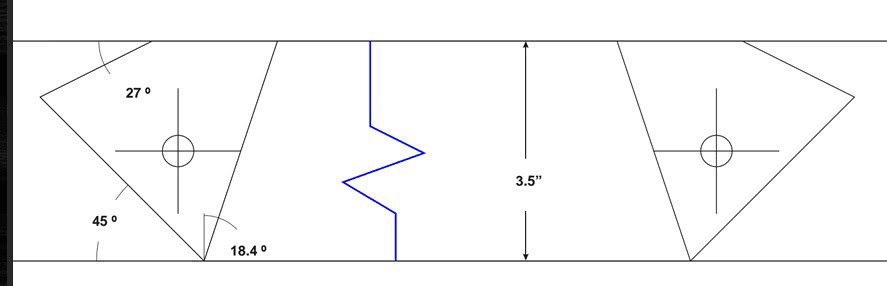
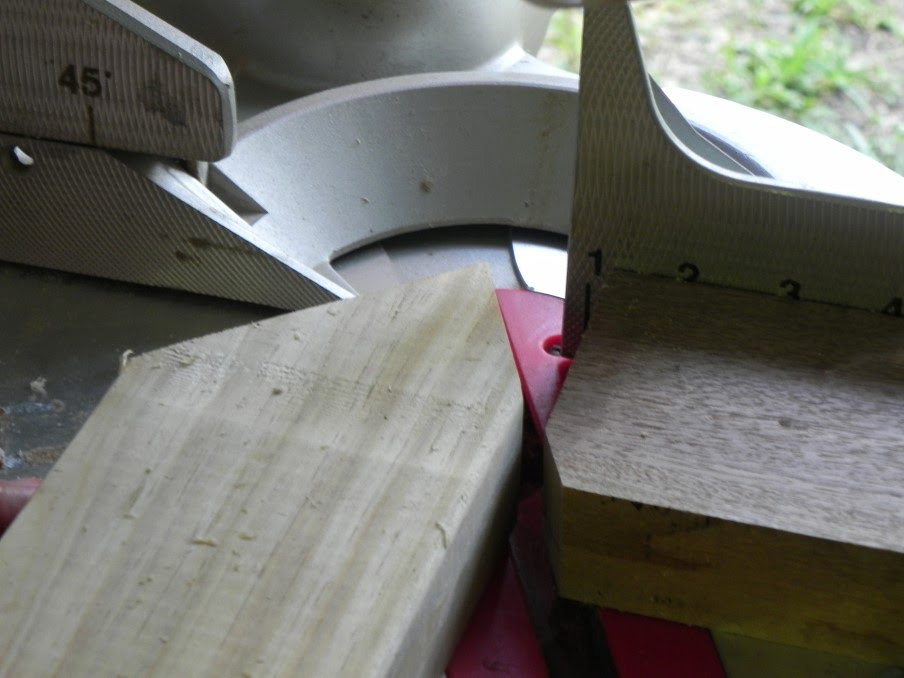
The first angle at 45 degree was easy.
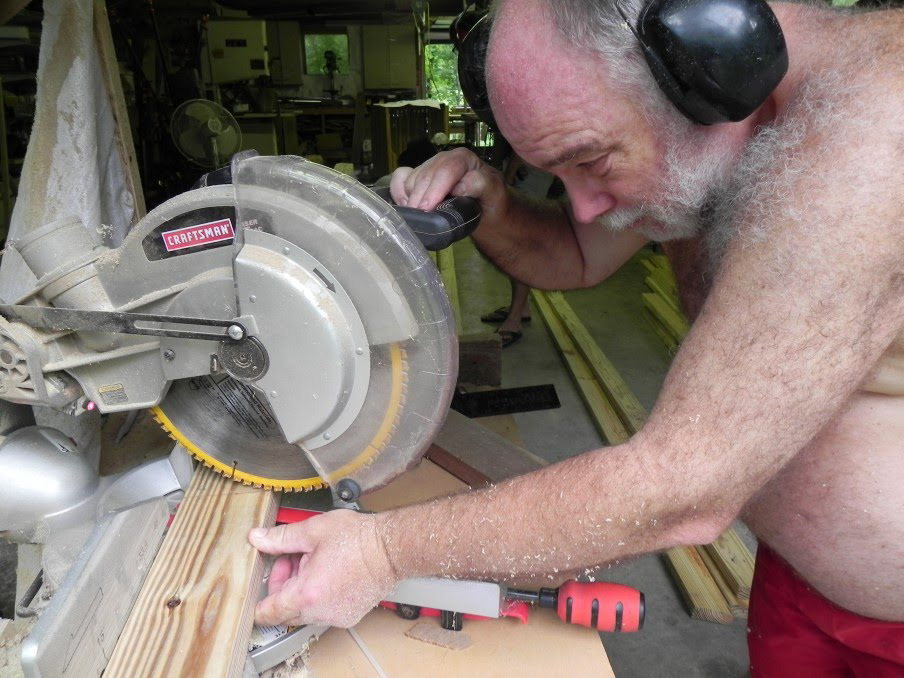
Making the 27 degree angle was a little more complicated, but again we followed the lead of Keysi:
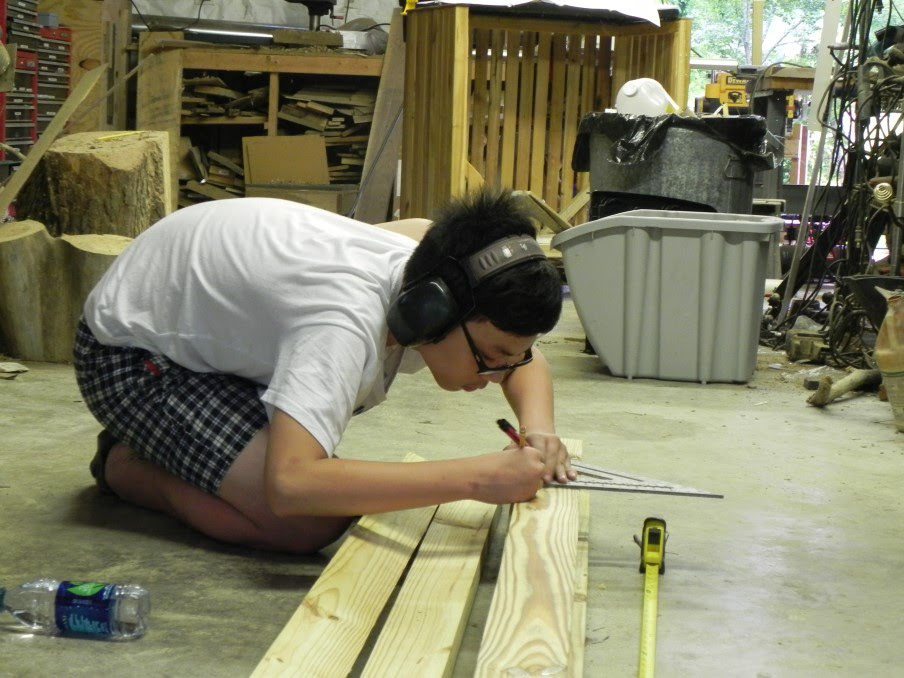
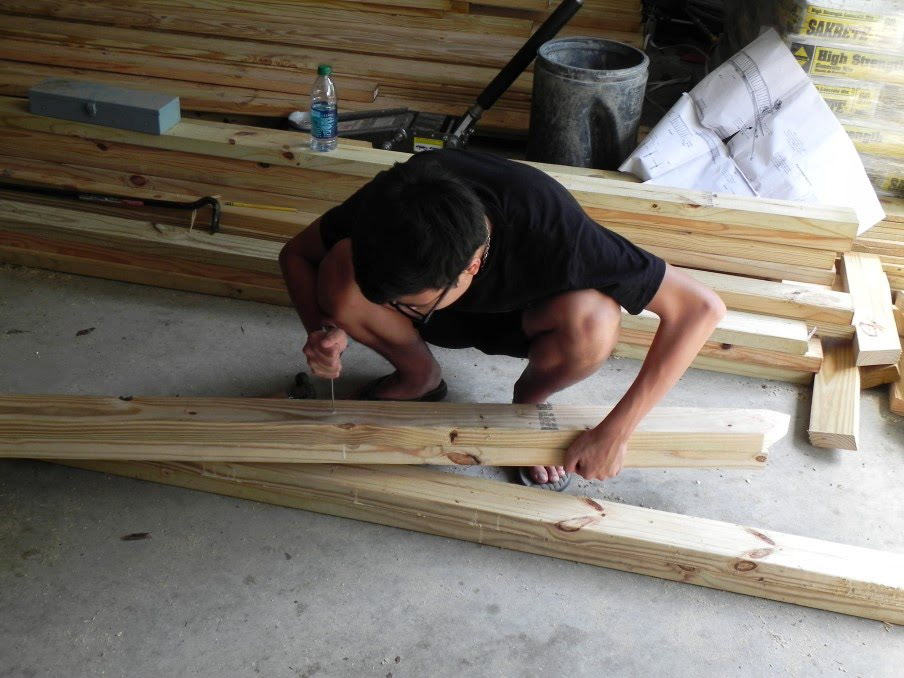
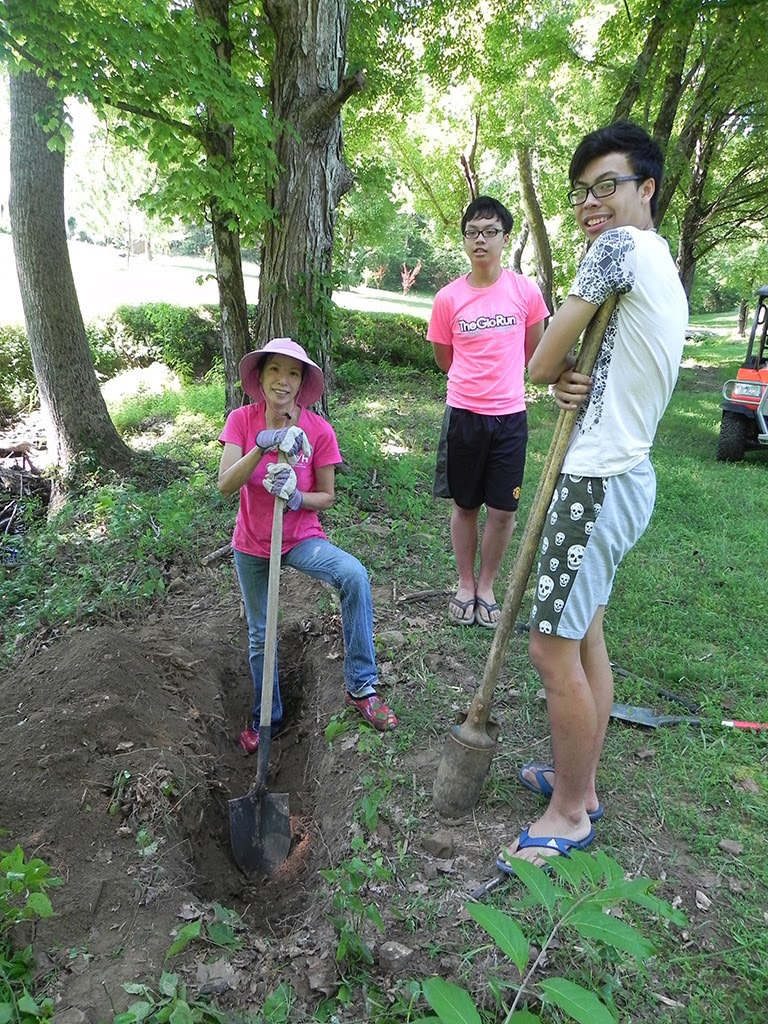
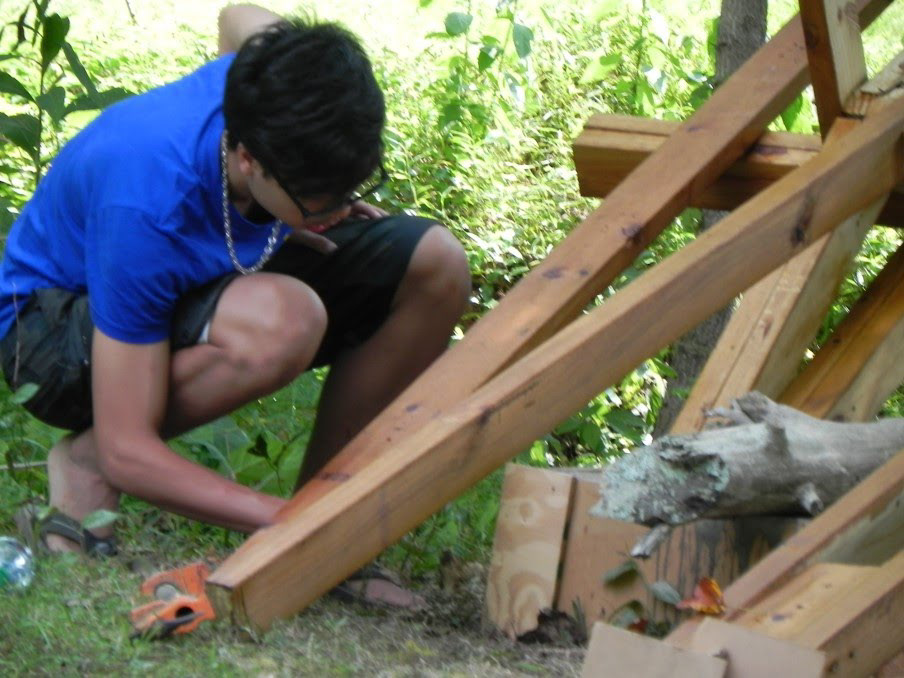
Khuong and Khoi were in charge of making the precise measurements:
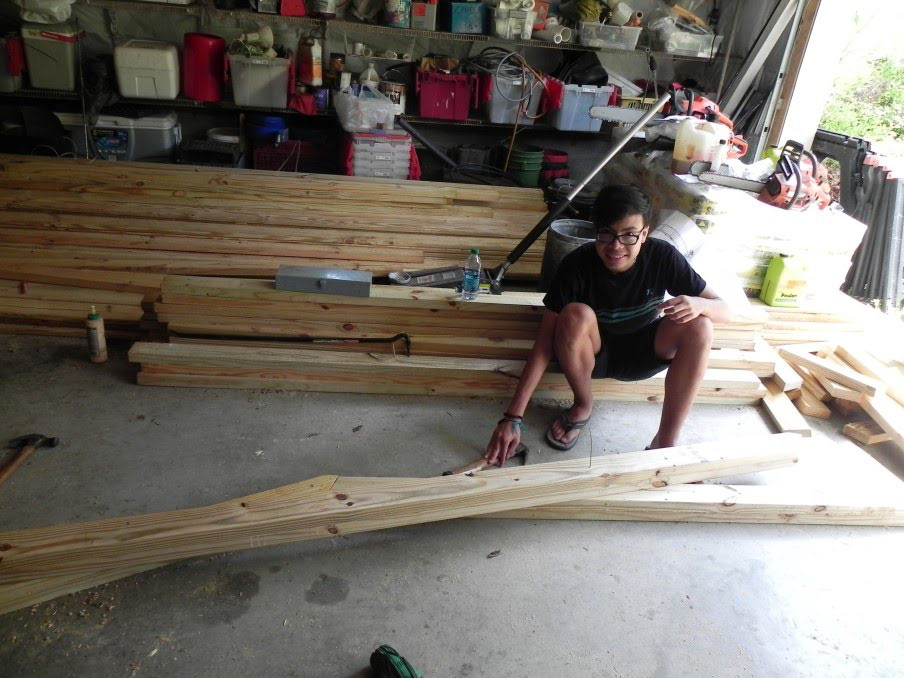
We then had a stack of boards all the same (well at least, close to all the same)
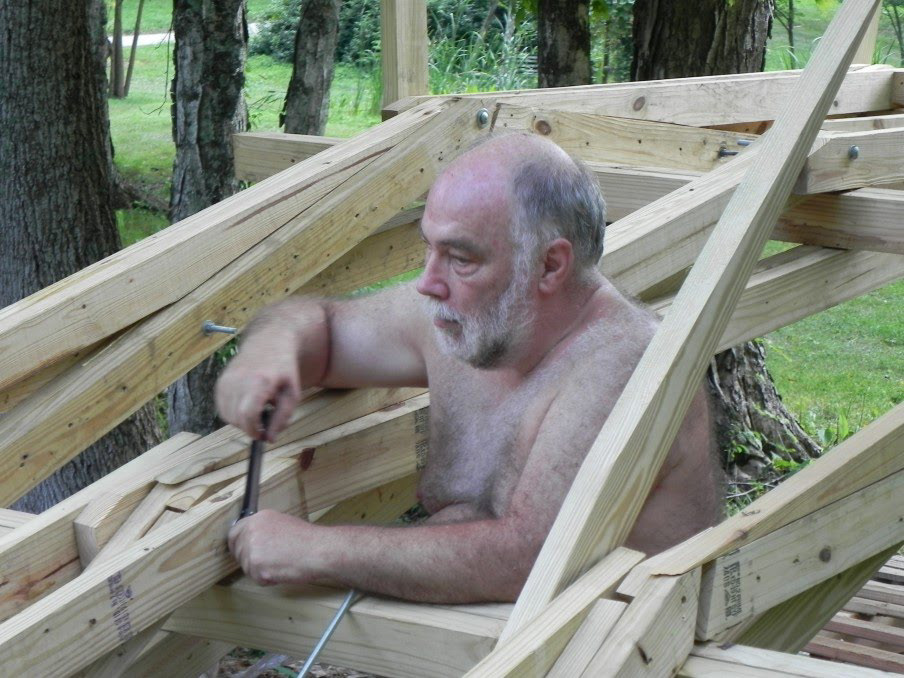
The next step was to make fiendishly precise marks and guidance holes at measurement such as 31” and 1/32 !! For someone who has always resisted using the imperial system, and rarely considers measurement below an 1/8th of an inch worth looking at, this was a rude awakening.
Not only these measurements had to be done VERY precisely, the holes had to be exactly perpendicular to that the boards would register properly. Well we did the best we could, but clearly we were not going to match Keysi’s precision.
The boards are, almost, the same and almost match :)
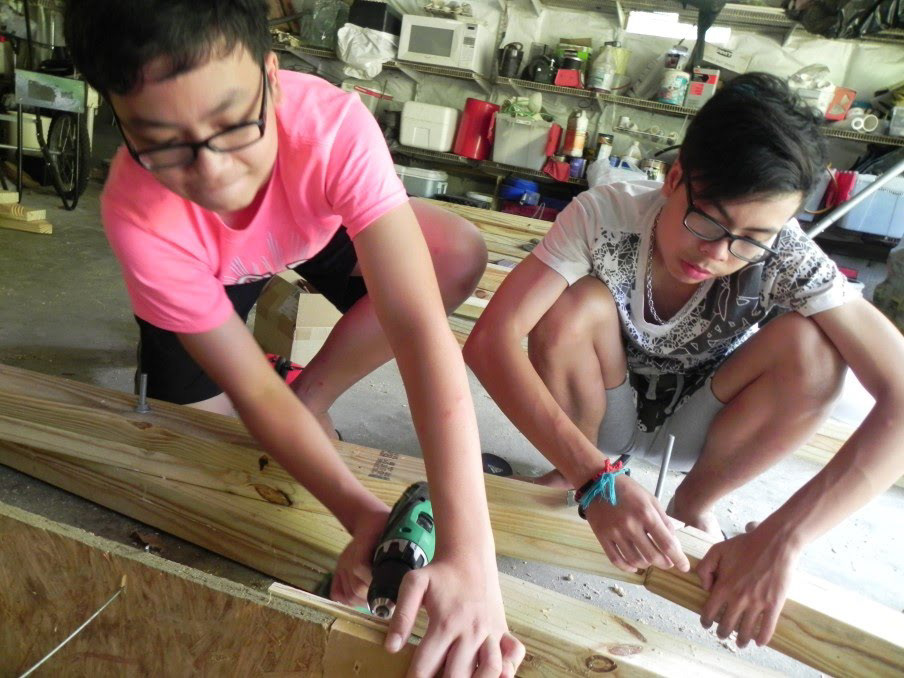
The next step was to glue and nail all these boards in pairs. In our haste we did the first batch upside down and had to redo :(.
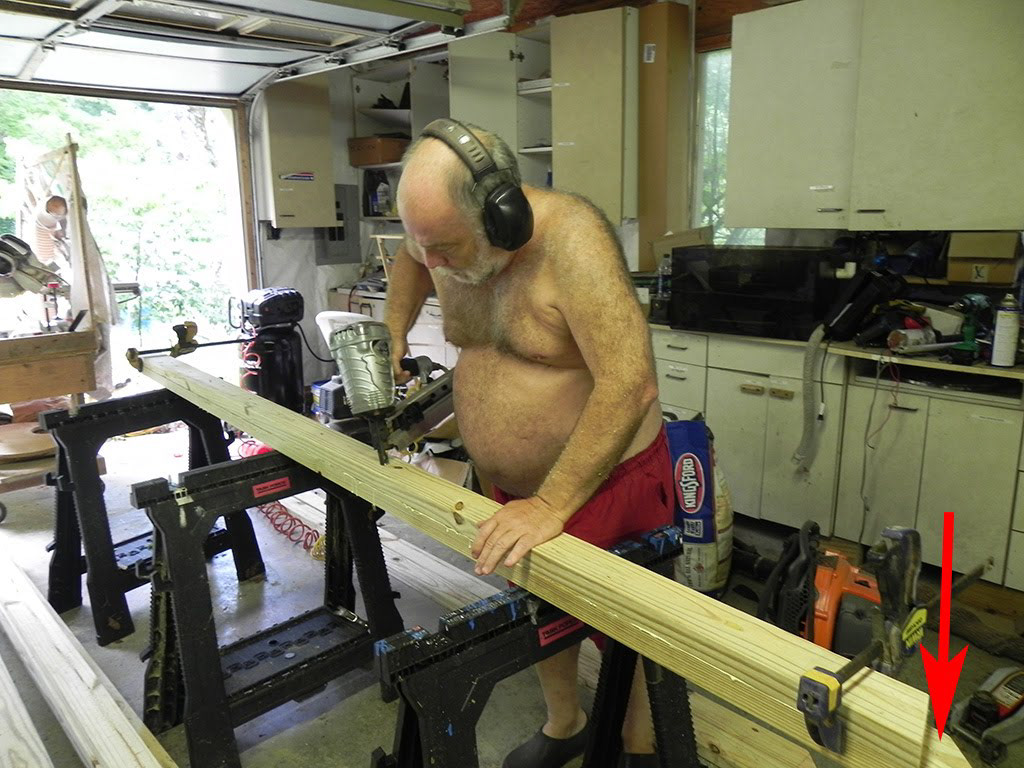
We set the first few pairs on the ground to see what this would look like. Finding those tiny holes among the nail gun holes was a little hard !
We passed a short segment of fence wire to guide the positioning.
First 3 modules, this looks good, and our joints are almost as good as those of Keysi!
Getting ambitious! This is the first arch, but no bolts in yet. This starts to resemble the bridge on the web, not just stacks of 2 by 4!
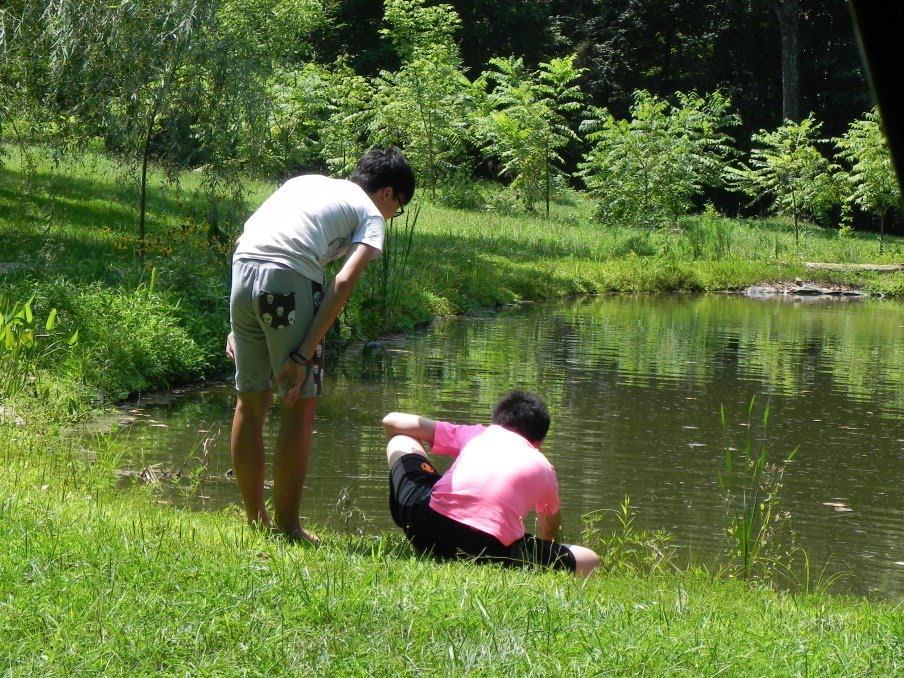
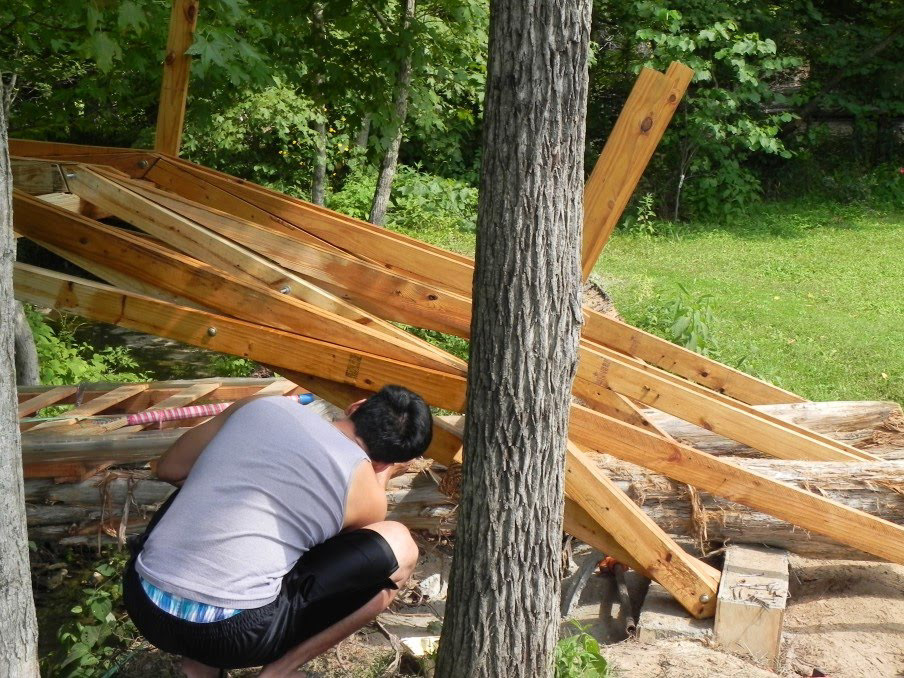
As the support of the bridge is an arch, it is critical that the arch cannot splay and thus a good concrete footing was needed. This was the next job, and where Khoi got his nickname of
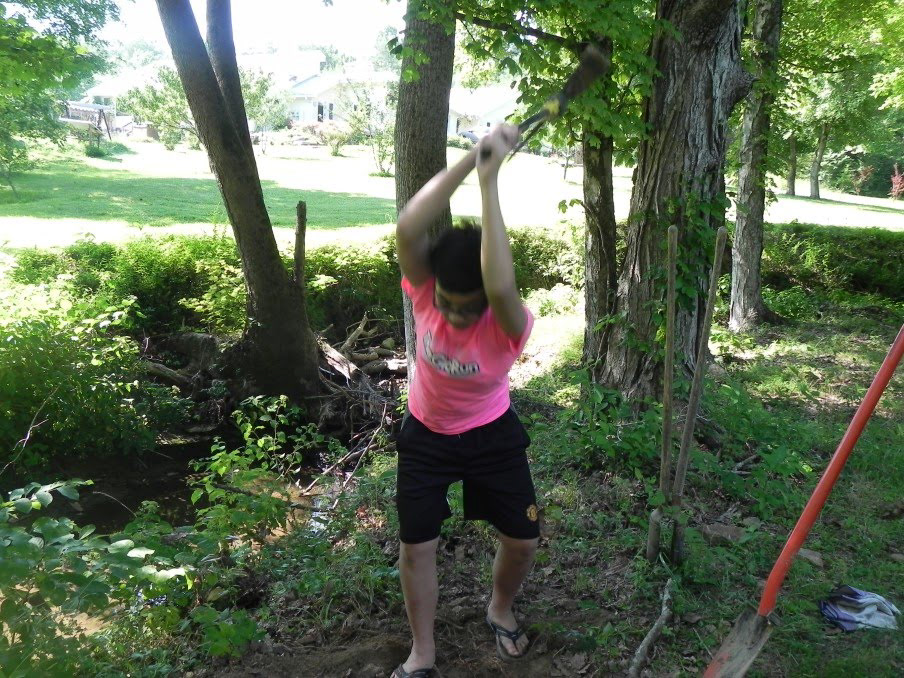
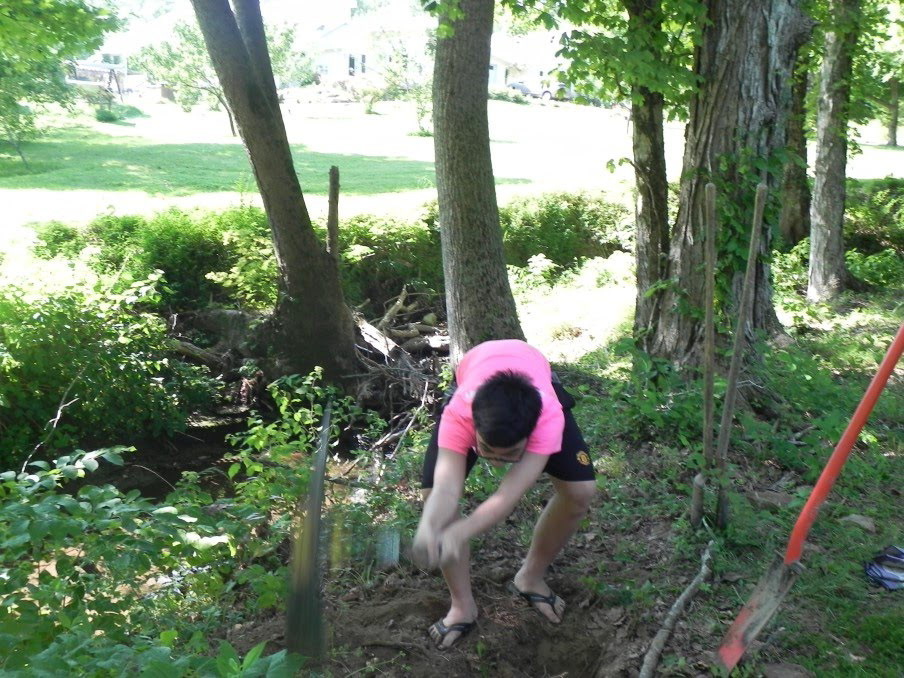
We looked like a bunch of grave-diggers !
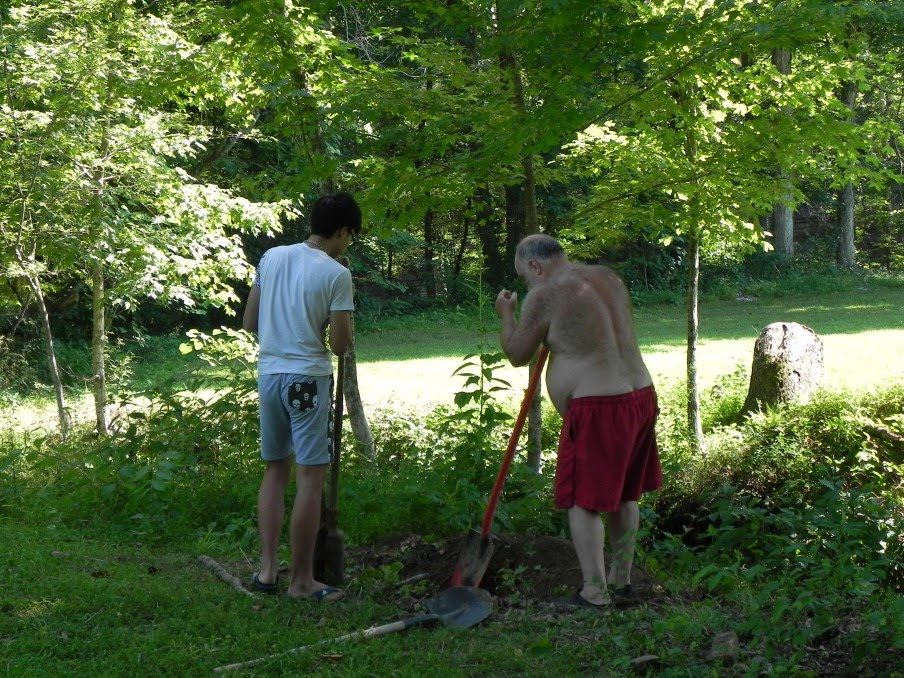
Thao, the thinnest, was in charge of scrapping the bottom dirt !
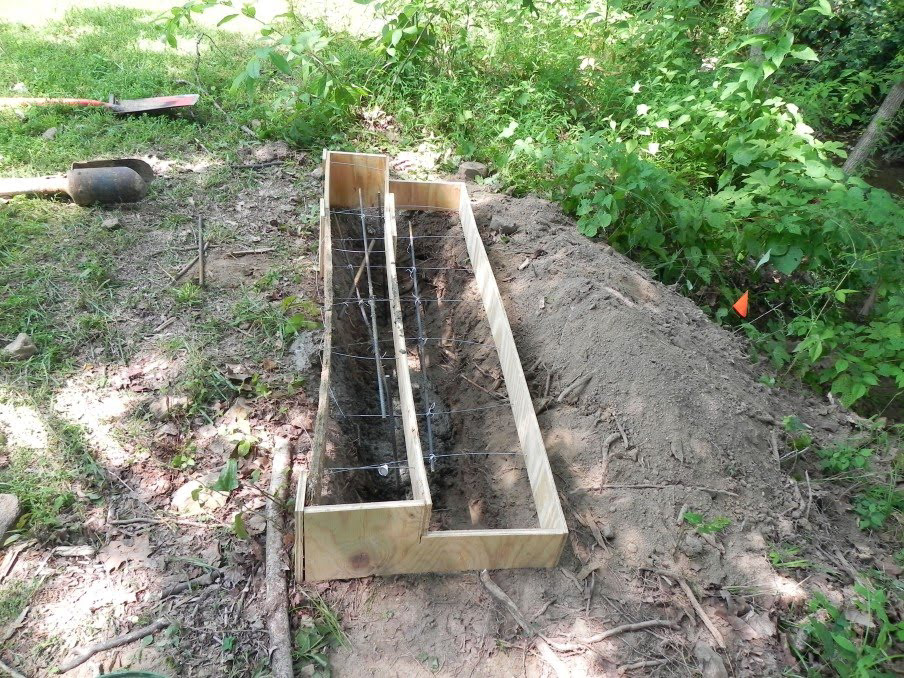
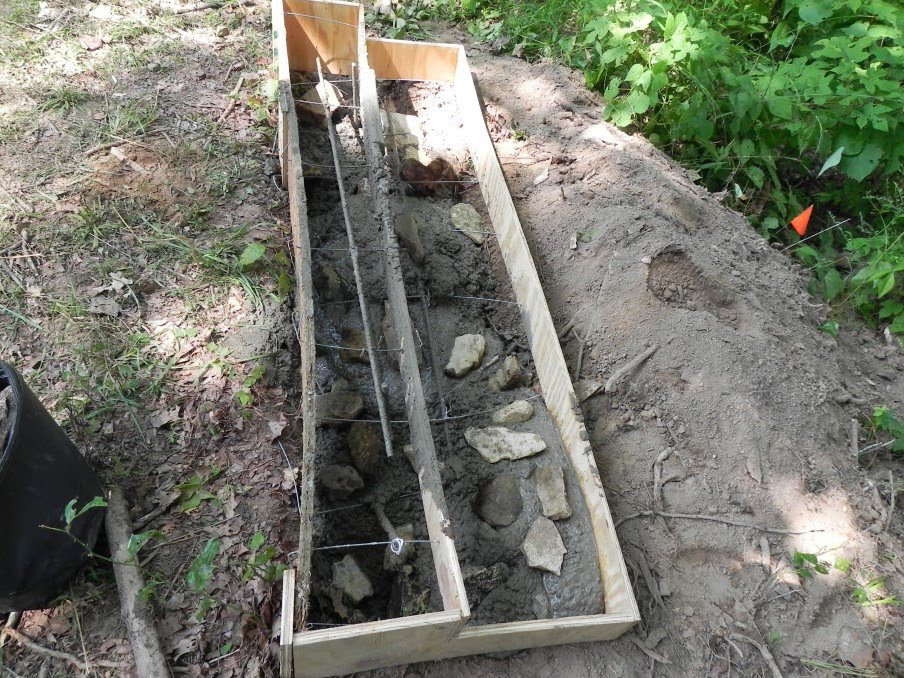
Next we made the footing, and following Frank’s advice, none of it was underground.
We strengthened the form with all matters of rebar and fence wire, but unlike Keysi, we used really ugly scrap wood for it:
The form on site:
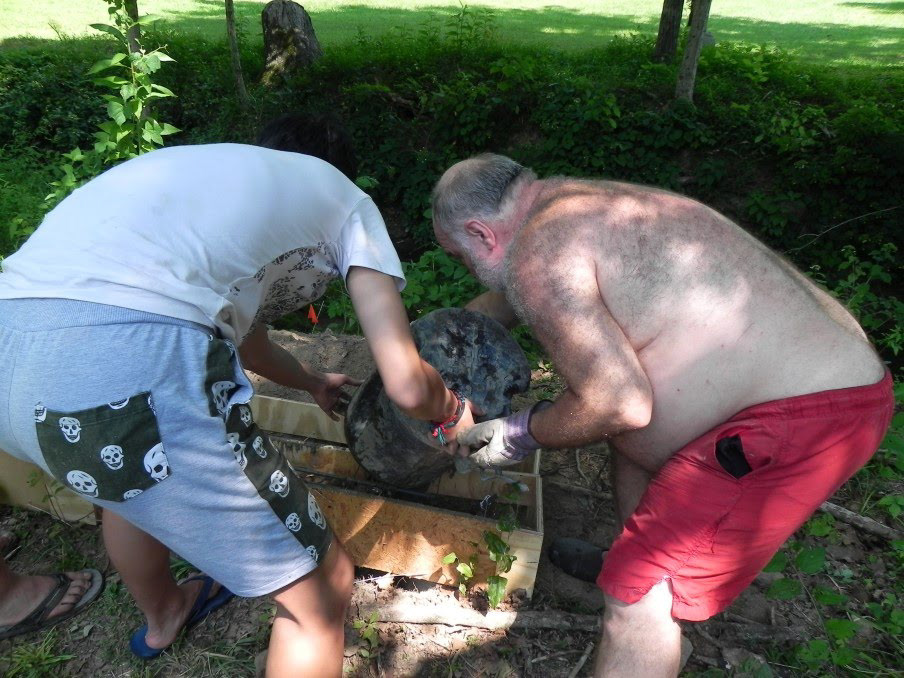
Next came the pouring of the first footing, 900 lbs of concrete! This footing should stay there for a long time !
Empty the bag in this great tool that is “Odd Job”

Get a gallon of water from the pond:
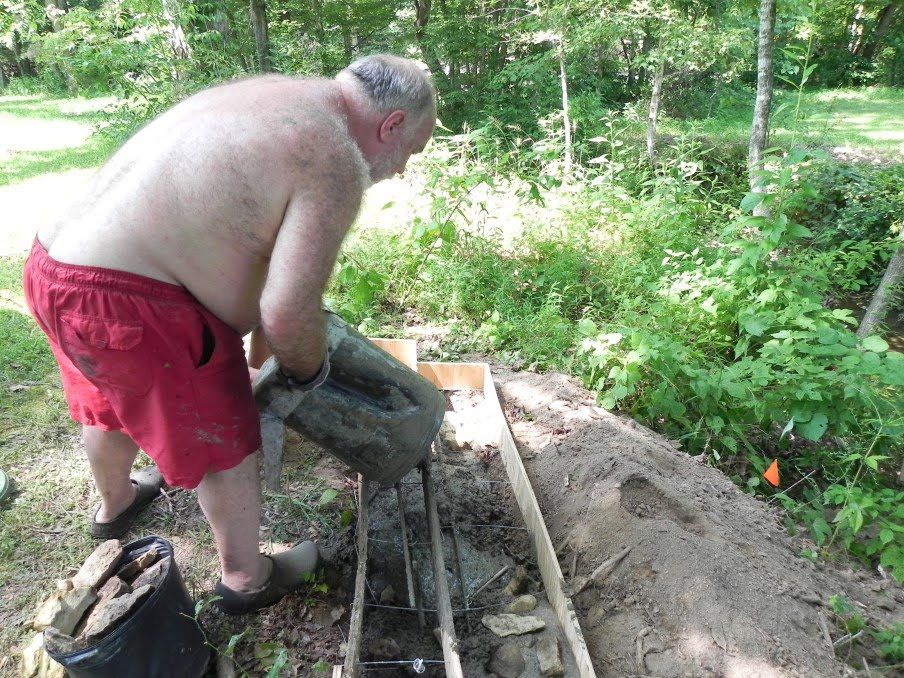
Stir and pour:
And pour…
And add as many stones as possible to save on concrete:
Done! The Michael Angelo of concrete !
Due to technical difficulties, no picture of the second footing, but it was even bigger and it got 2000 lbs of concrete !

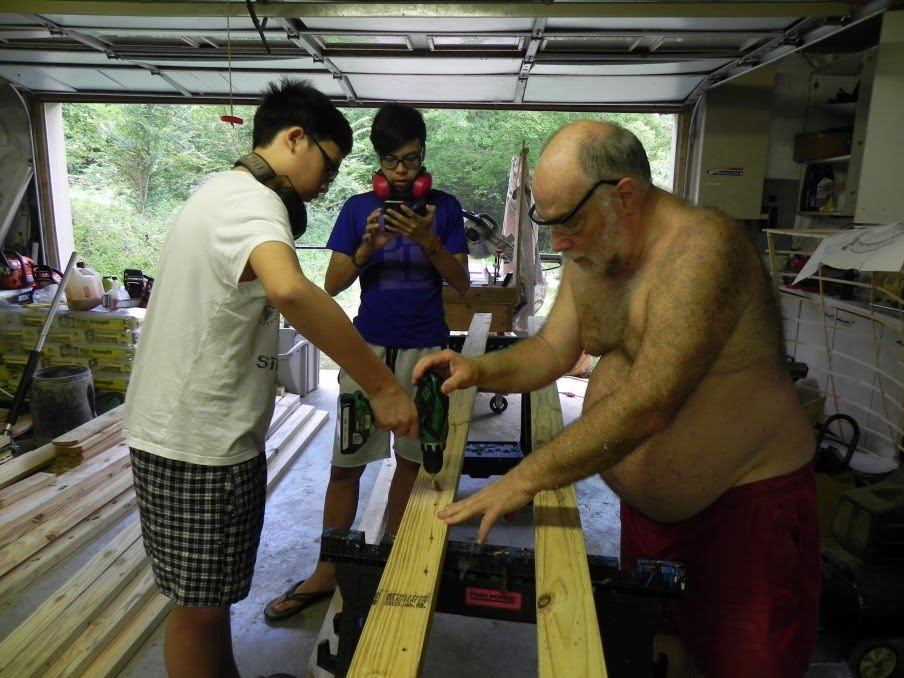
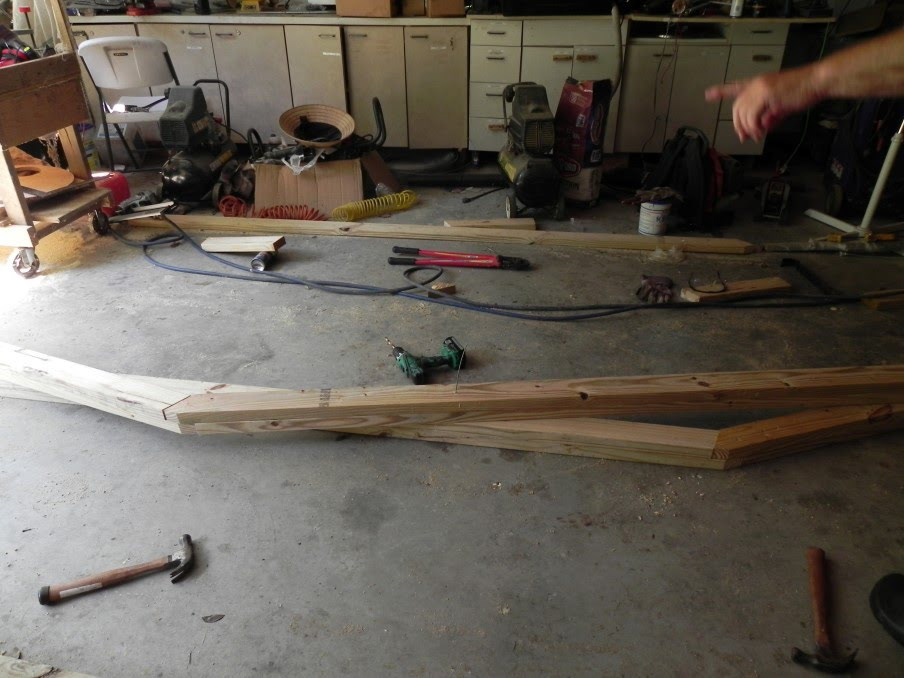
Time to go back to the tool shop and assemble the arch.
For the first arch we placed the bolts in the apical angles, but for the next two we just temporarily nailed a piece of wood over the apices. I realized that we would never be able to match the modules as precisely as Keysi had done, so I though we could do this on site and avoid some headaches (well just delay them).
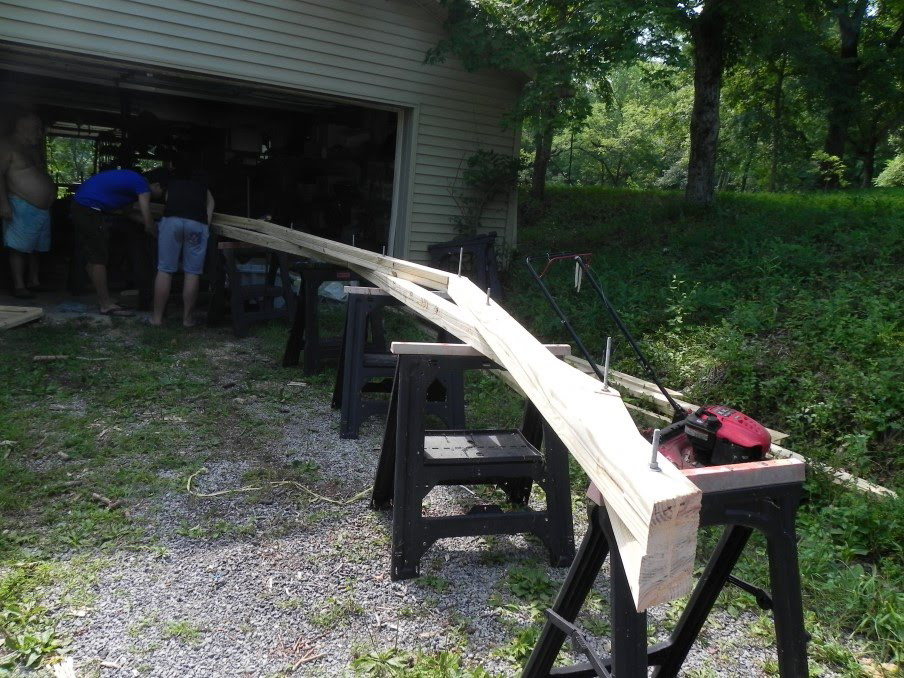
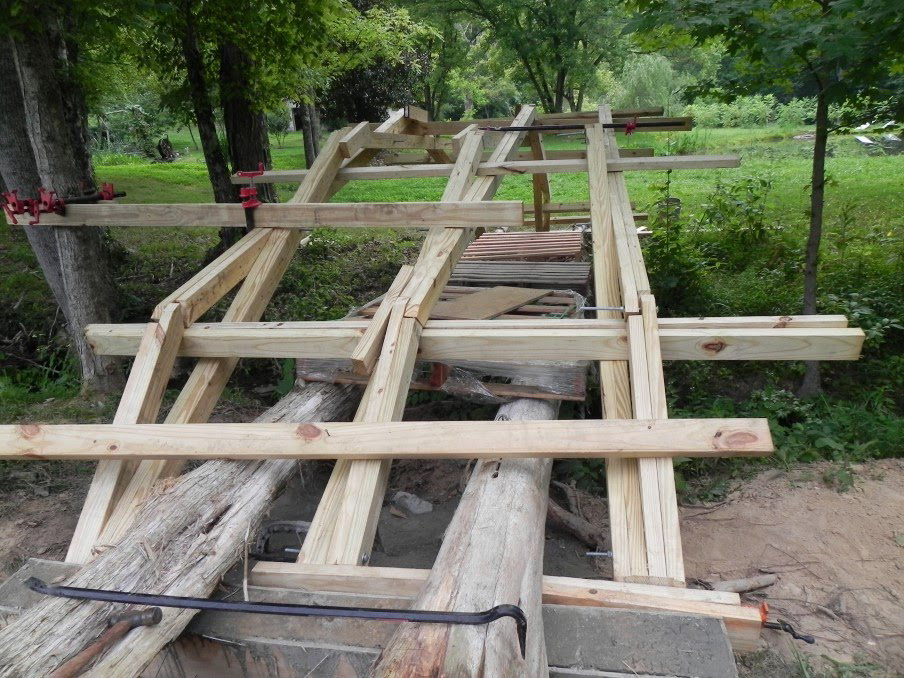
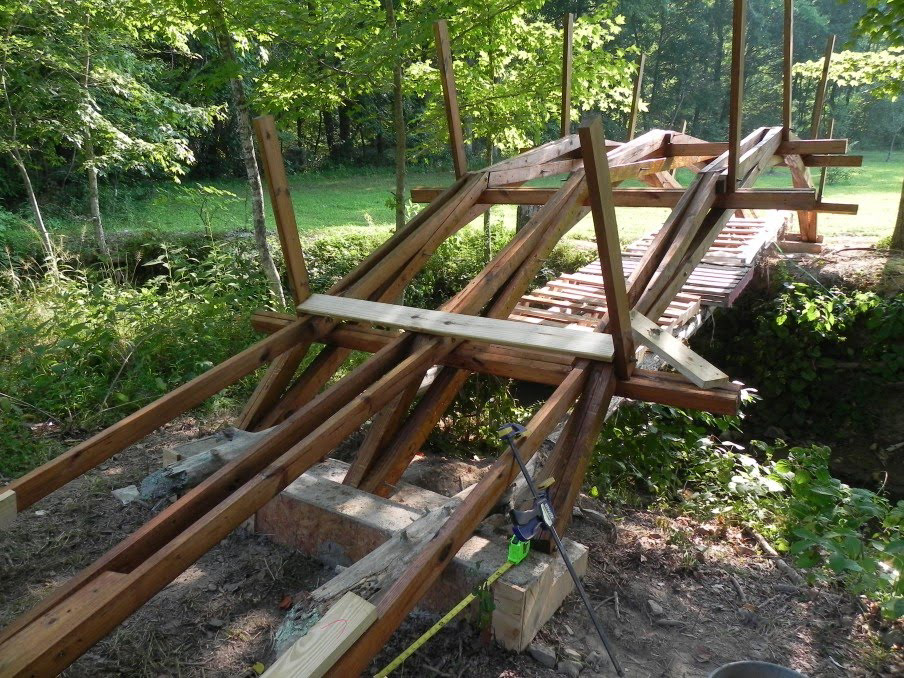
Time to bring the arch to the site. It is big !!!!!
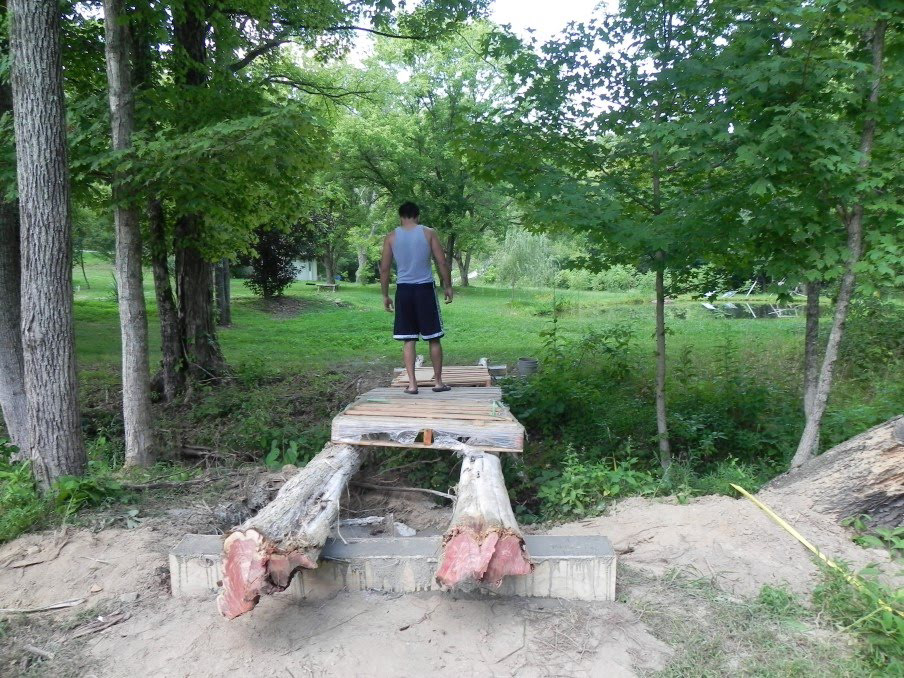
With both footing barely poured we build a temporary bridge with two long cedar logs and 3 pallets. Not ideal but that is all we had on hand. By attaching the logs under the bucket we could put them straight over the creek span without having to lift them ! Yeah !
Dat is testing the temporary bridge. Actually it was solid enough that all 5 of us could stand on it !
With the temporary bridge in place we could pass the first arch. Dat, who exercises a lot and drink all sort of protein drinks provided almost all the lifting! Amazing!

As Frank had said, this is very wobbly and we were quite concerned that the arch would fall in the creek bed.
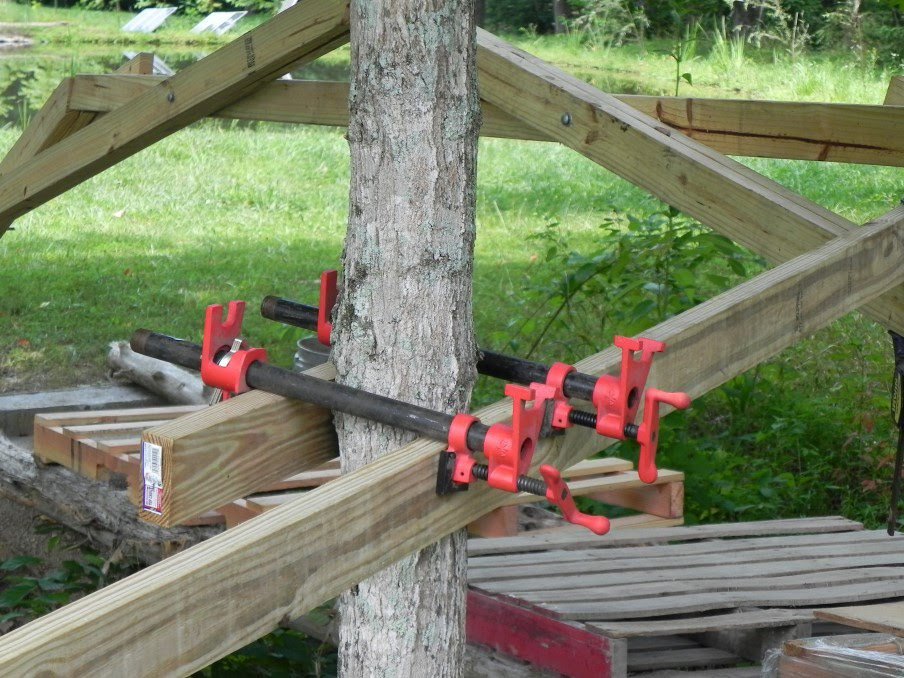
A little of temporary bracing suffice for the time being, and hopefully that maple will not complain too much:
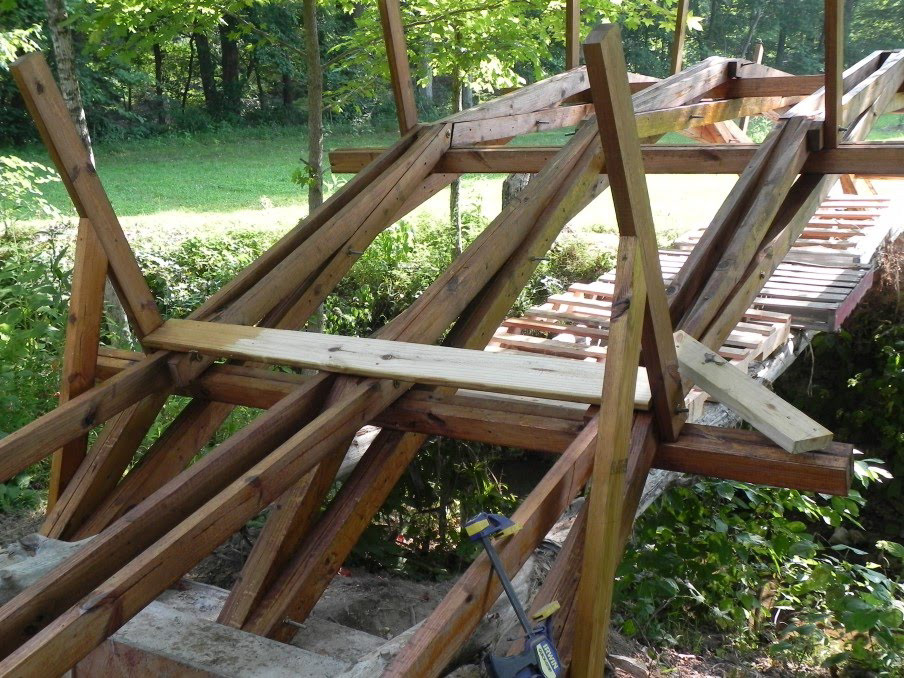
The second arch is transported and placed as closed to the first as possible, to leave us space on the temp bridge to be able to carry the 3rd arch. Yes we did 3 arches, reasoning that our imprecision in the cuts could be compensated by a stronger support. We placed some of the cross beams to stabilize the 2 first arches.
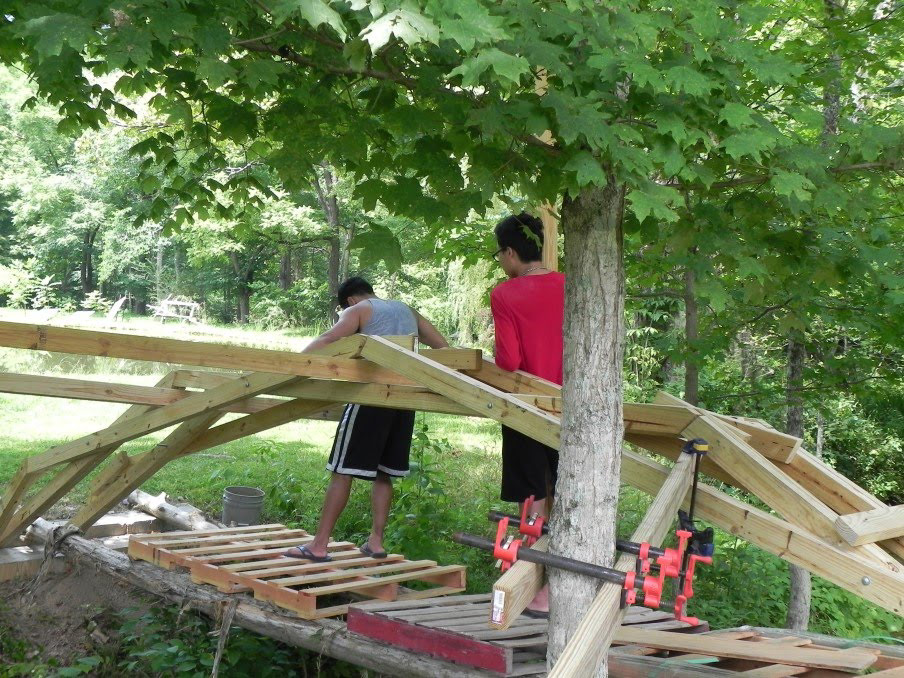

Squeezing the 3rd arch AND passing the cross beam at the same time, while standing on the wobbly bridge was a little stressful. One wrong move and the whole thing would collapse in the creek!
This is the picture of Keysi trying to solve a problem with his arches. This is the one famously titled: “Think Keysi, think” …
…and this is me, at the very same stage, in our bridge ! “Think, PJ, Think”
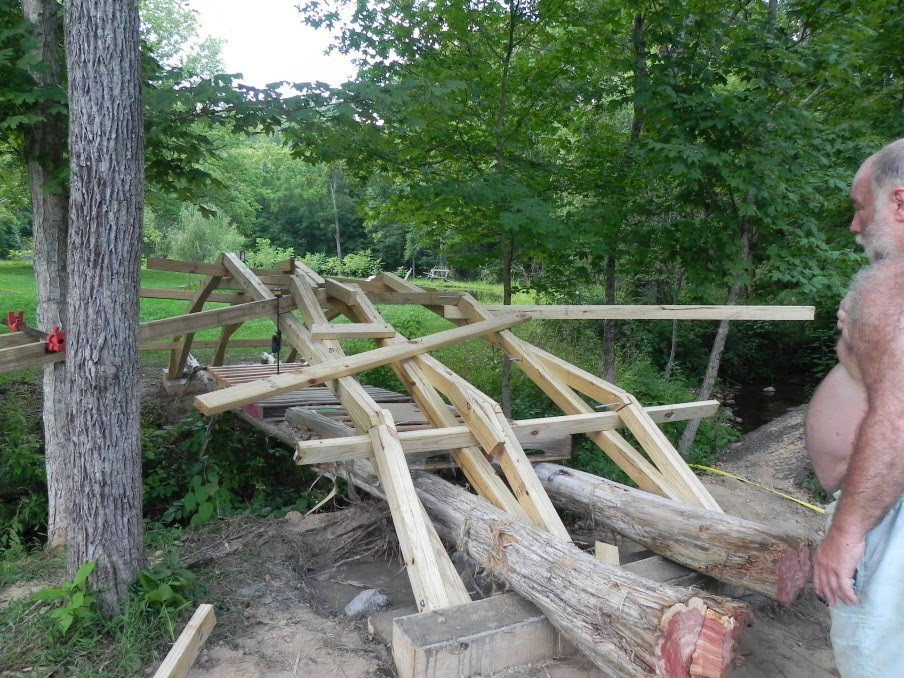
We ended up doing like Keysi, lifting the whole 3 arches and doubling the cross beam. Lifting the whole 3 arch might sound like a very hard think to do, but we put a car jack underneath the bridge, with a 2 by 4 straight up and it lifted with no problems at all. At this stage, although quite bulky it is not that heavy.
Also we used good old Archimedes trick of a long lever to pry reluctant segment into compliance.
Not perfect but better !
I agonized a lot about “The Cracks”, the gaps at the apices of the joints. Keysi had NO GAP whatsoever on his photographs, and I was feeling very sloppy about it. Yes I realize all these joints were in compression, but still how come we could not close those gaps !!
Ultimately I decide to leave those as a “feature”. And today, just after the whole project is complete I got an email from Michael saying: “We never worried about the gaps you mention.” Pfewww. Actually Fred had said something like: “If you have difficulty inserting a bolt through an arch peak, despite cross beam & lap joint seemingly aligned for a reasonable fit, just ream out the misaligned bolt holes with a drill bit of your bolt size.” Which I had interpreted as, this typically should fit perfectly.
Using 2 cross beam per apex, raises the apex a little and makes the arch a little higher.
Passing the first cross beam was some work but passing the second proved very hard. “Think Keysi, Think”. The solution was to pass the second cross beam flat (on the 4” side” then flip it upright. That would sound hard, but with the good old faithful pipe clamp it was cinch.
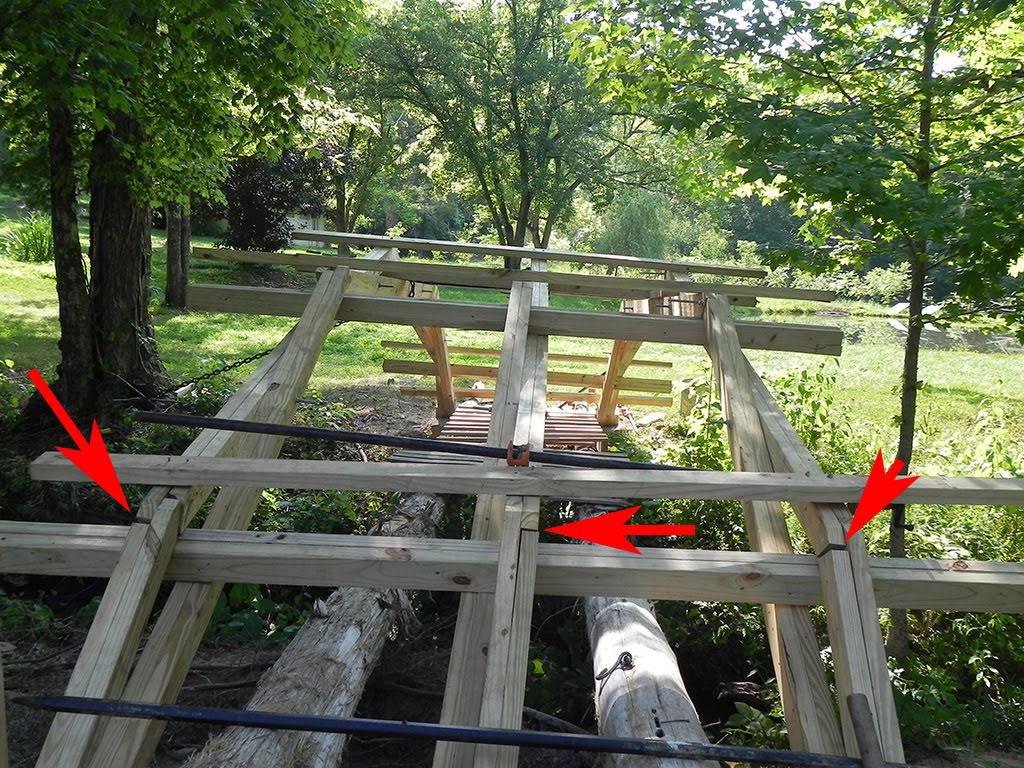
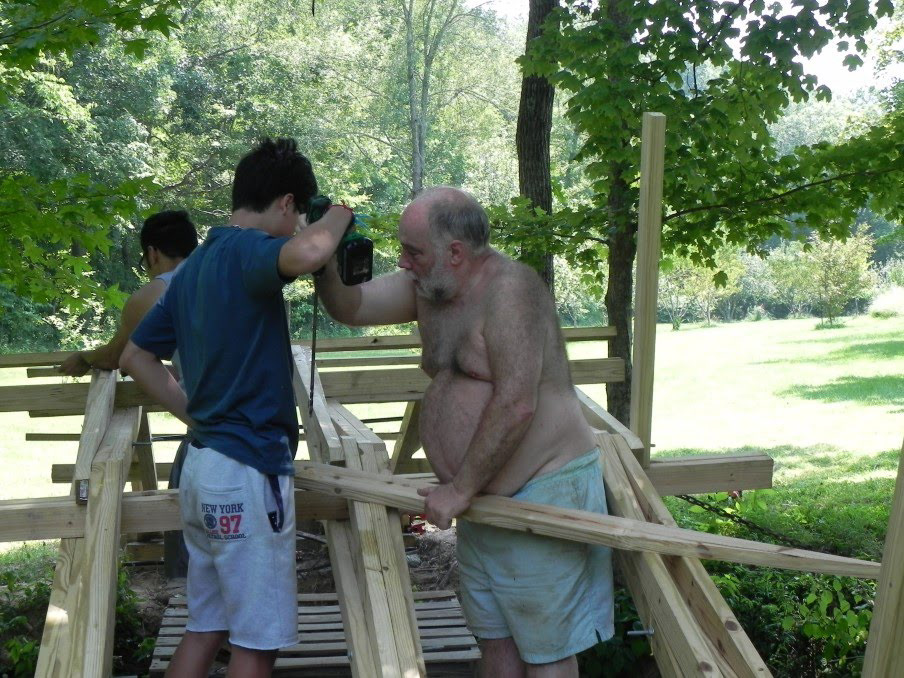
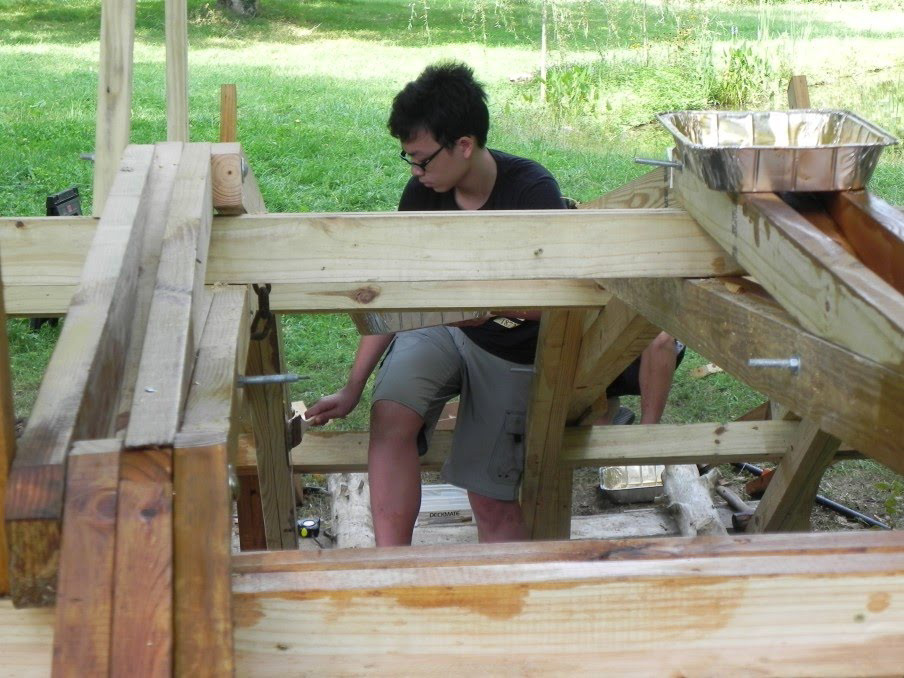
The next job was align the crossbeam so they would protrude evenly on both sides. Thos measurements were left to Thao (who aside form being the photographer, is in charge of all precise measurements). Adjusting the cross beam was not that easy, as it involved reaching out far from our flimsy temporary bridge and hammering towards the center, a movement that is quite uncomfortable. Again, with some judicious pipe clamp placement this was elegantly solved. And the 2 members of each cross beam were screwed together. For the whole bridge we used 15 lbs of a #9 * 3” polymer-coated star-drive deck screws, an endurance test for the drill-driver’s battery.
We then had to make sure that the 3 arches were parallel, equidistant and strictly vertical, so they would not collapse. As Frank had warned, the feet of those arches tend to creep away, so that when fixing one side the other would get out of whack. We ended up nailing every single segment with temporary bracing, and finally aligned everything (mostly!).
After this, back to the tool shop to make the “joists”. This had been a little mysterious to me, no matter how often I reviewed Keysi image (probably over 40 times), because those Facebook images can’t be zoomed in. I reviewed Franks site another million time. Michael Kindly send me a little more descriptions and I ended up doing the first joist without really understanding how it would fit. Once it was cut it was quite obvious: just trust the elders and do what they tell you!
Keysi had made a nifty jib, but without the plans I could not recreate it, so we did it the hard way: Thao, Khuong and Khoi painstakingly made the measurements (yes it included 1/16” precision) and I cut by looking at the line and getting plenty of sawdust in the eyes. Of course I should use eye protection (especially with MY day job) but this is middle summer in middle TN and everything fogged up and I worried about cutting my fingers !
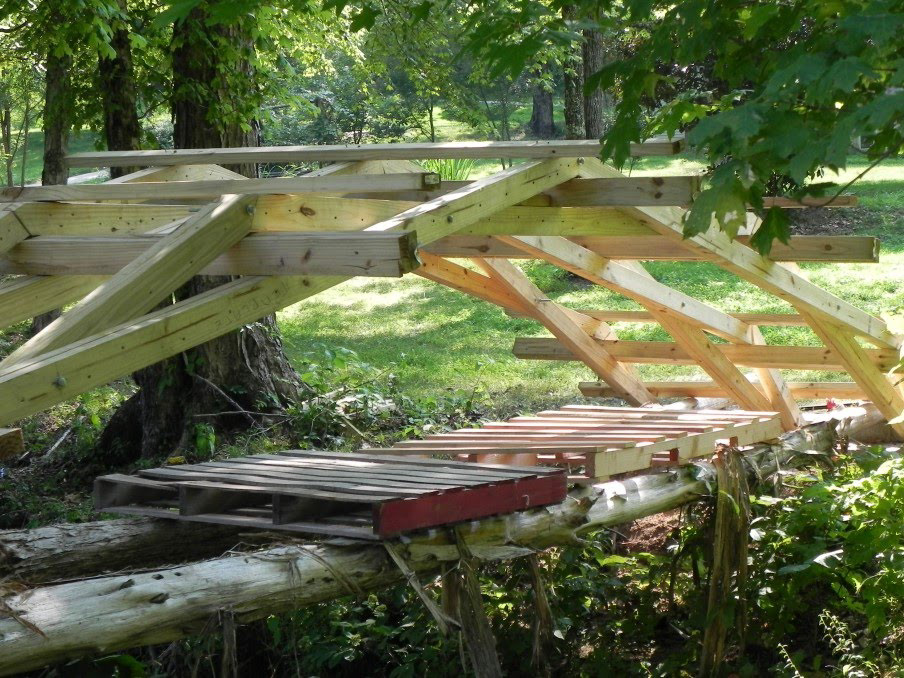
The function of the joist is to mitigate the dips between the peaks of the arches and make the top of the bridge more smooth. For each arch and each apex there are 2 joist one going in each direction.
When both sides are in place, with the vis-à-vis joists from the adjacent arches form a nice top surface support:
Since we had deviated from Frank’s instructions and not drilled the bolt holes ahead of time, now was the time to do it: A long drill bit did a great job for that…
…and no problems of alignment !
I remembered Frank’s admonition about the bolts: “Don't over tighten them as it will only crush the wood unnecessarily. Bolts carry no load and merely act as clamps to keep the wood lined up.” and was careful not to do it. A ratchet wrench is a great temptation to squeeze the bejesus out of a nut!
Note the gap in the proximal joint on the picture above ! Actually with pipe clamps (again!) some of that was reduced.
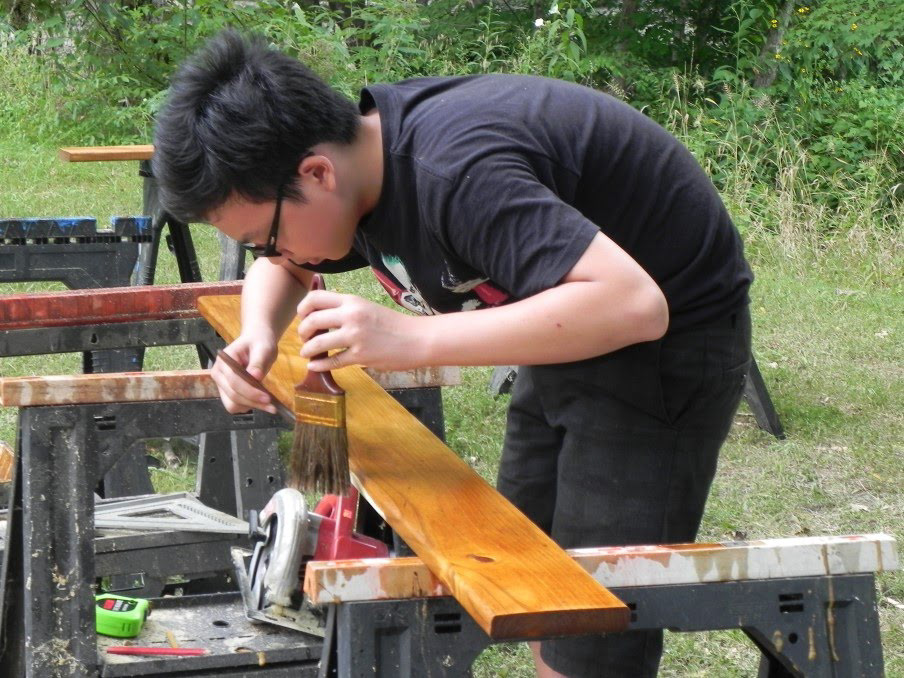
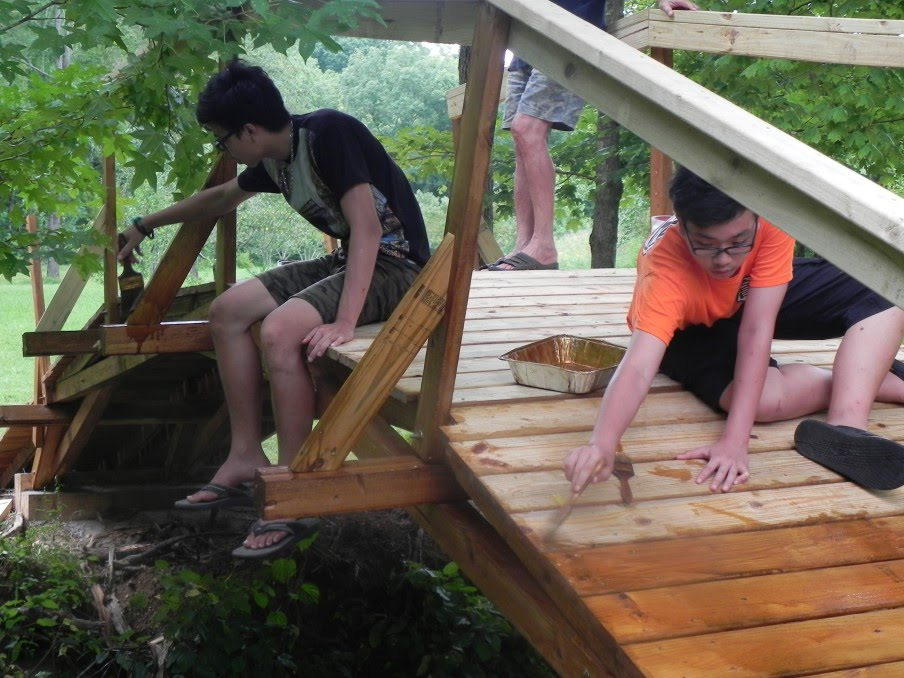
Dat, Khuong and Khoi then gave 2 coats of rustic cedar Elite exterior Olympic oil which transformed the “ho-hum” pressure treated into what looks (to me) like beautiful cedar!. Great improvement. But not easy to paint the undersurfaces!
Dat was the master checker making sure nothing was missed. Just as a precaution, Thao dropped some crazy glue on all the bolts.
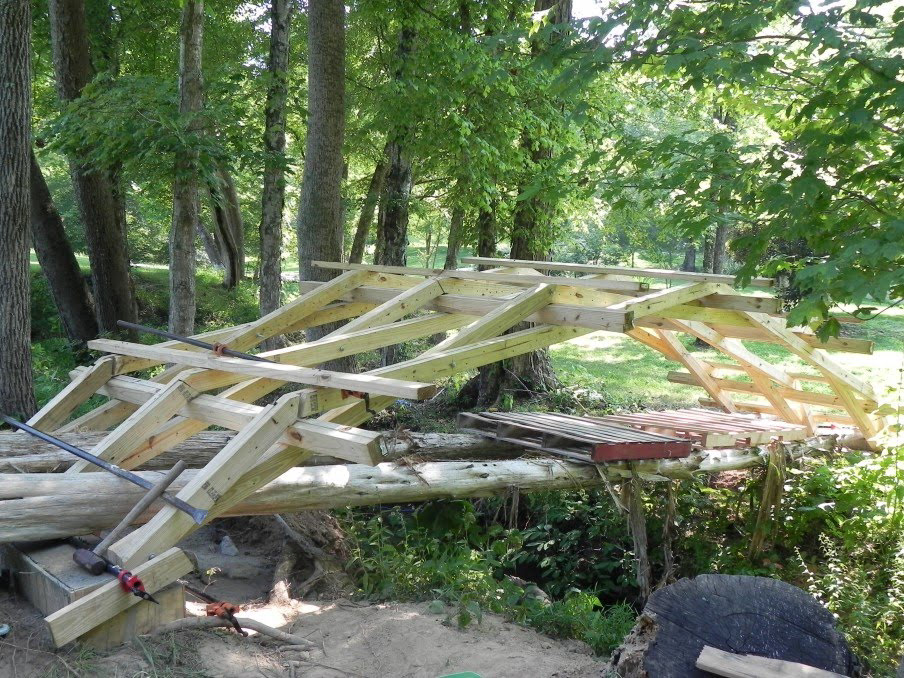
Now the skeleton of the bridge really start to look like in Frank’s and Keysi’s web sites:
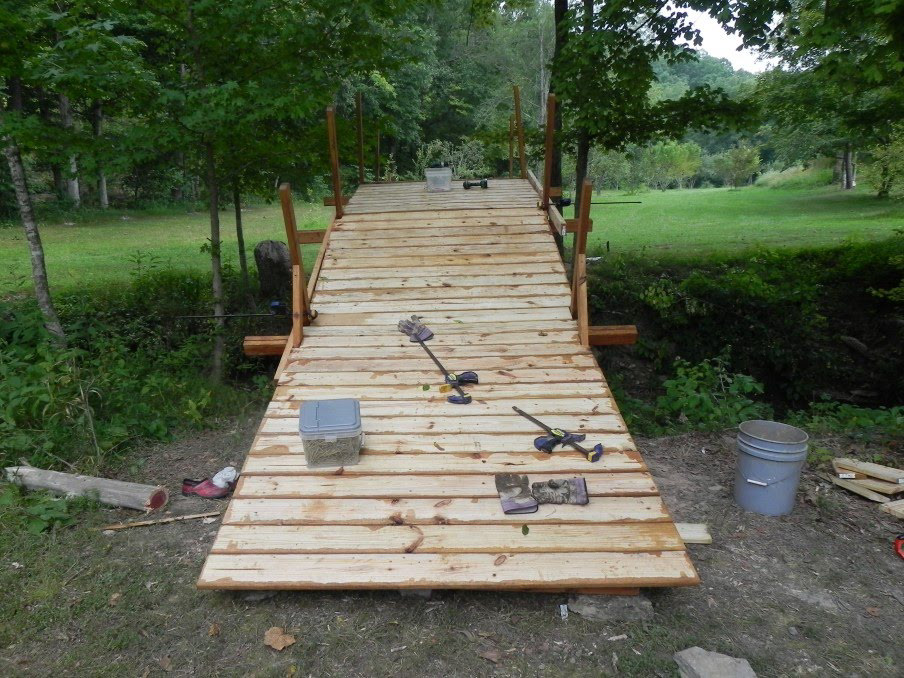
Time to put the decking! The first board:
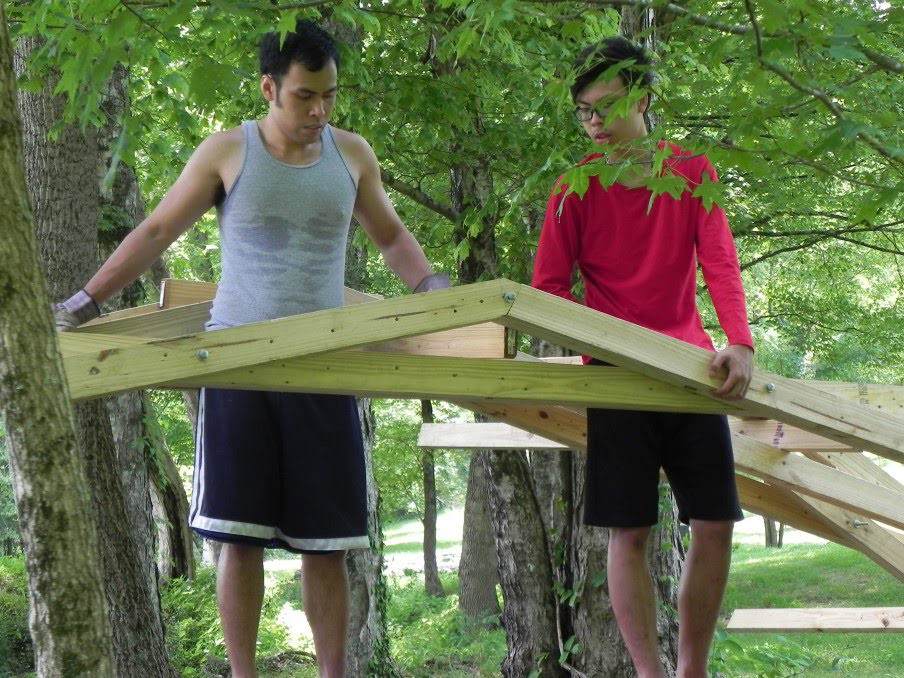
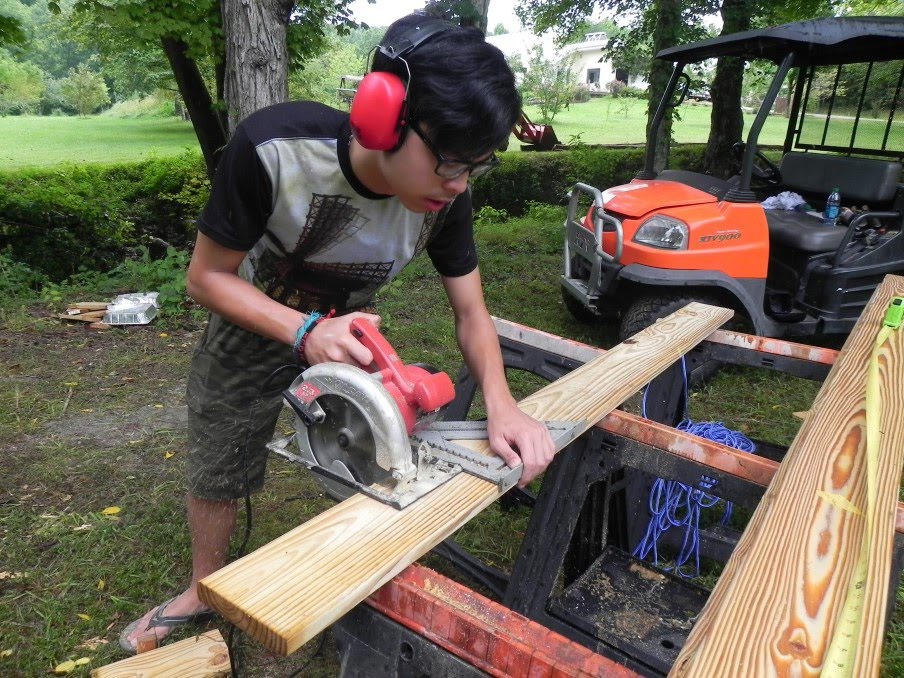
From now one we had a pretty established routine. “Saw-man” (Khuong) cut the boards:

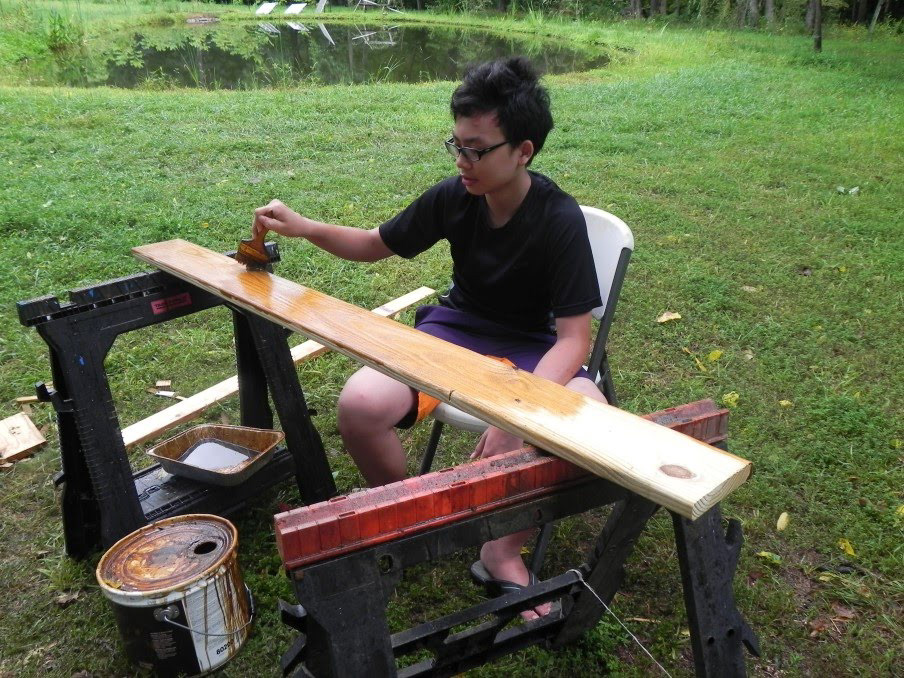
“Mattock-man” who had become “Leonardo” (Khoi) would stain the undersurface (amazingly enough he painted 70 some boards without painting all over himself as I would have done). Note the "Ninja" technique with double paint-brushes!
Thao brought the board, aligned and spaced them:
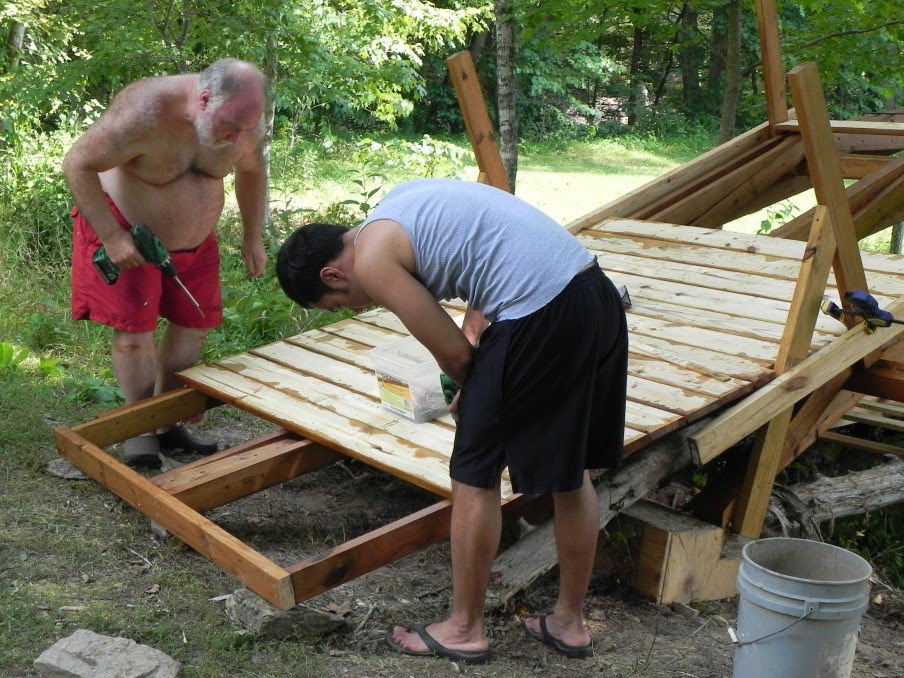
While Dat and I screwed then in place:
A little test-load… …not budging!
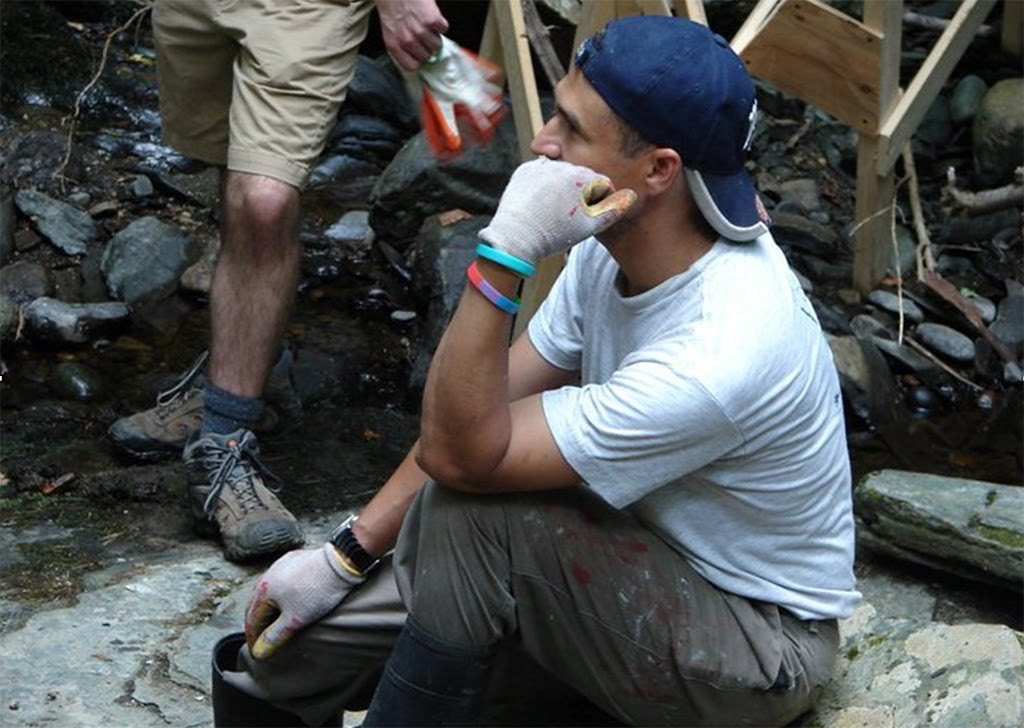
A well-deserved break

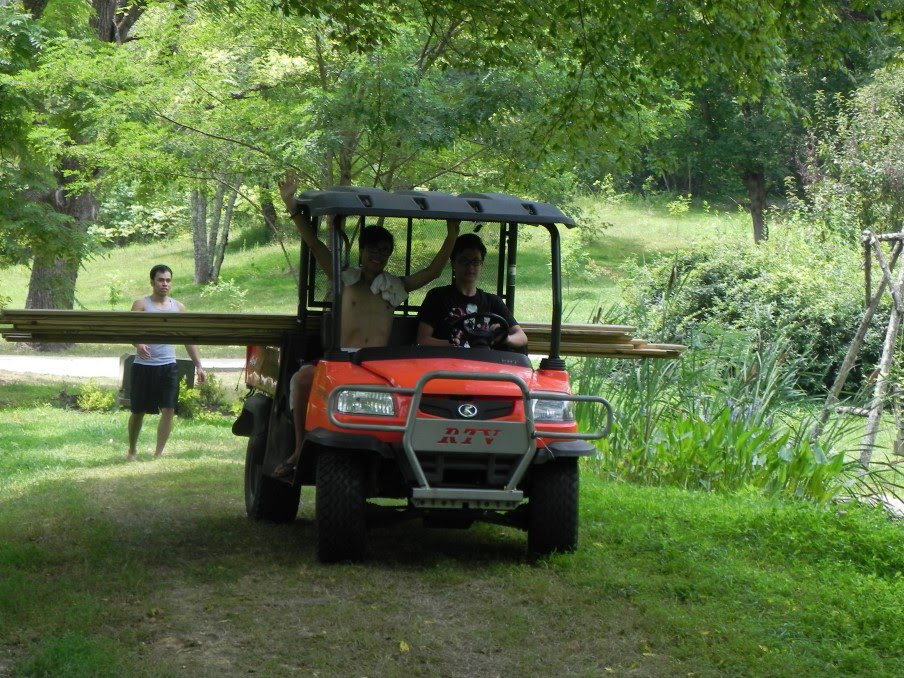
And some refilling of the supplies…
Audacious backward maneuver towards the creek !
Sometimes a tool falls in the creek (fish-food as Cerine and Cedric used to label the event), and the most nimble ones go recover the missing tool !
And the deck progresses…
A little slippery though !
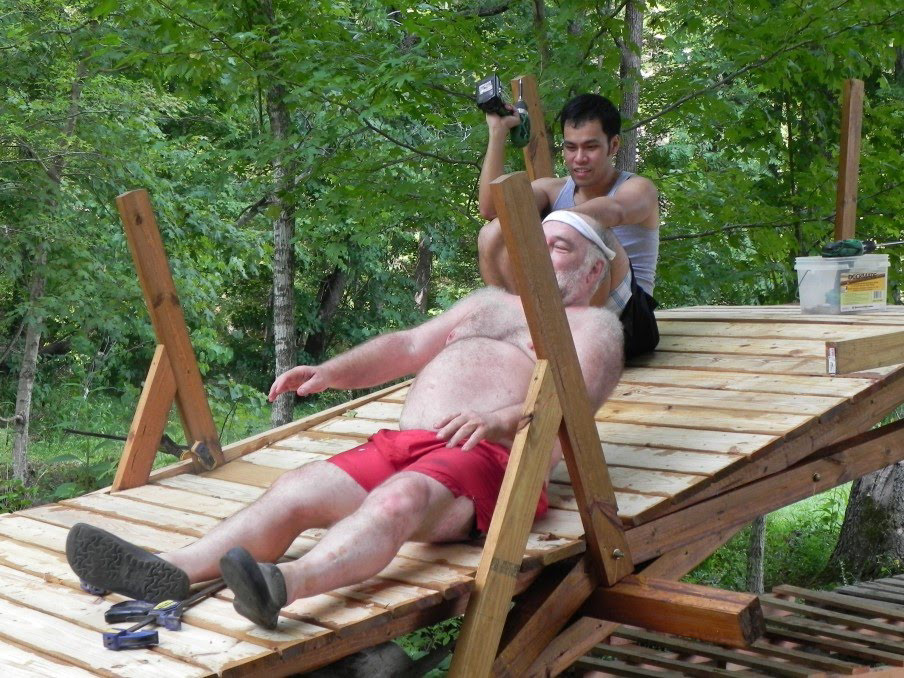
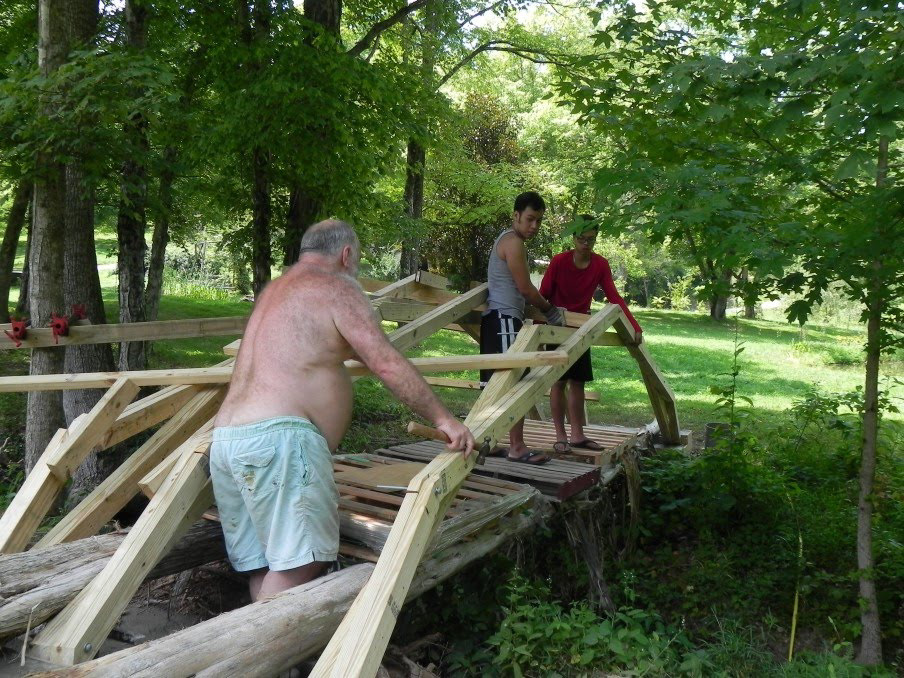
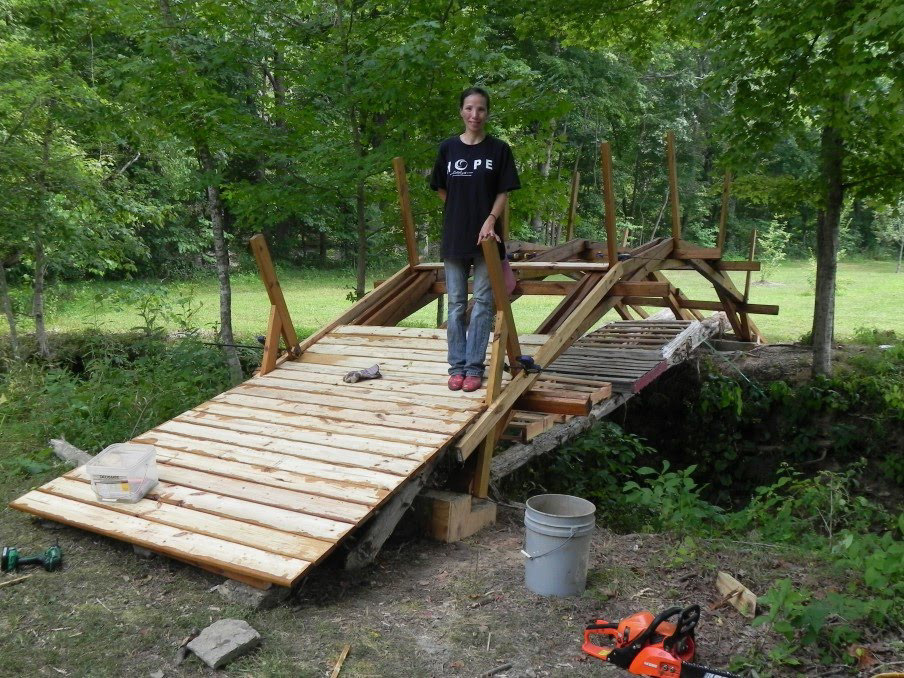
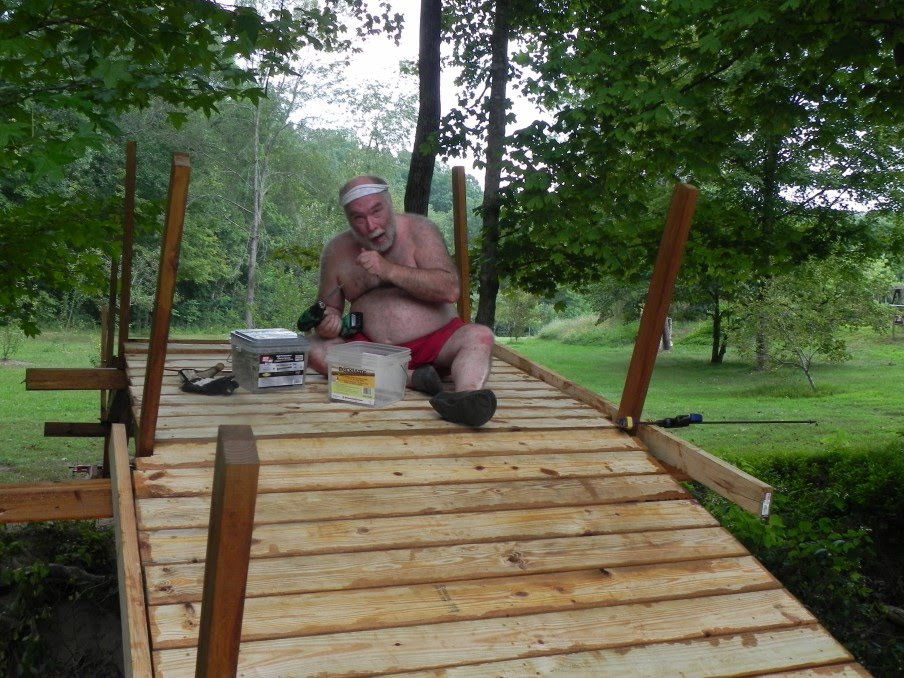
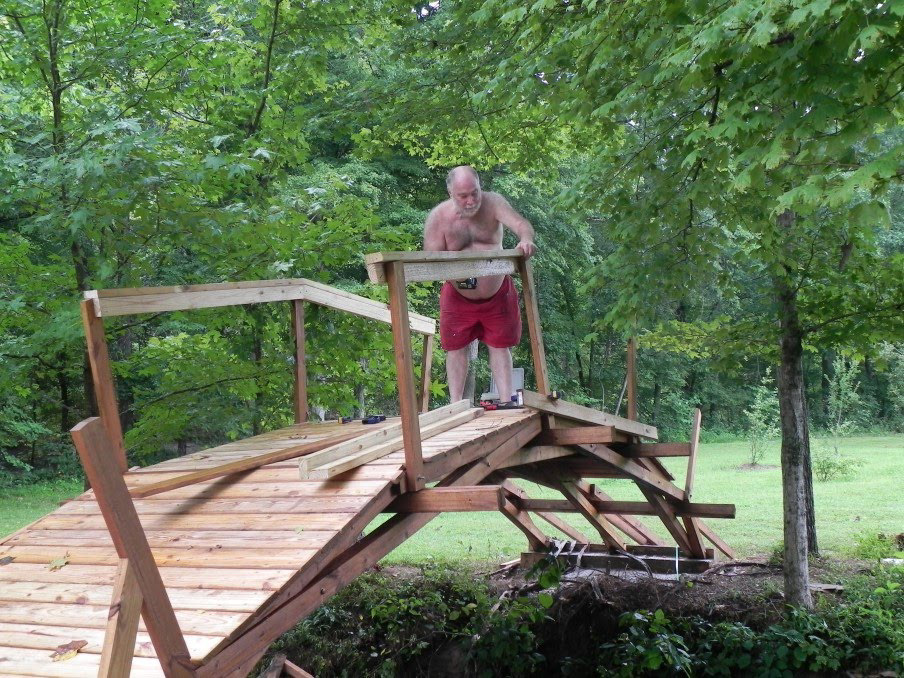
I am hot and I have been screwing all day long ! :)
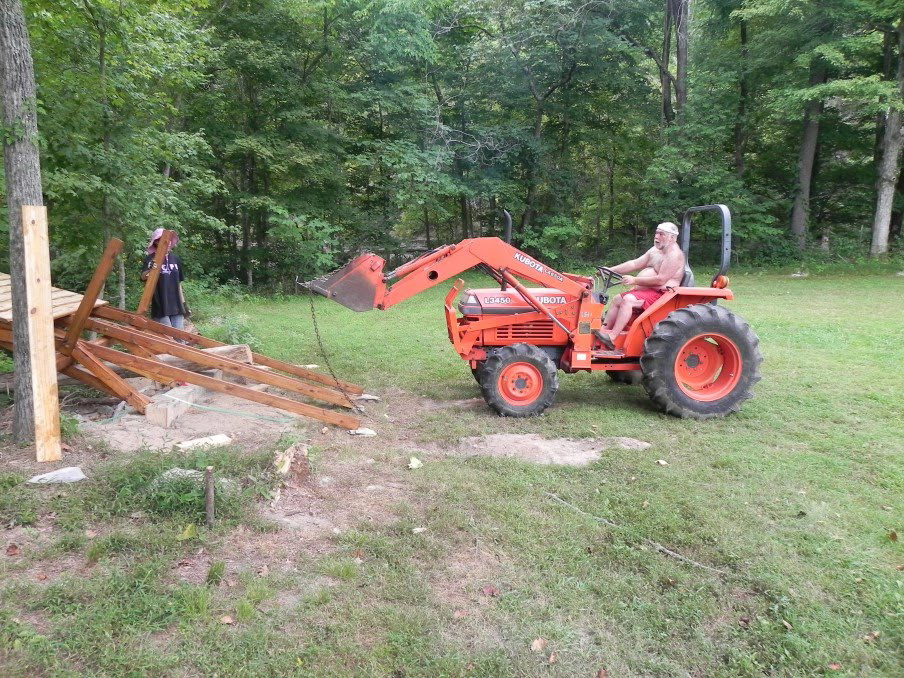
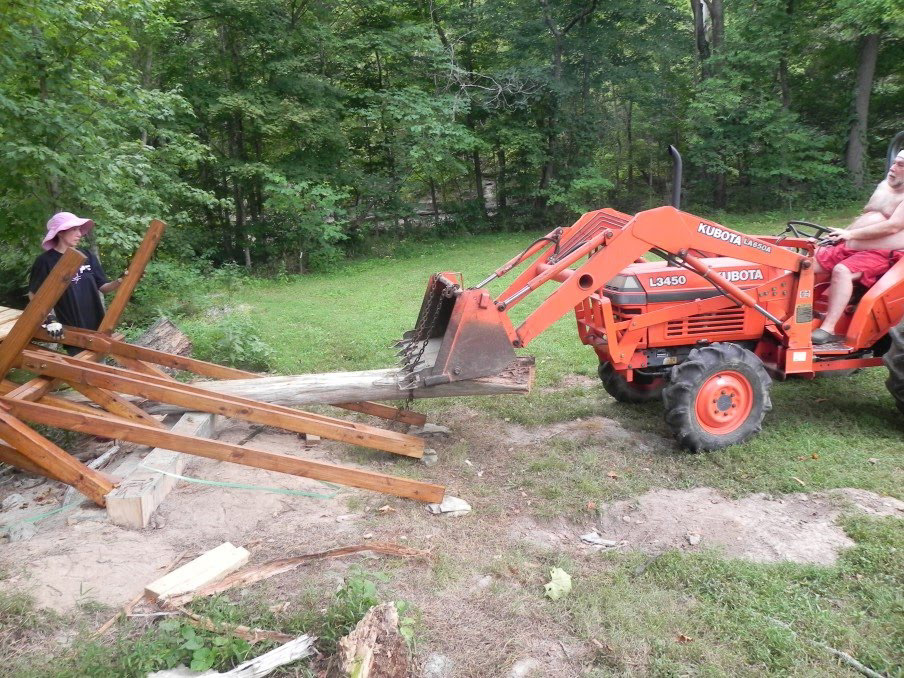
Time to remove the temporary bridge, a much more delicate operation then setting it up ! We can’t pull the good bridge out !
The cedar logs will end up a few years later to be recycled into beehives !
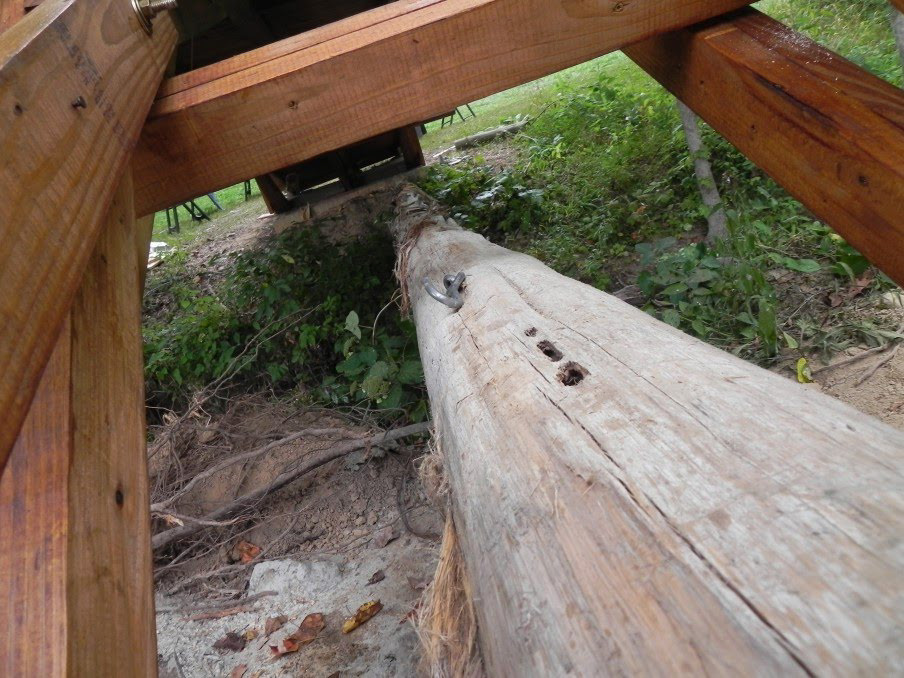
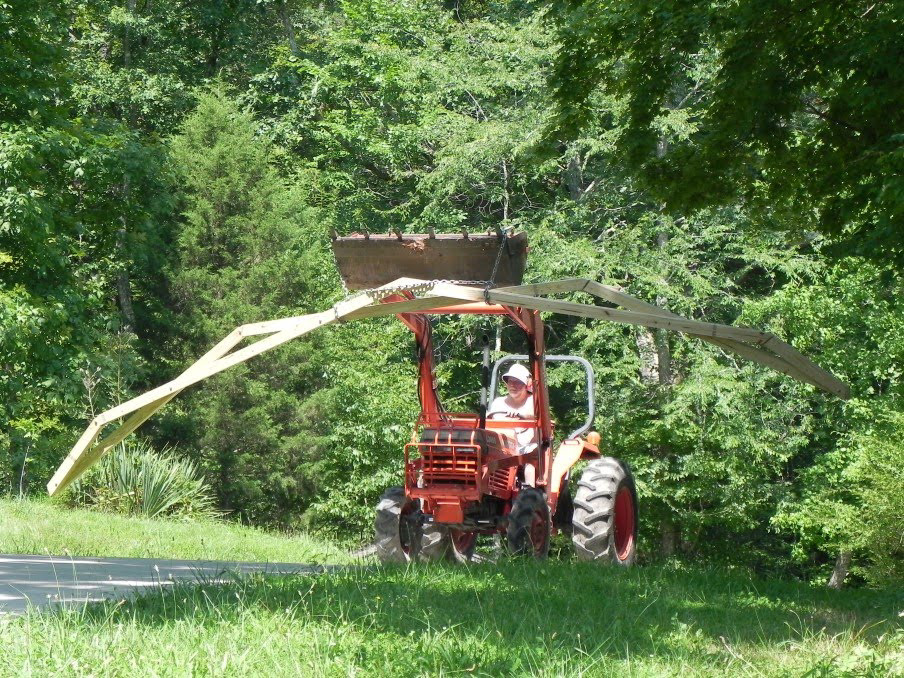
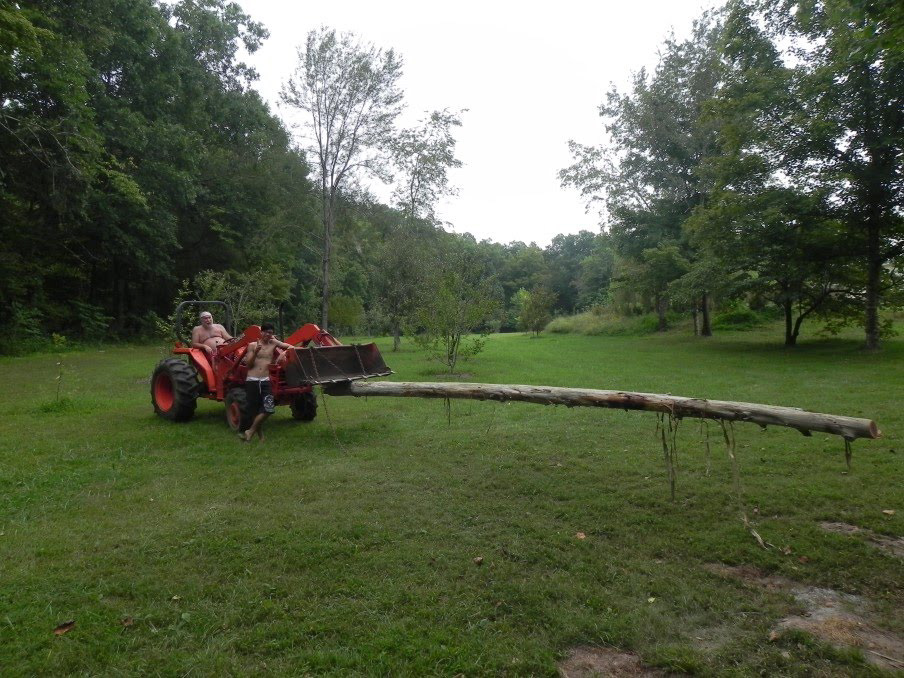
The cantilever trick again, but on such a long span, minute angling of the bucket cause big jumps of the end of the log.
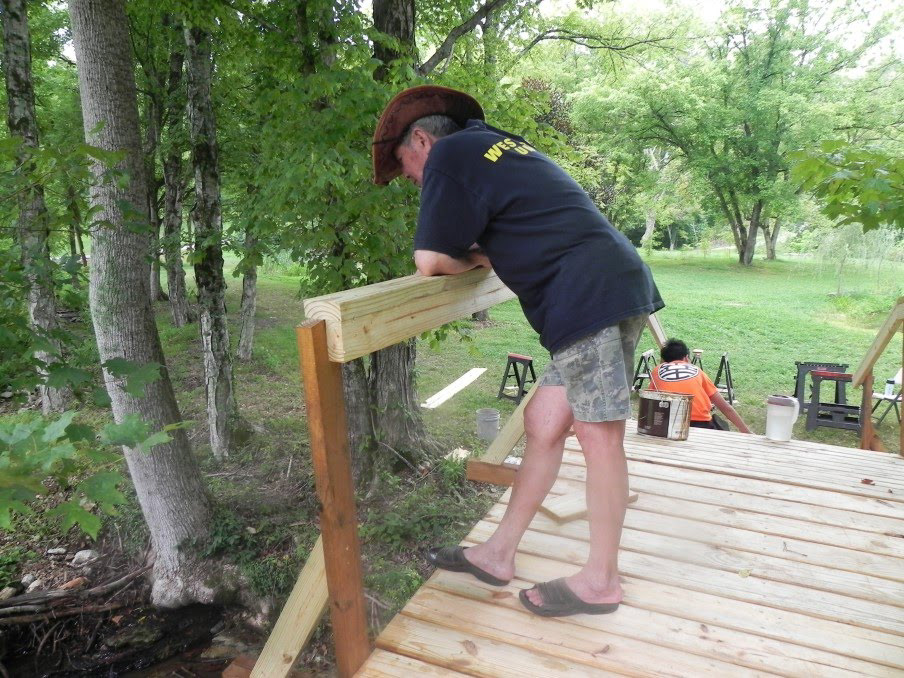
Finally, the hand rails:
More cutting:
More painting:
Bracing the handrails:
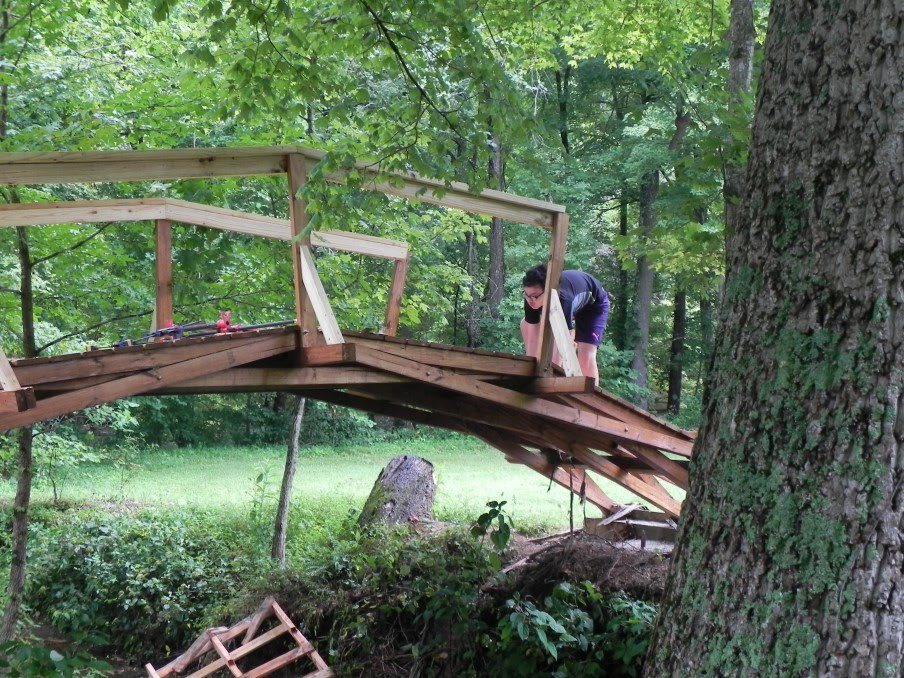
(by this stage don’t think about using the square ! it is just a prop for the photograph !)
Danh comes to inspect the sturdiness of the design.
Even more painting (5 gallons altogether) !
Planning then routing the handrail to protect little hands from evil wood spurs:
In honor of Keysi !
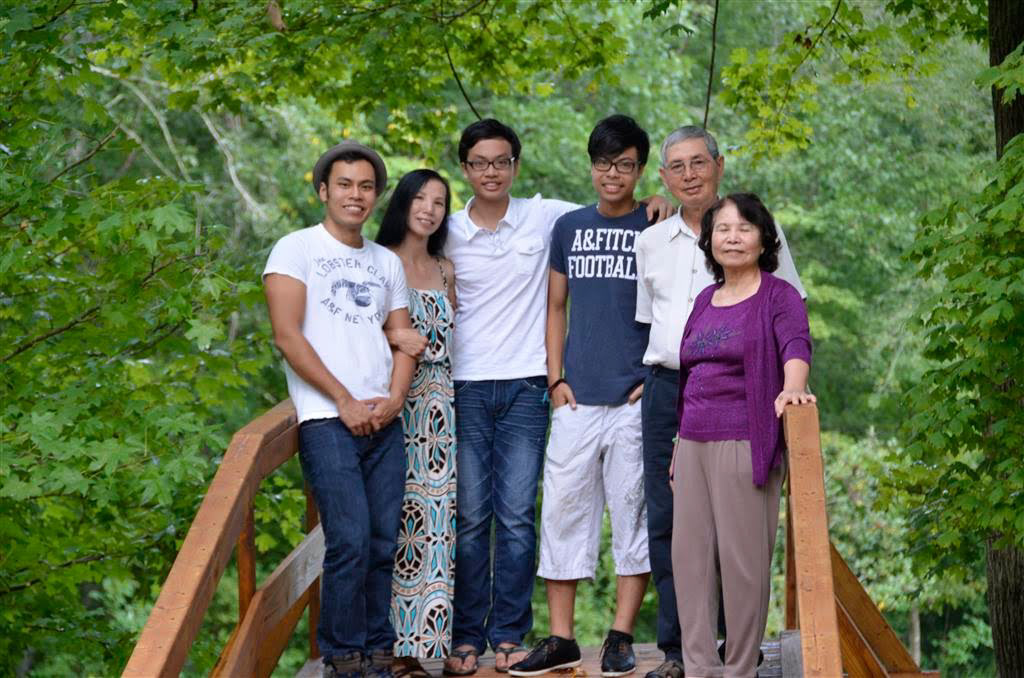
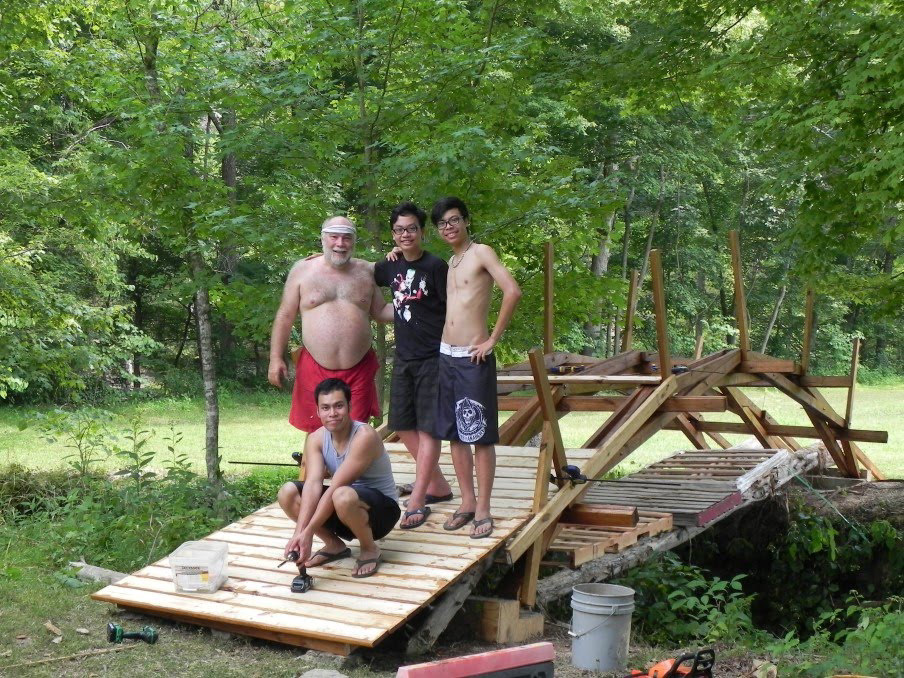
And finally after installing a guard rail… “The construction crew” after major clean up:

“Mattock-man” and “Saw-man” re-enacting their roles.
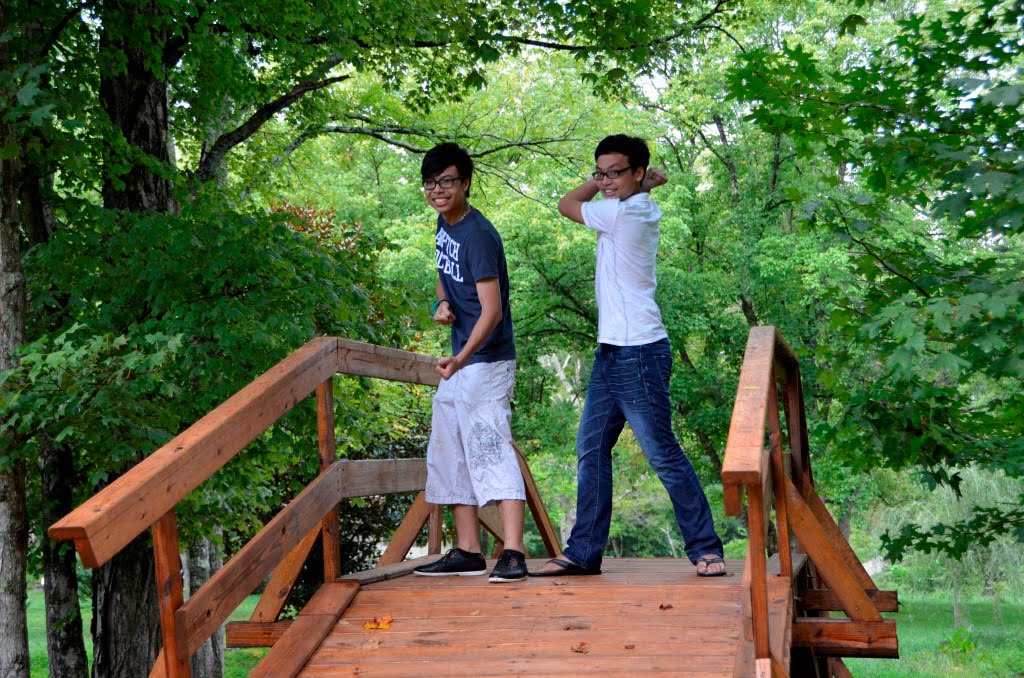
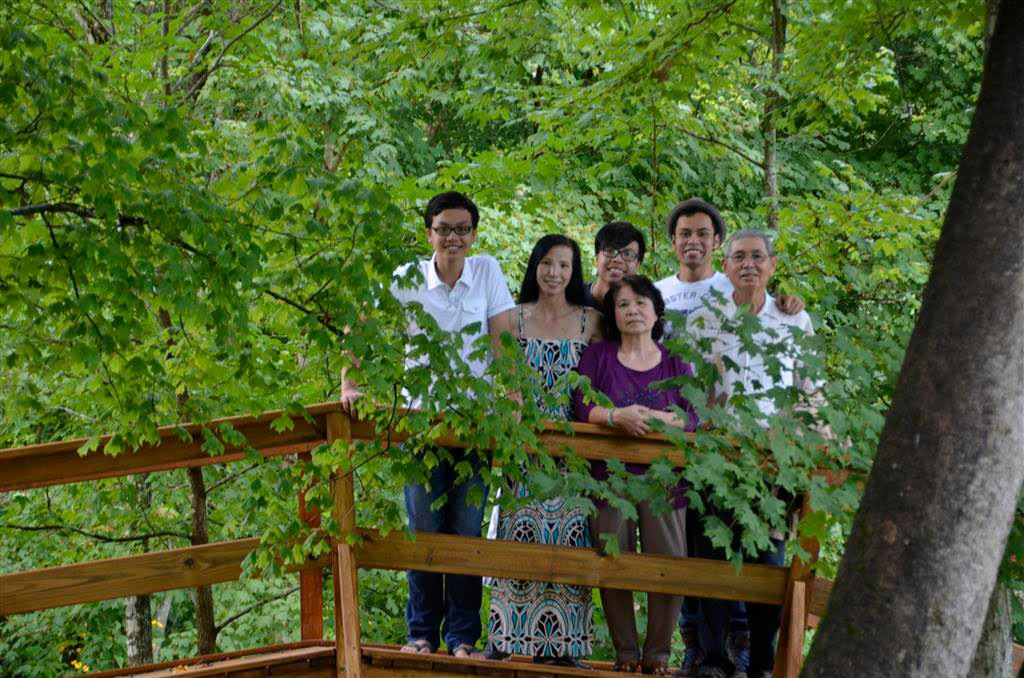
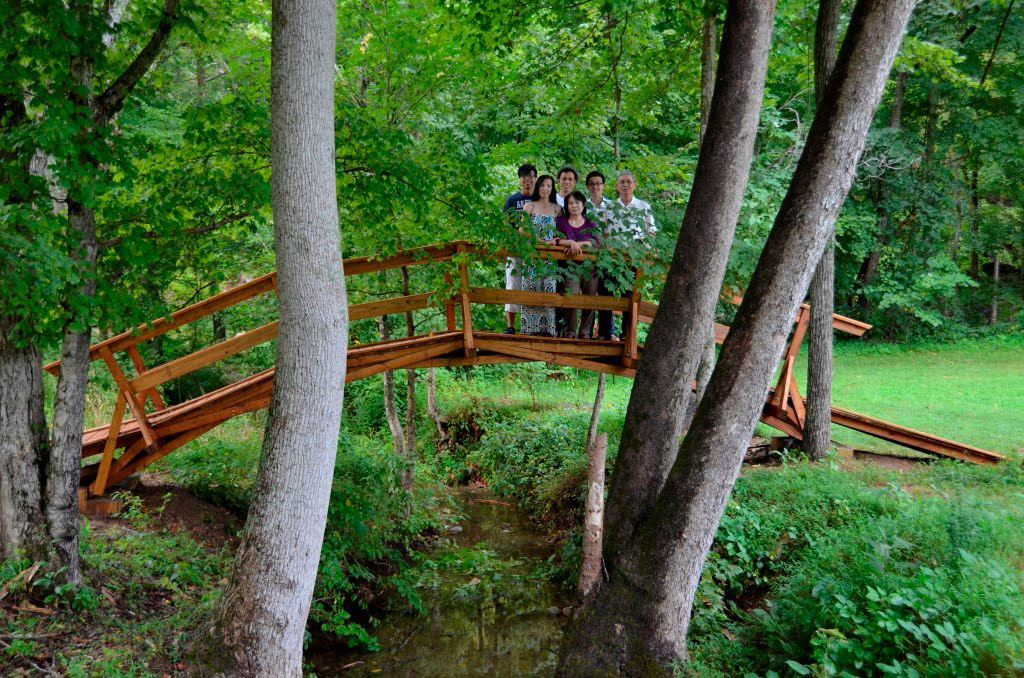
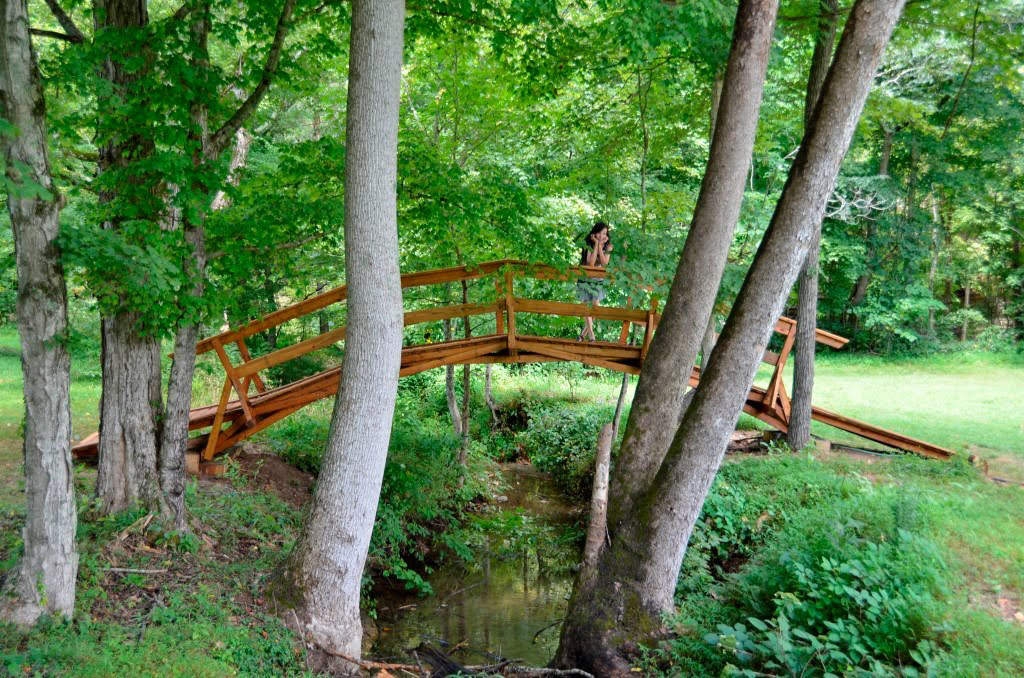
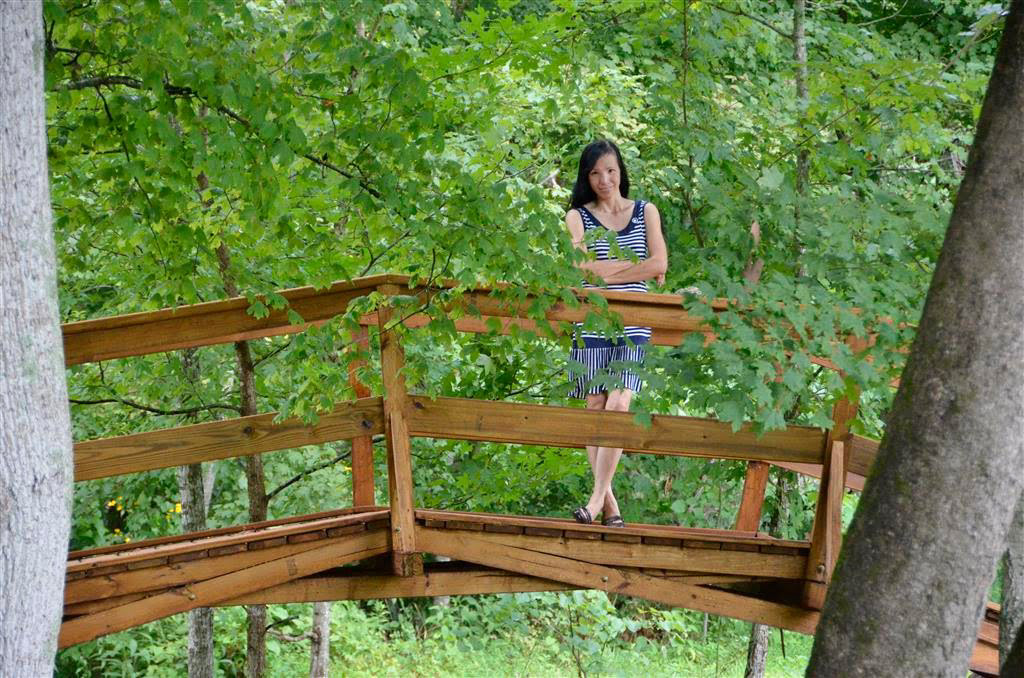
And the Vietnamese family enjoying a “bridge with a view”