While in Europe a friend of mine showed me her grand-daughter playing with a doll-house that had been passed on for several generations (Not sure if it was 3 or 5, but impressive whichever it was). I though this was too much of a "gender-specific" toy, but actually her grand-daughter was really doing some interesting playing and problem solving with it, so I though I should reconsider.
As a first step, I Googled what others had done for inspiration, and there was a massive number of doll houses to look at. Some were simple affairs with a few slabs of plywood and colorful paint, others were really scaled architectural models more then toys (one had each slat of the hardwood floor individually finished !!). Google one made with Popsicle sticks, really impressive! I was looking at a middle ground.
The next issue was to get plans. I do not like the fussy look of Victorian houses, I didn't want anything too plain either, so I was a little stuck. Then I though: "How about a simplified version of our house", that we designed 8 years ago in Sketchup.

To the original plans we had added a garage and entry room to the "right" of the above image. So the doll house model became:

The doll house was build with 5 mm plywood.
I also though the doll house needed a stand and, while at it, the stand should serve as a toy chest. So we spend about 10 days cutting and making all the parts. This is the stand:
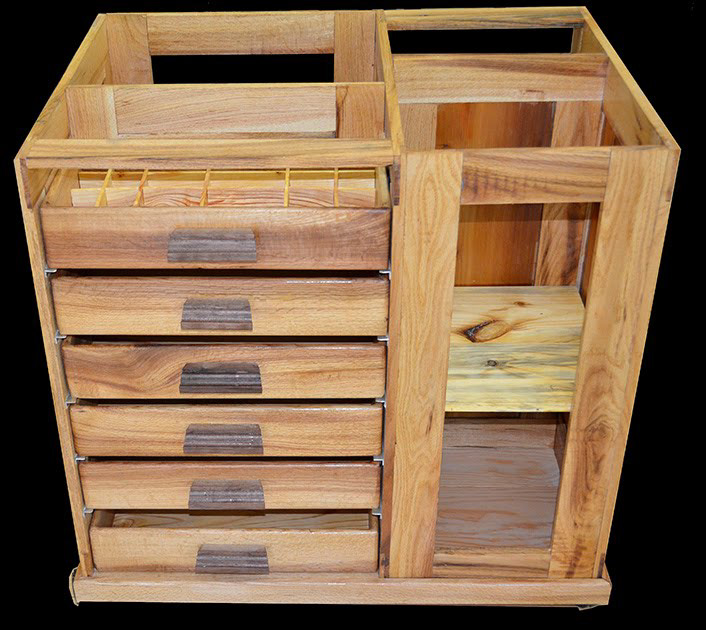
We divided the stand in 4 quadrants: two with drawers and two with just cubby storage. One side has wider drawers then the other. All the frames were made with an old oak that we had cut 8 months ago for Cerine. That oak had plenty of rot in it, so it was quite a task to find parts that were still sound. The floor is made with some pine left over from some construction project, that we recut to about 1/2" boards. We tried to make everything as thin as possible as the weight add up easily and we wanted the grand-kids to be able to maneuver the toy chest in place on their own.
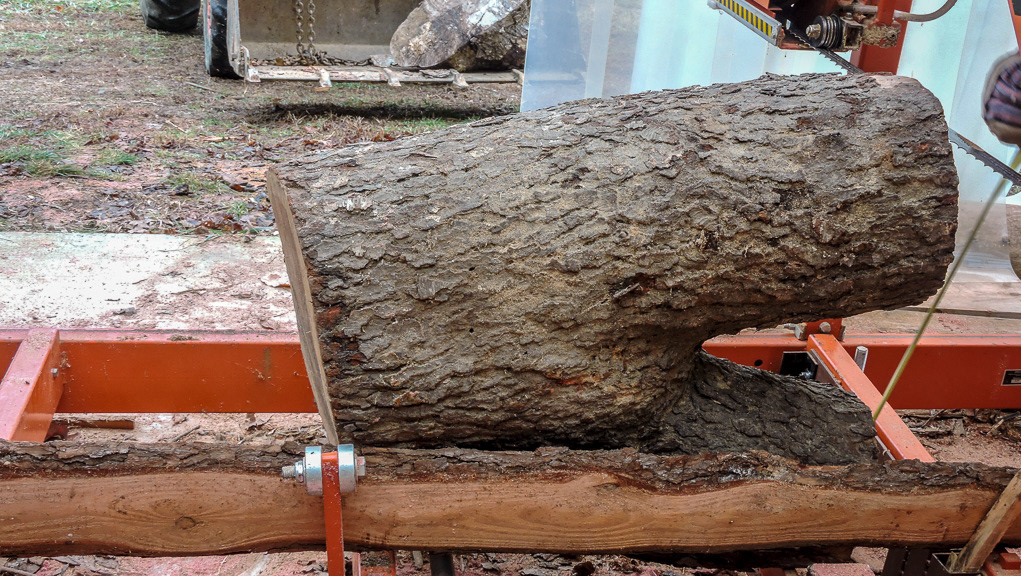
The shelf on the right is "short-leaf pine" which is very abundant here. It has interesting mineral inclusions that produce blue streaks in the pale wood.
The edges of the drawers are also oak, but for the bottoms I used thin boards of short leaf pine. I had cut that log originally to 1/2" thick. The sawmill forum says not to do so thin wood boards as it will curl as it dries. Well, I though , my pine will not curl !!.. Wrong !! it had waves about 3 " tall in it. The prospect did not look good! But I planned it to 1/4" and although still very curled it could be constrained to fit the bottom of the drawers (thus the reason for oak on the edges!).
The finger grips on the drawers is a stick of walnut shaped on the new table router, a tool that inspire a great amount of fear in me!
This is the side view:
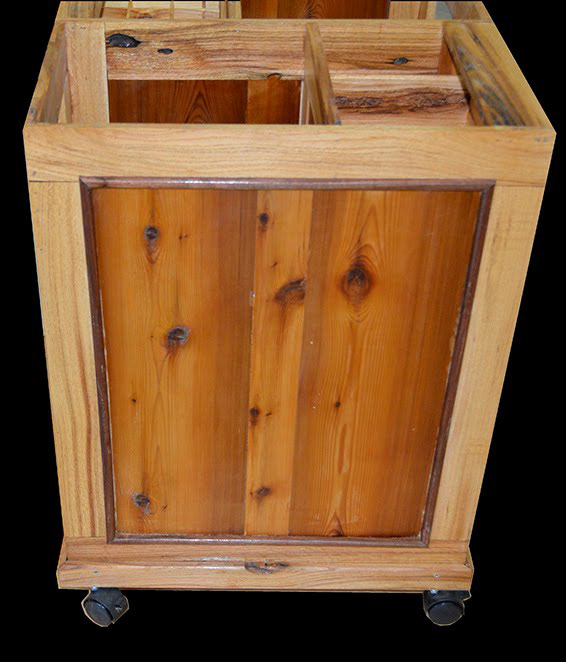
The panel is made of "western cedar", another construction scrap I had received. It was a big post that I cut in 1/2" thin slice to have enough from that single piece of wood for all dividers. It smelled good when cut and although the natural color was not very interesting, it improved after finishing. I also made tiny moldings of walnut to hold the panel in the oak frame. The panel is not glued to the frame, because as "Don" keeps repeating in his wood working videos "wood move and if you glue it, it will self destroy" (Woodsmith.com).
I also found some locking wheels left over from who knows what project, and they are just perfect for this: not too visible, easy to lock/unlock, and pretty cheap :)
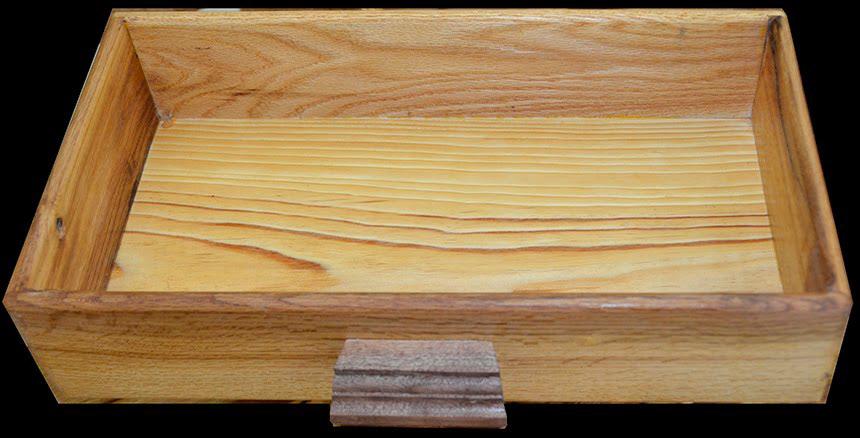
This is one of the 12 drawers
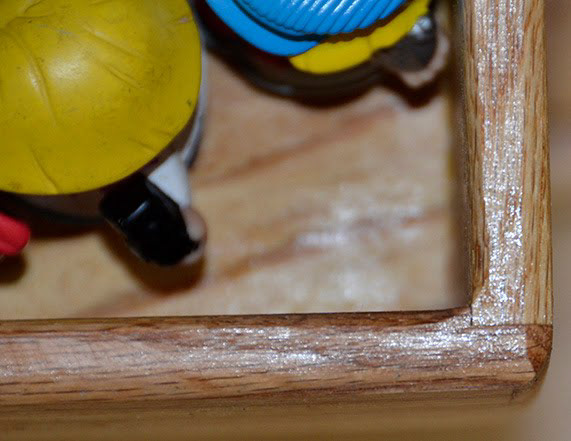
The corners are made straight, with a tiny rabbet, so that when the sides were glued, they would align perfectly square:
This is the doll-house on the toy chest:

The doll house is on a separate support that "clips" on top of the toy chest with 2 cleats, so that the house can either be used on the toy-chest for older kids or moved on the ground. The support is about 1/2" thick pine with a thin strip of oak to surround it (and prevent the house from sliding off!)
One of the guy who build a doll house for his daughter had a very funny comment that: "his daughter loved it, and her sister was chewing on it" :)
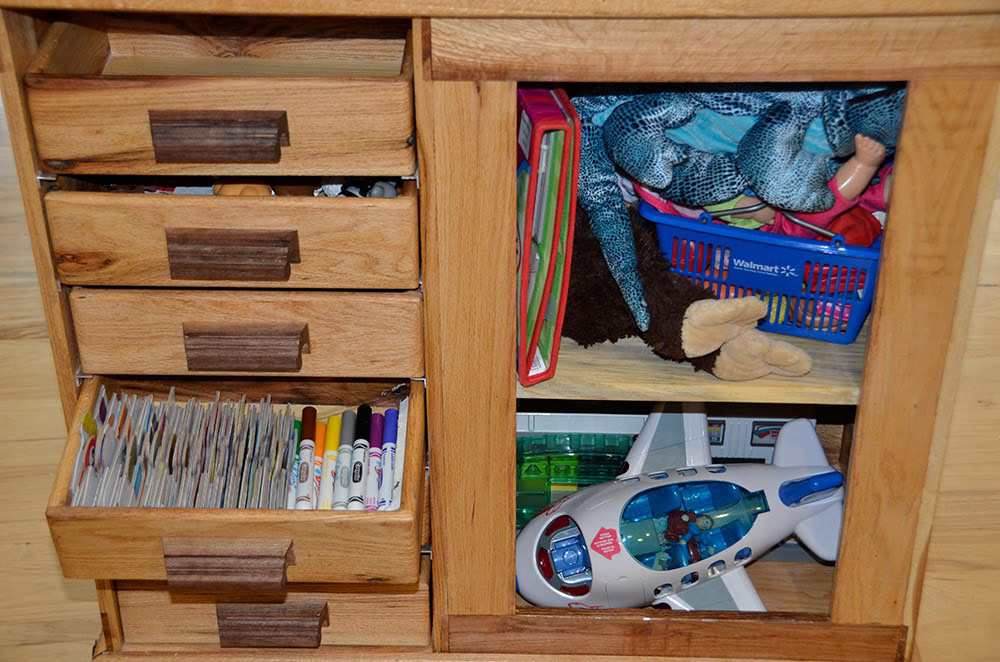
The drawers are not attached, they can be removed so that their content can be used around and serve as organizing boxes. They simply slide on little "L" shaped aluminum rails we made with some "U" channel that we cut in two.
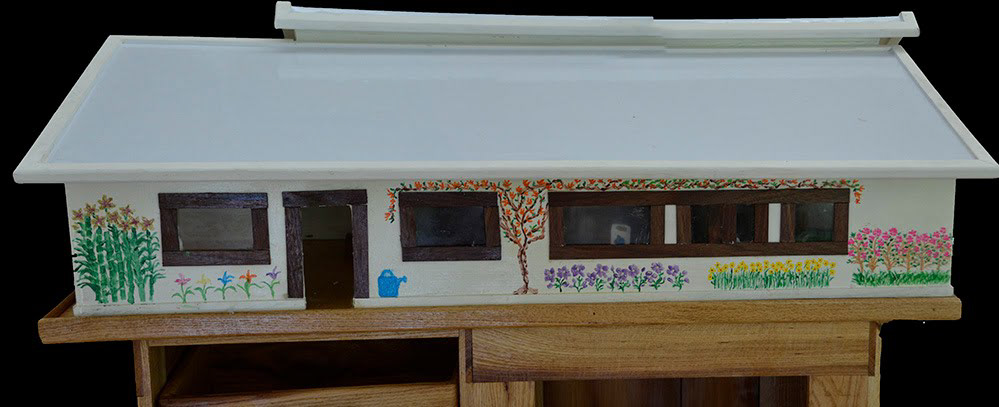
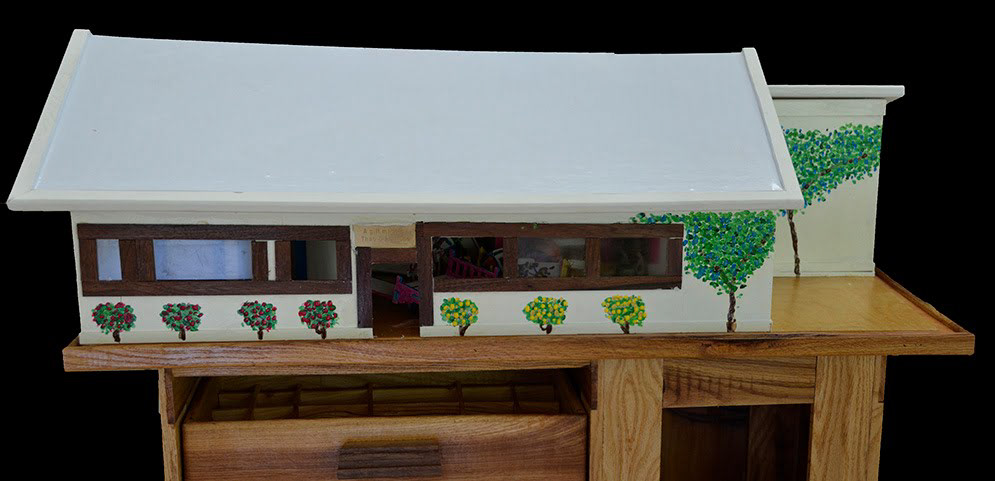
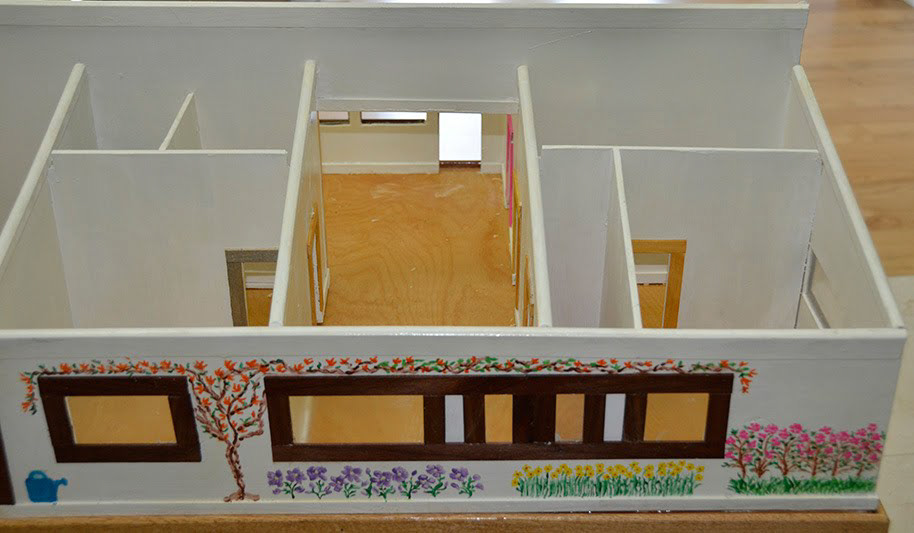
This is the "south" side of the house:

We transformed the big roof into a "dry erase" panel so they can draw on it (and hopefully JUST on it) with special markers. Thao spend a great amount of time cutting all the windows and window frames to be just right ! We also made some U shaped moldings so that the edges of the plywood are covered and the kids don't risk getting splinters.
Then Thao painted the south and east sides of the house. We found some neat assortments of paints at Walmart with many colors: a fun project and Thao had undiscovered talents !
This is the east side, even with the small laundry room window:

The north side:
I tried to make "rose bushes" but they look more like little apple trees :(
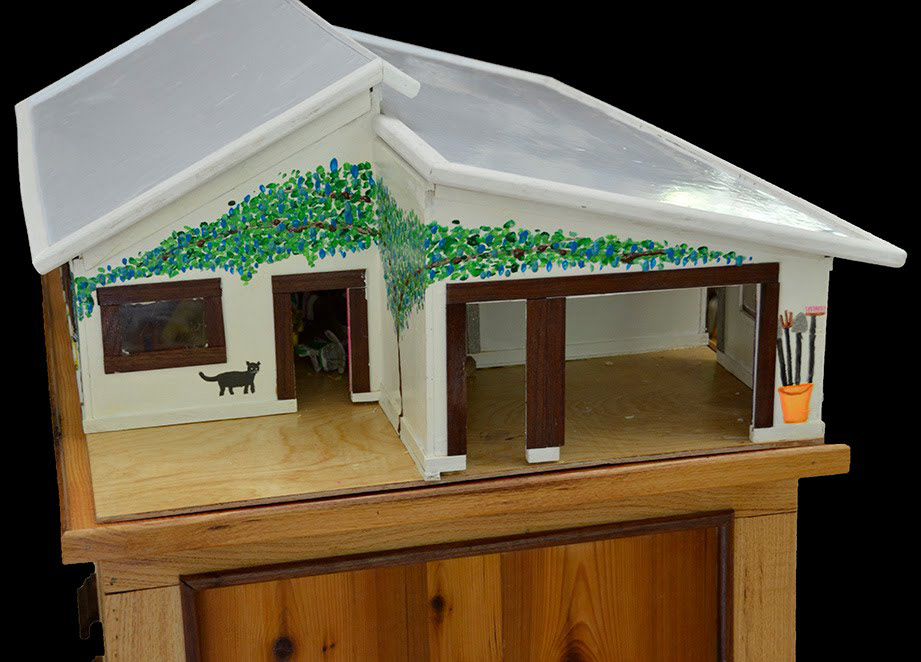
Finally the east side (Thao added the garden tools that constantly need be returned to the shed, and even one of the cat !):
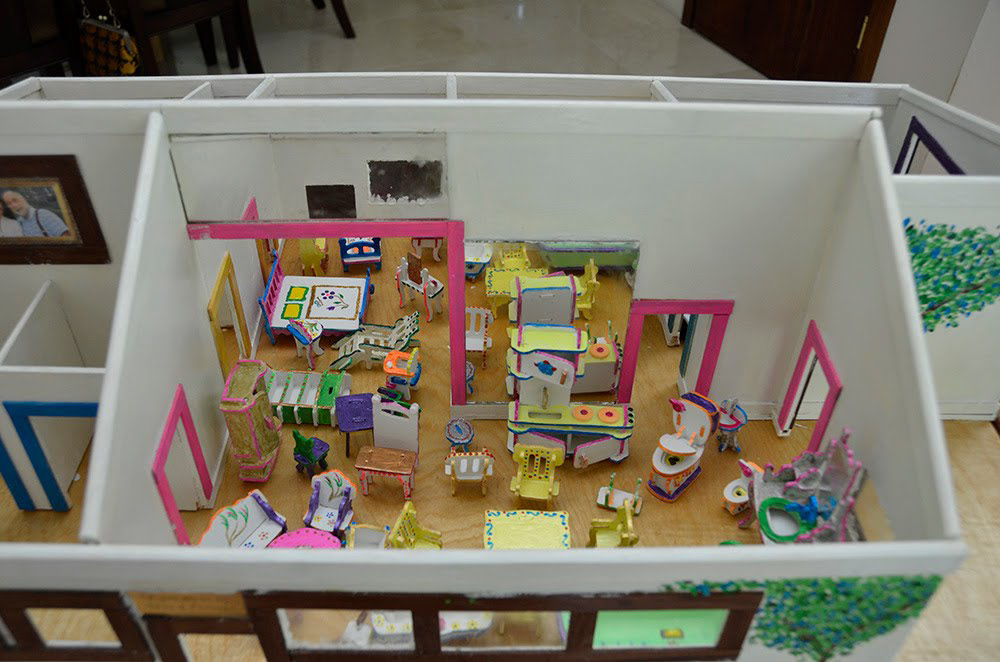
Here are views of the inside of the house; we even put a "portrait-of-the-ancestors" !
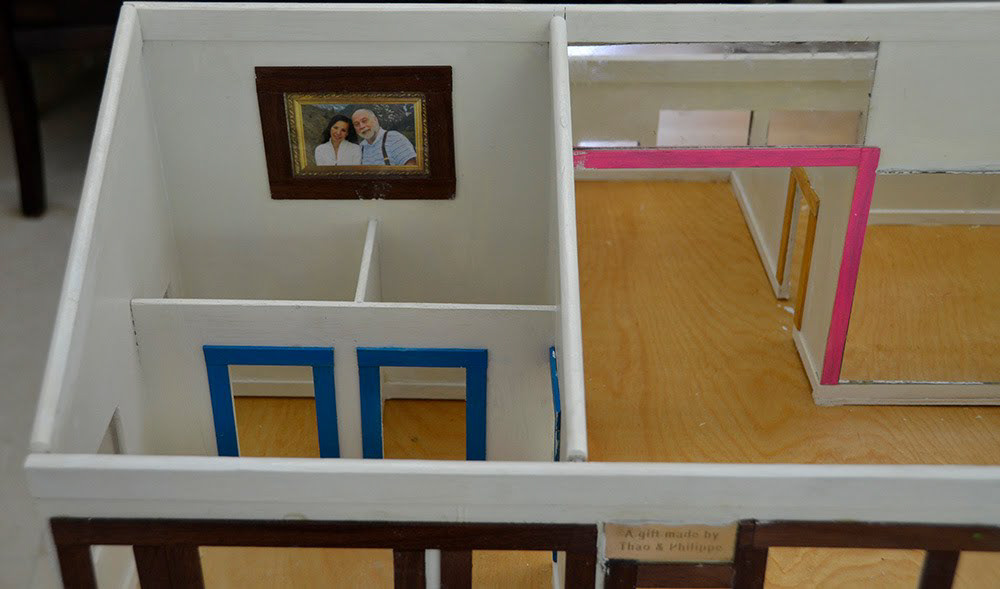
...and of course some mirrors (hey this will be a toy for girls :). I was concerned about possible breakage of the mirror but they are glued so strongly they should survive a long time !
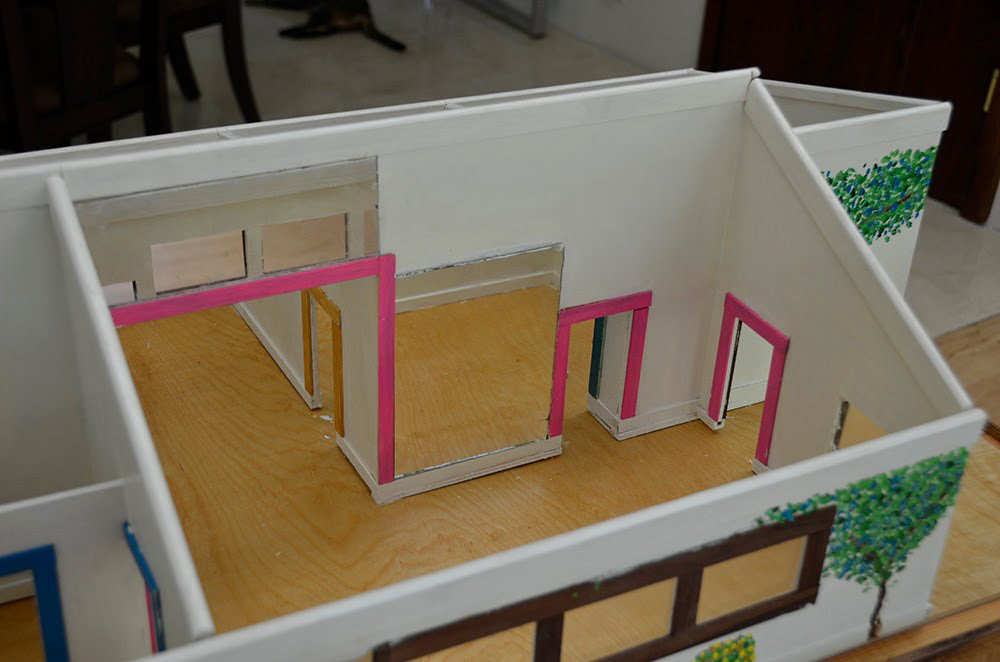
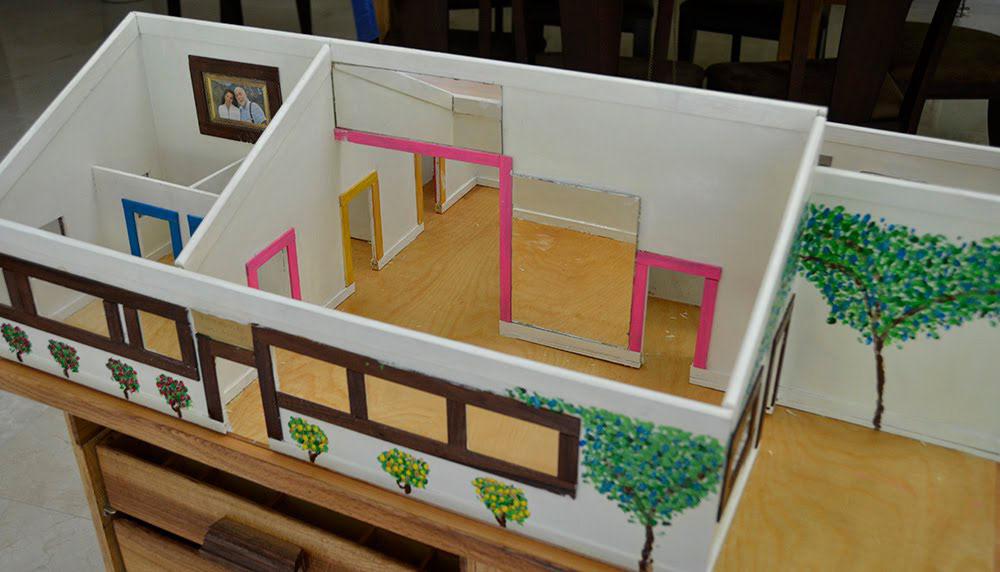

Views from the south side of the house:

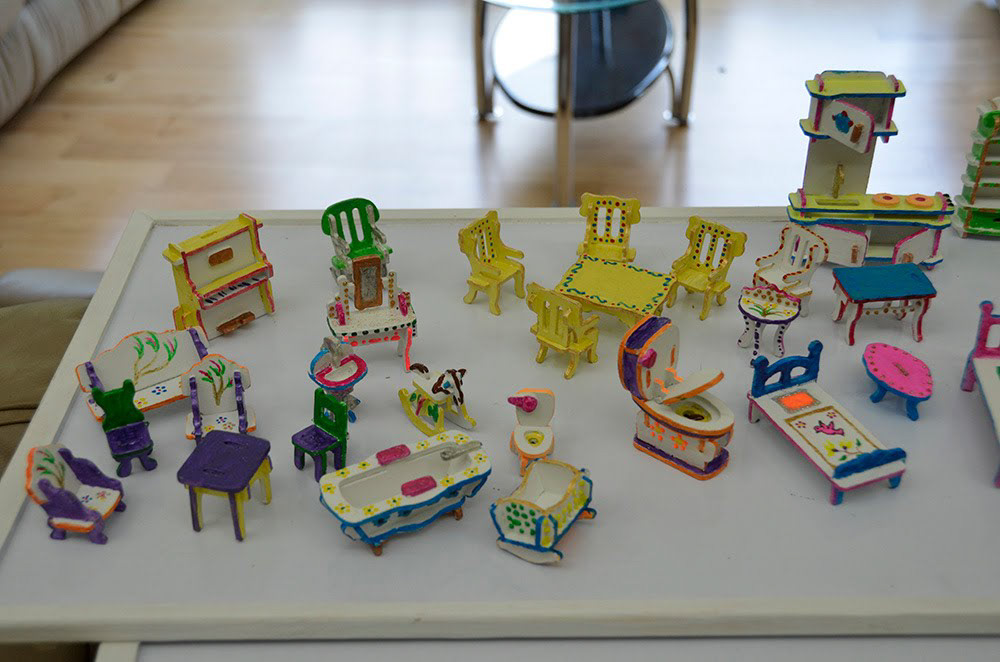
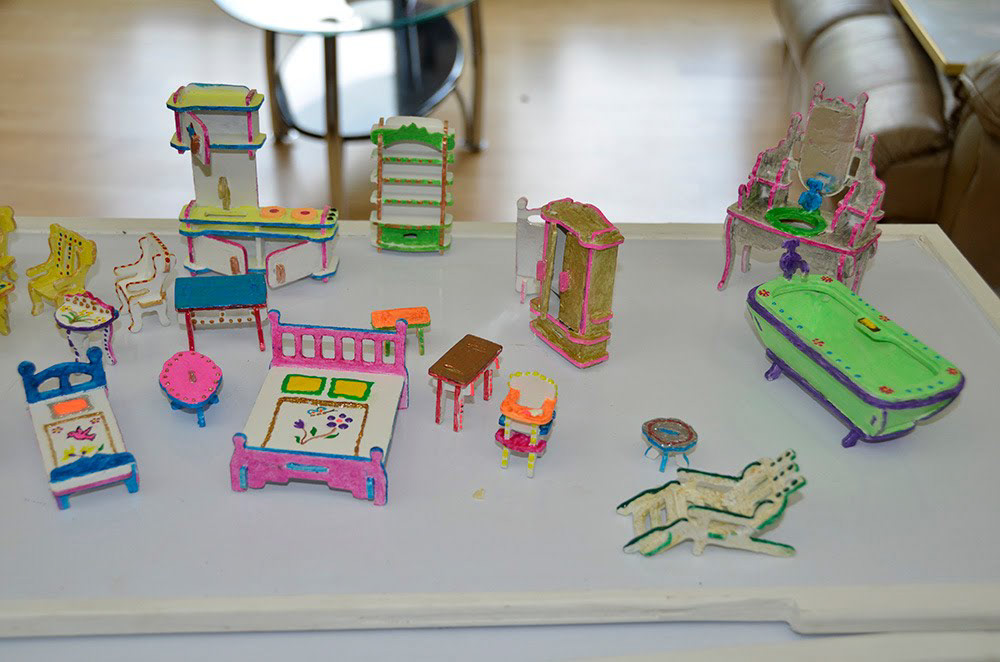
We got a set of "doll house furniture" from Amazon, which was fun to assemble. Thao spend hours painting each with great care, and made each into a tiny work of art!

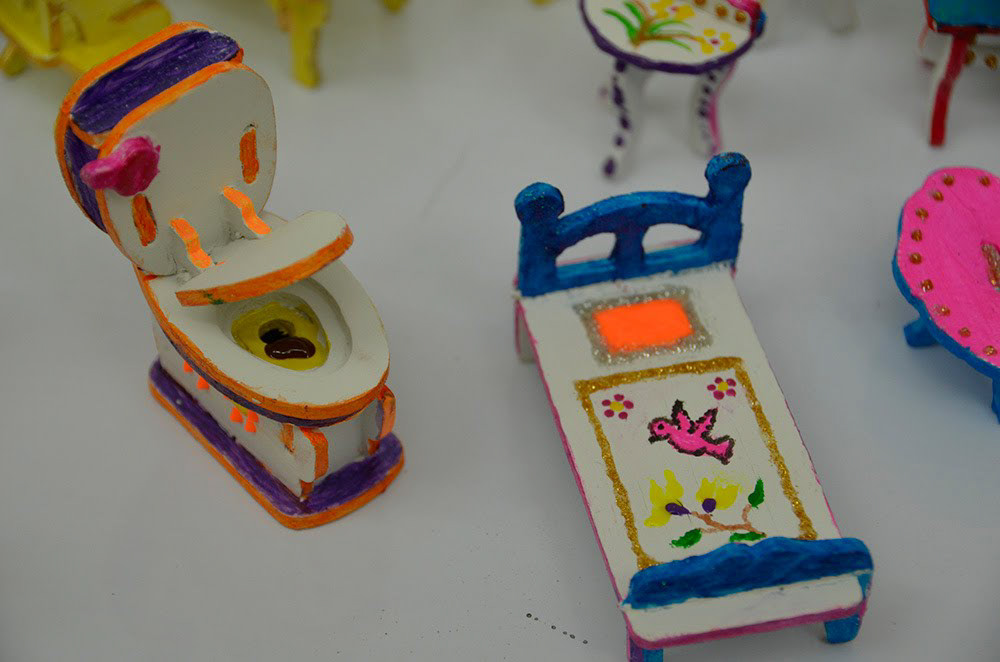
Note the toilet's "content" a detail that kids will appreciate !
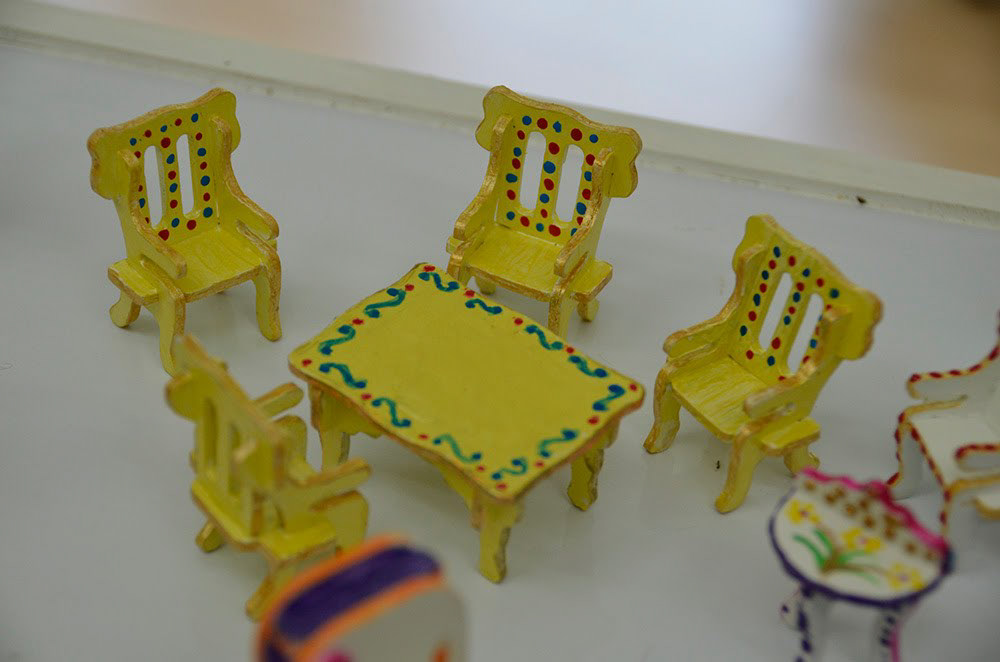

Some of the furniture in the house:
The "vehicles" in the garage!

And toys organized in the chest ! These are little "peg people" waiting for the creative hand of Thao.
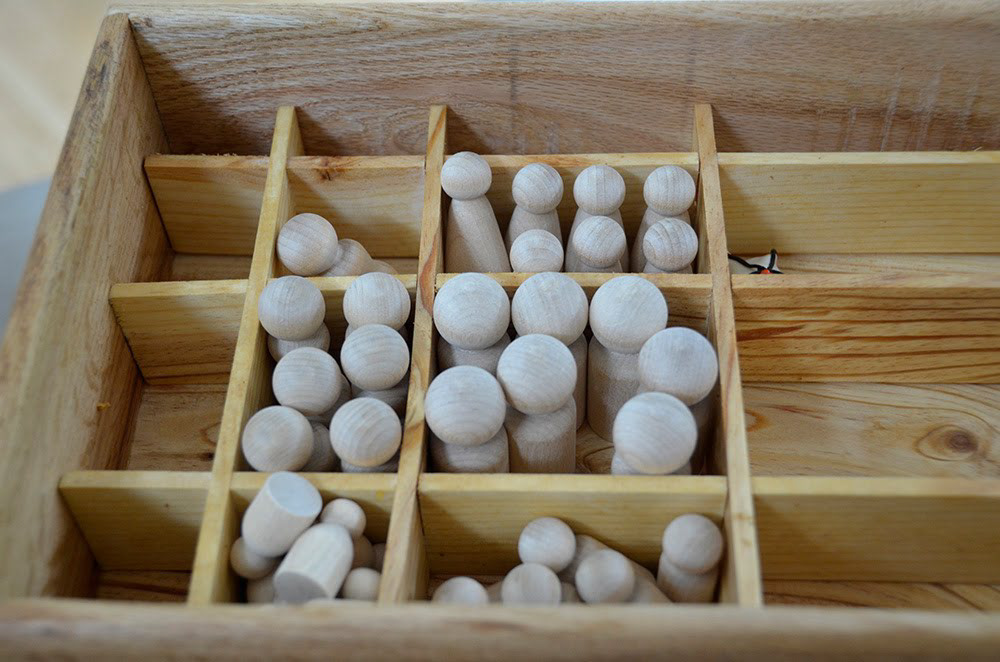
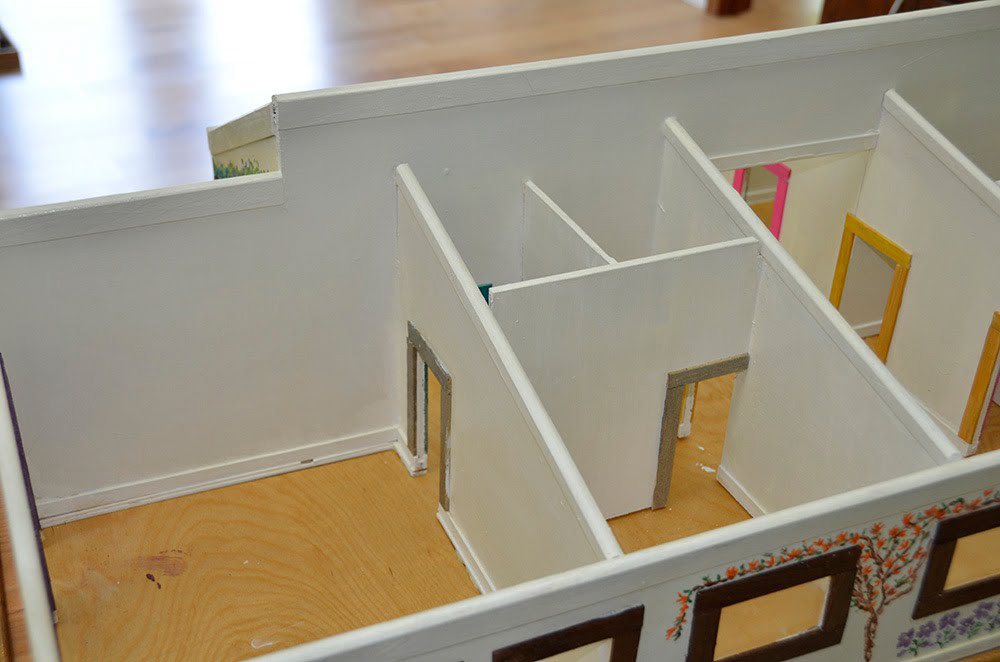
The cubbies: