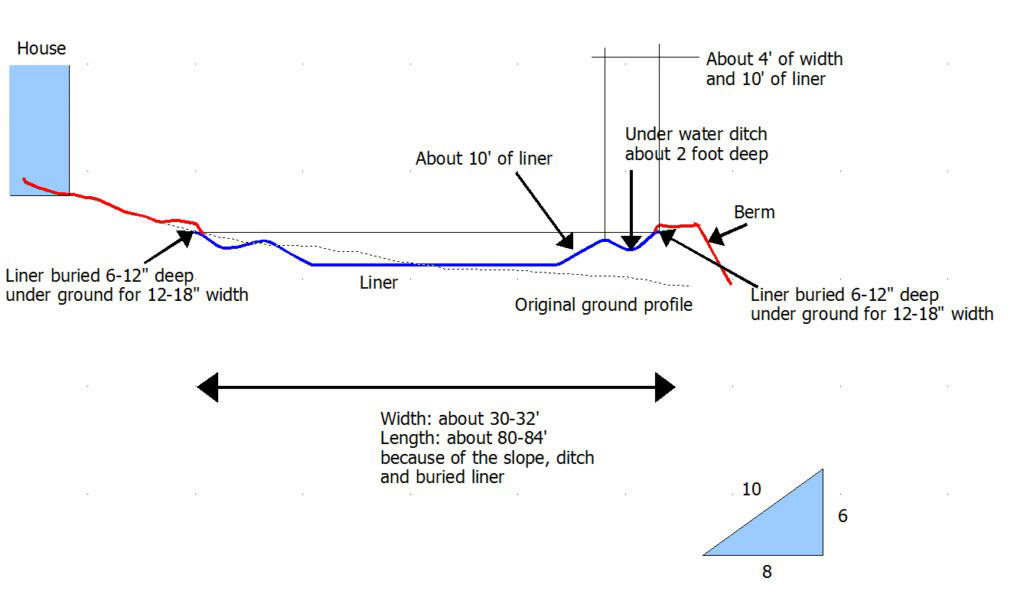
The "First" pond we have is lined with a large rubber sheet to keep it water proof. The pond is very close to the creek bed (maybe 6’ above) and with all the limestone around we know there were too many cracks that the pond could not be water tight without a liner.
In order to be able to grow plants on the edge of the pond, the cross-section has an underwater ditch (the “plant ditch”) so that dirt could stay and we could plant lotuses etc:
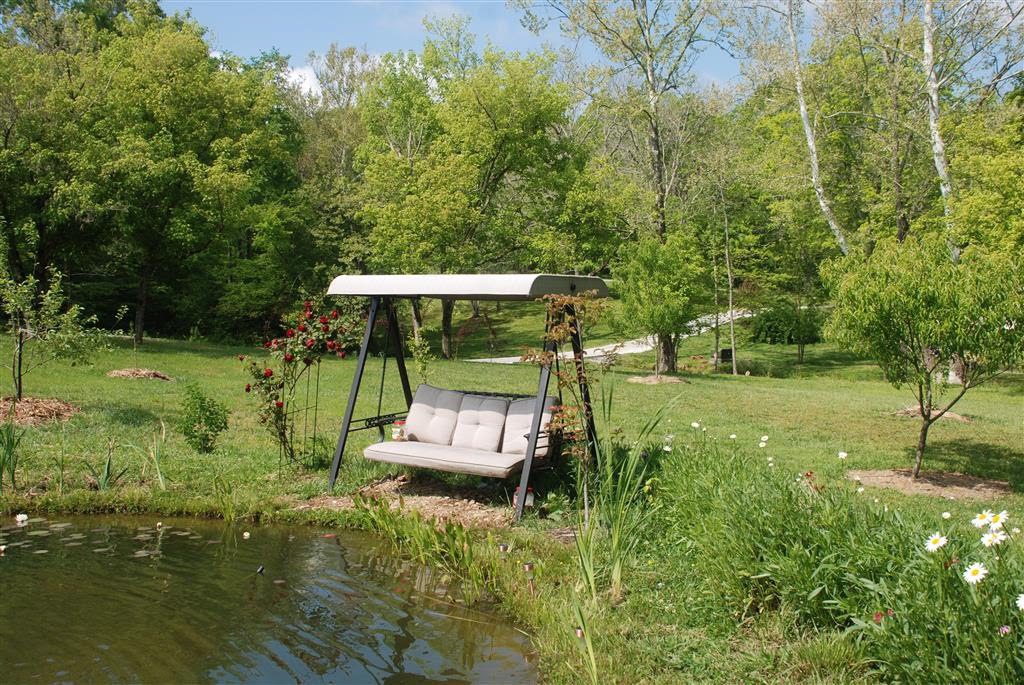
The problem is that over time, in the area where we walk the most, next to the chair, the dirt was slipping more and more into the water, with no good way to rebuild this up.
So we though about putting some concrete there, but concrete on a rubber slope did not look very promising.
After completing the bridge, we though of building a small pier, so that we would no longer have to walk on that soft spot.
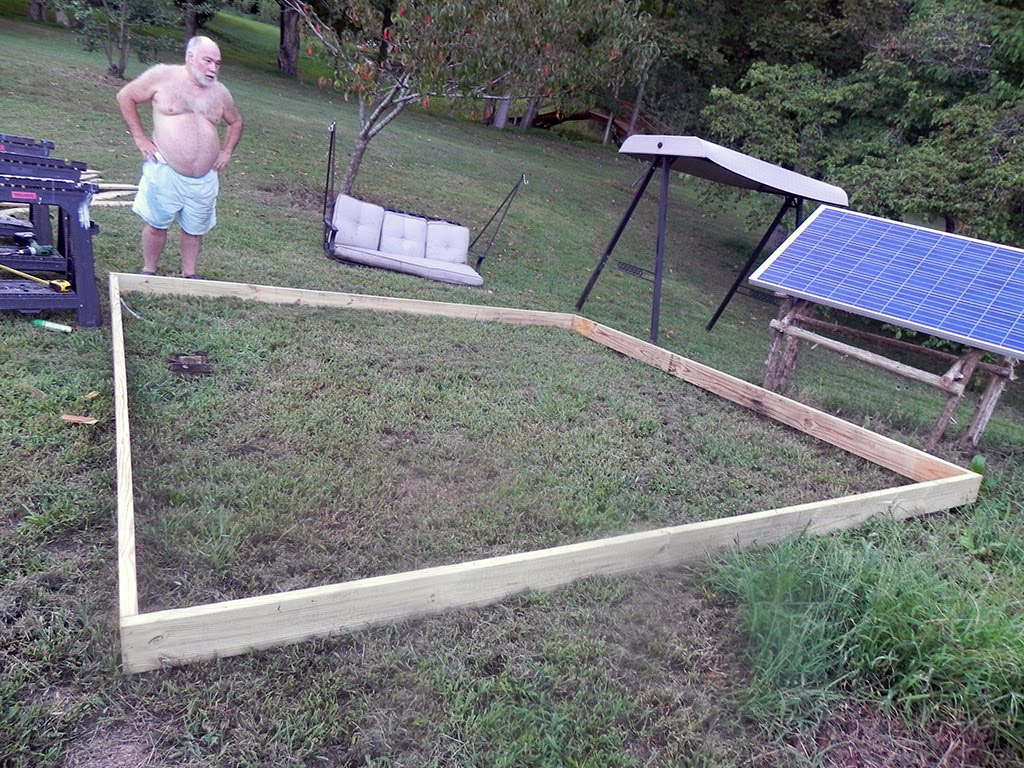
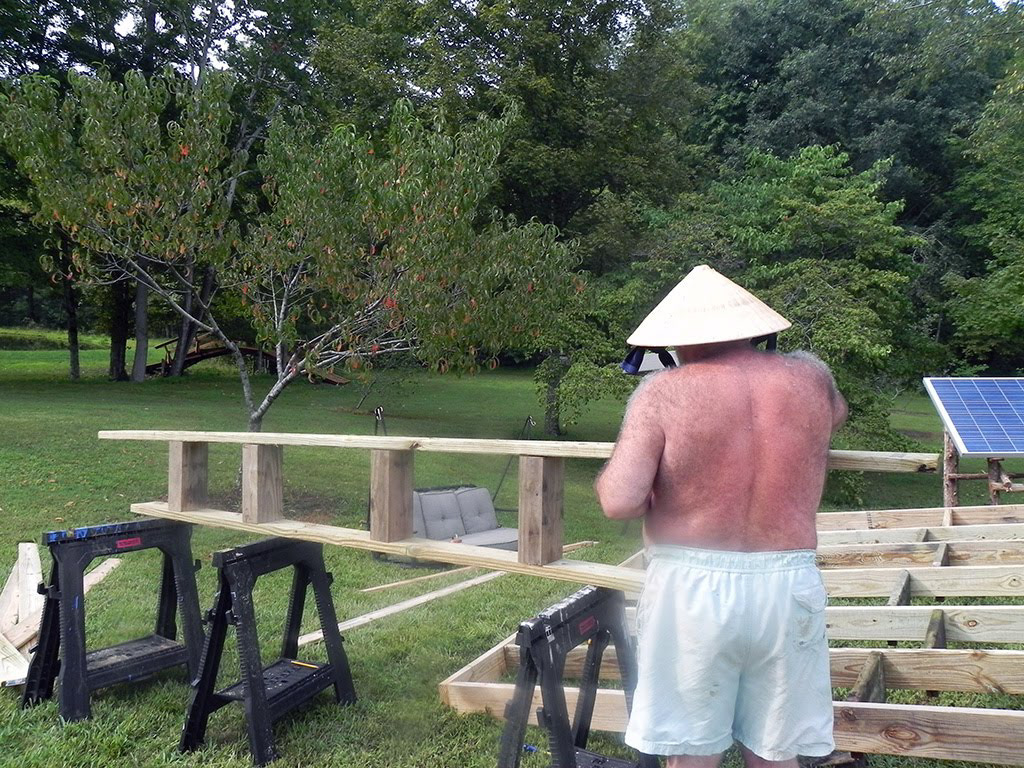
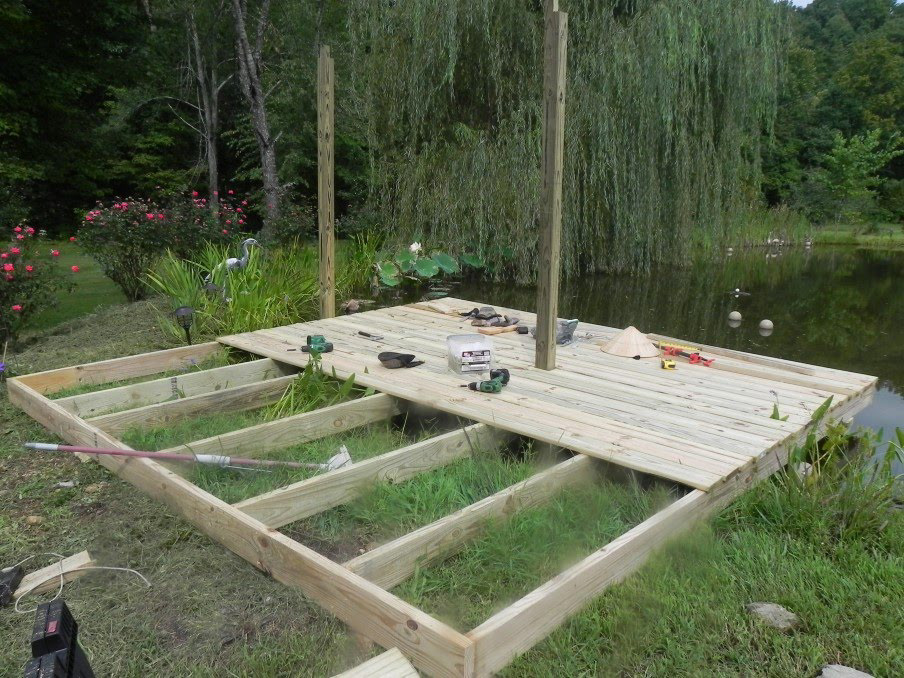
To simplify the project we decided to use a 12 by 12 foot pier so that we would not have too many cuts to do. First we prepared the 2 rim joist:

And the 2 external joists:
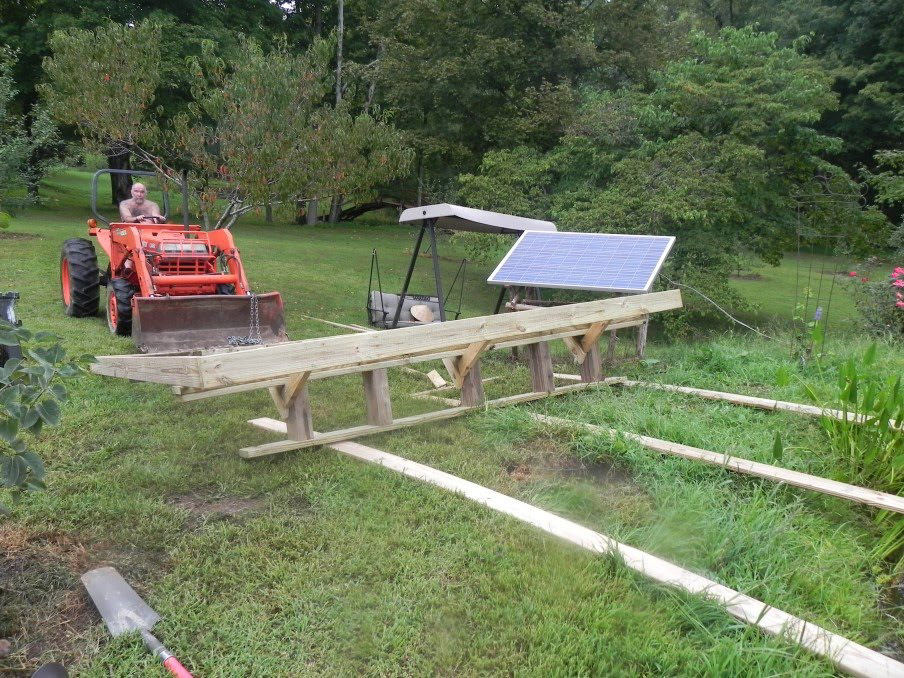
The next debate was whether to build over solid ground (not flat) or directly over water. Each of those pressure treated 2 by 6 by 12 weight a ton as they are soggy wet. So carrying the whole assembled deck over water would be very difficult. On the other hand, building over water, would mean, all the tools, in particular the drills, in danger as the bottom of the pond is more slippery then water on ice.
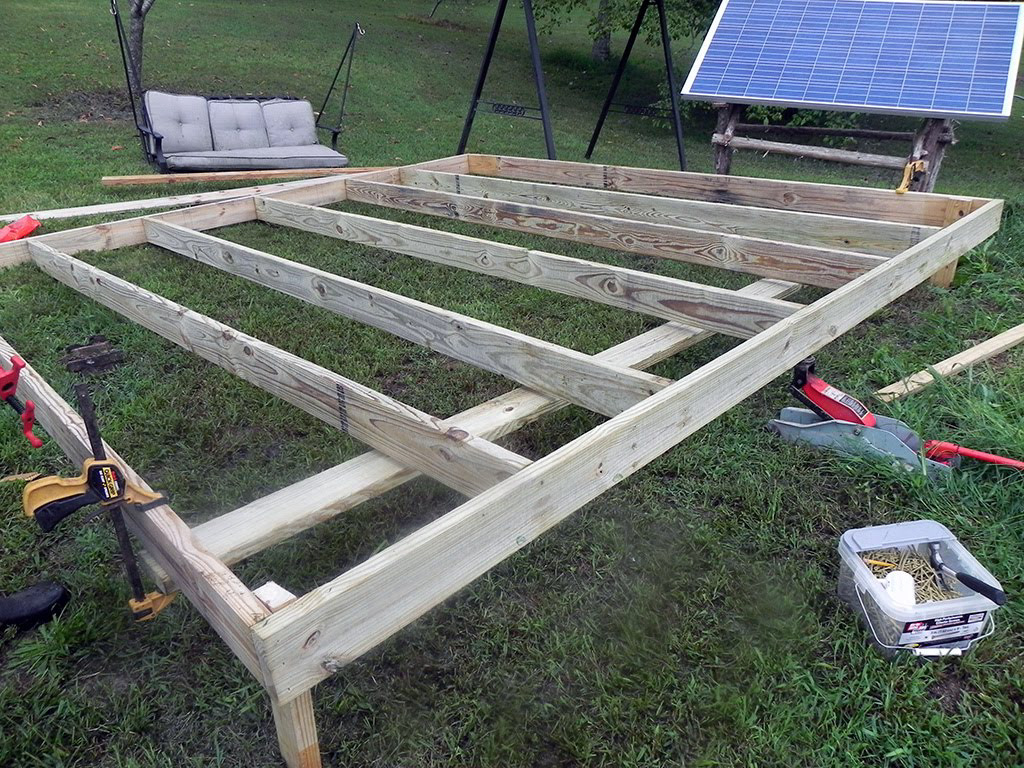
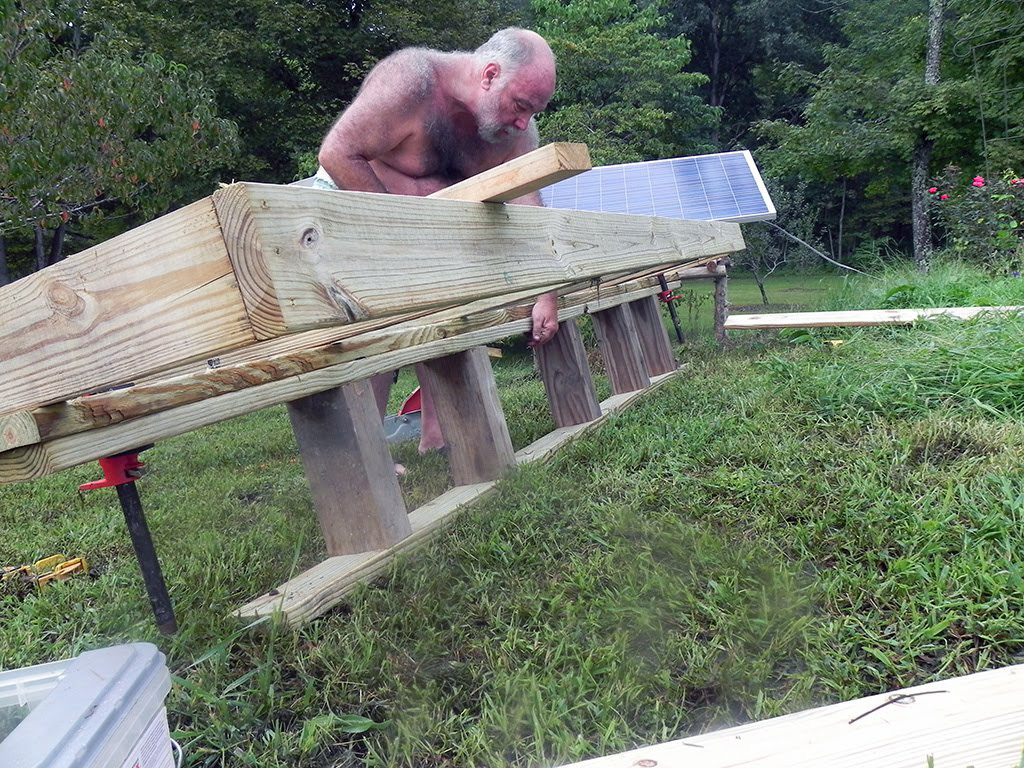
Ultimately we decide to build on land, and defer the solution of the transport to later. So the next step was to place all the joists:
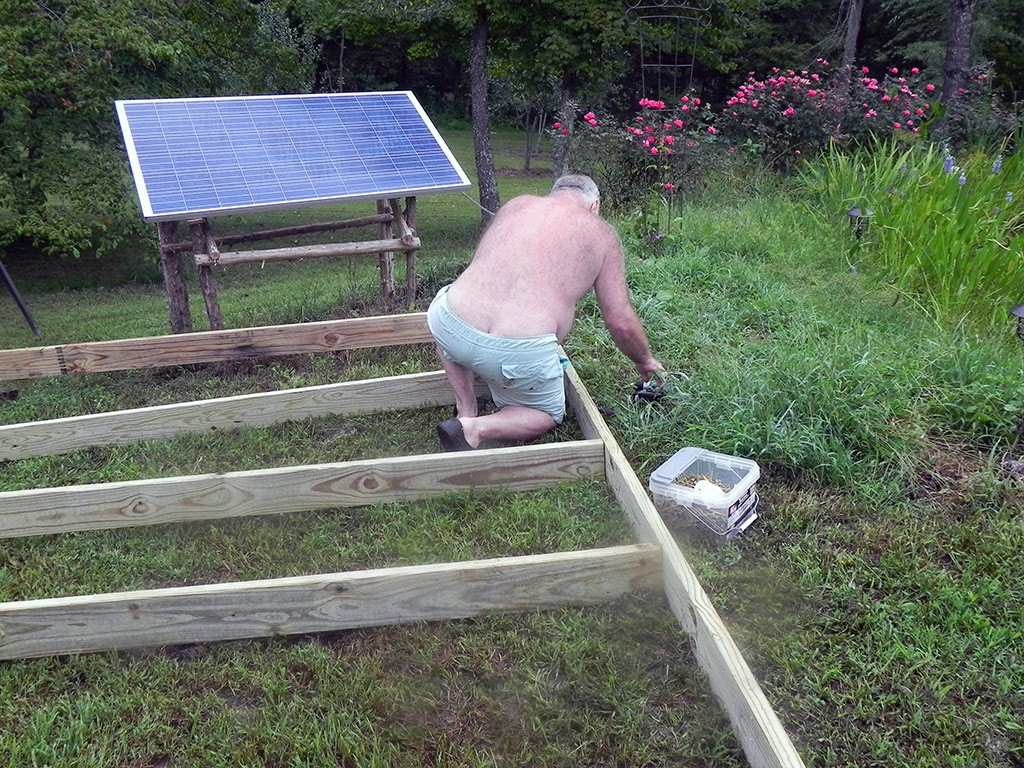
Then we lifted the whole skeleton of the pier with the car jack and attached a 2 by 6 by 12 underneath, to function as an anchor for the future legs. We also attached temporary legs in the corner, as that car jack felt very wobbly.
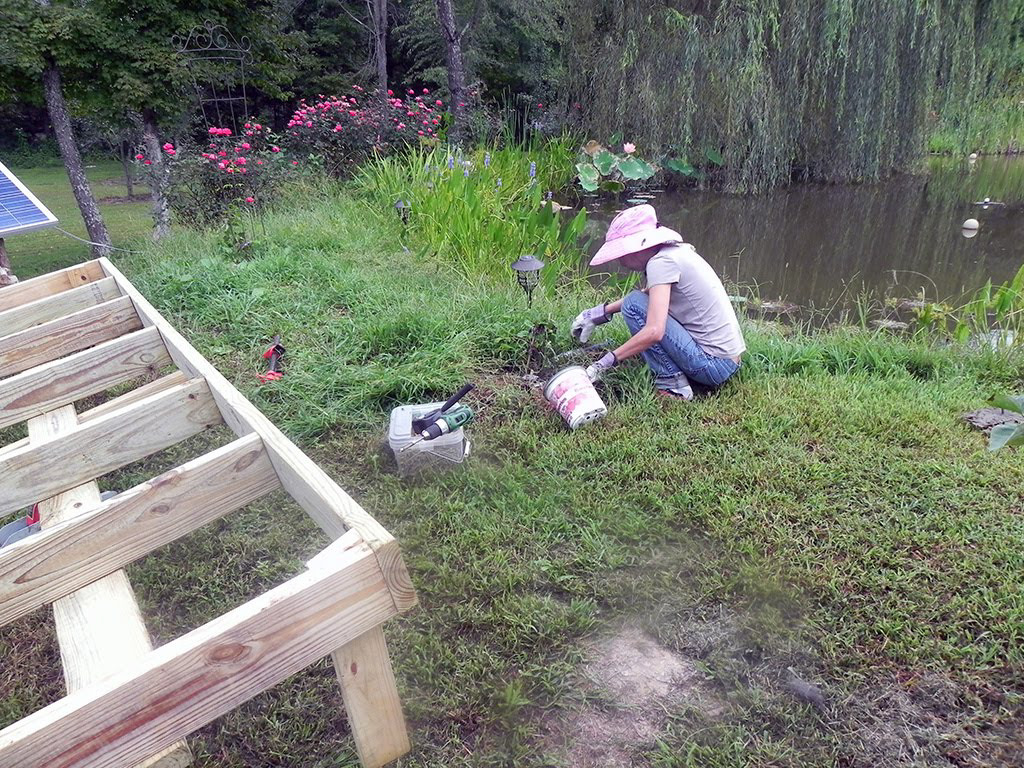
In the mean time Thao is rescuing the clematis:
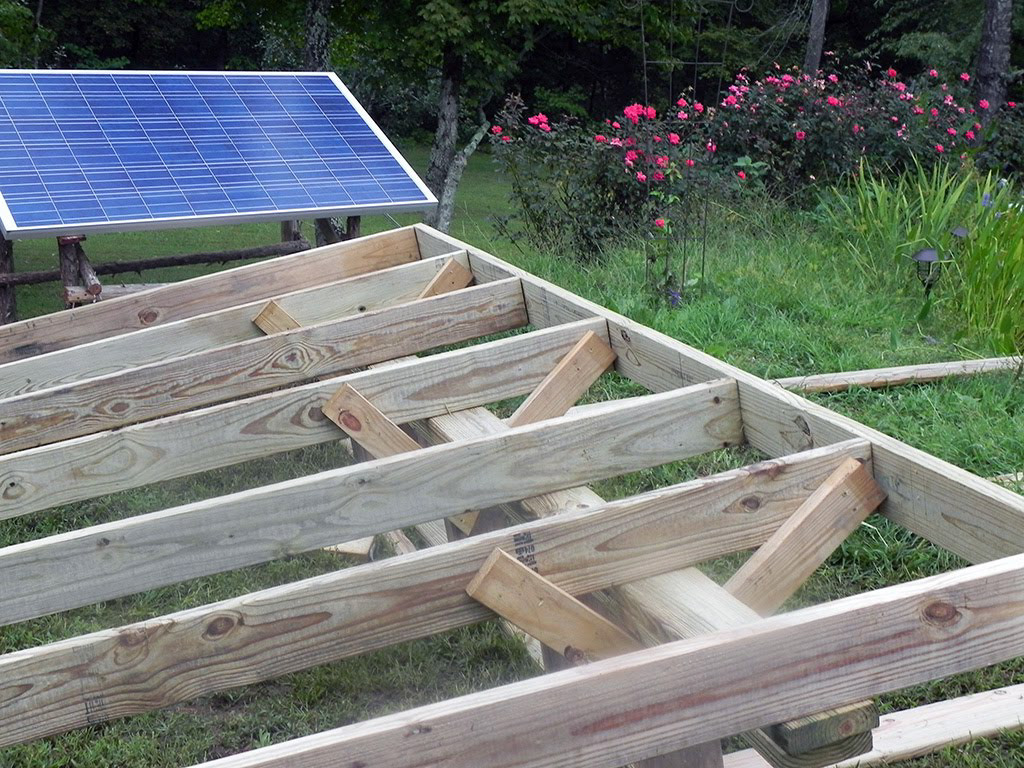
We then put some solid blocking to prevent the joist from moving
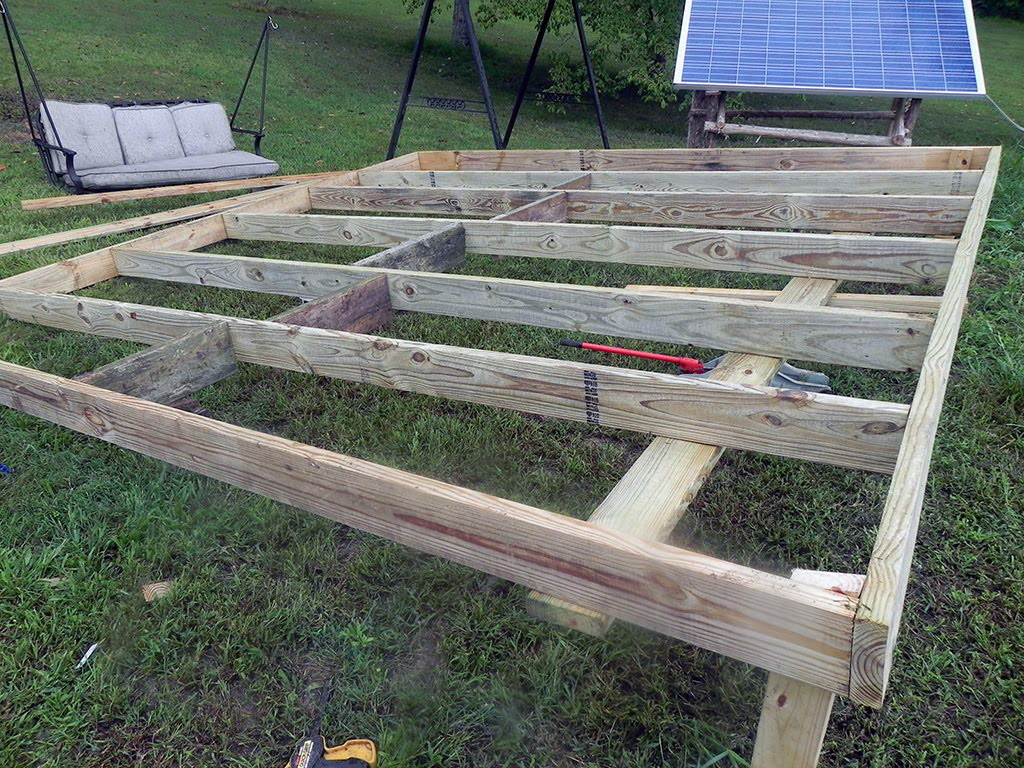
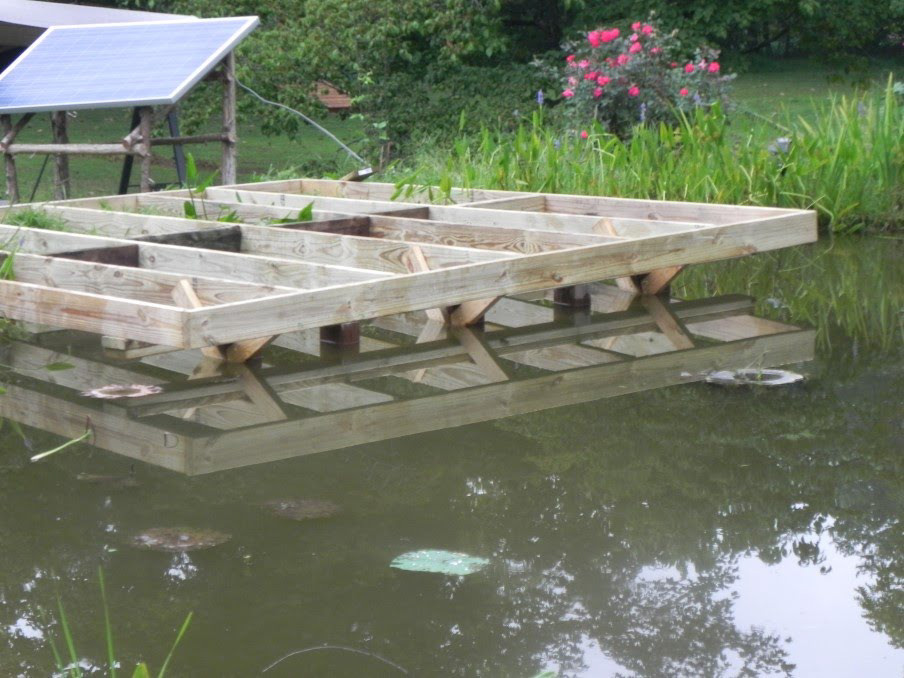
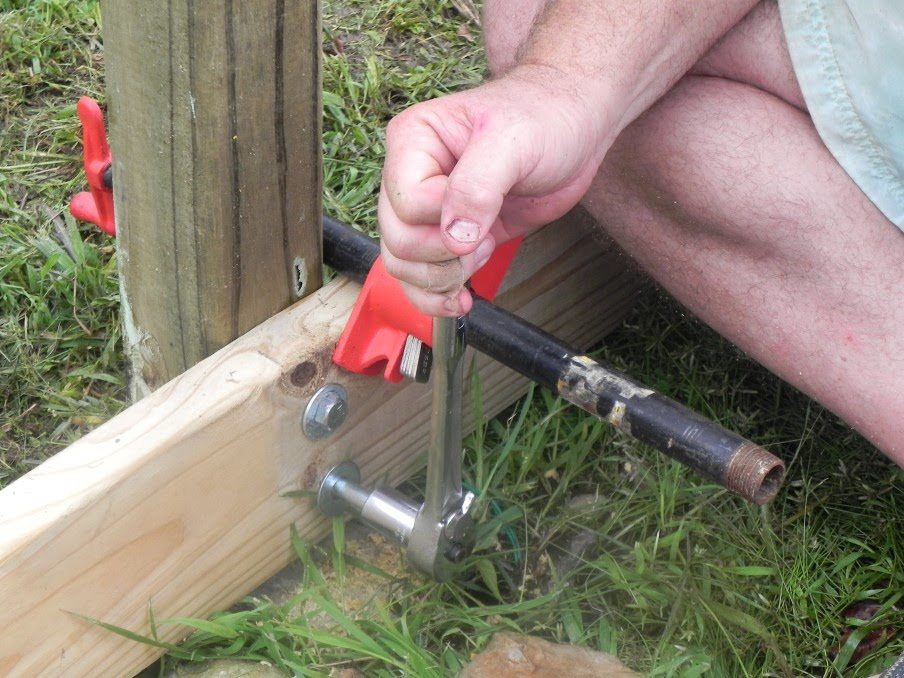
To support the pier over the rubber, without piercing it, we used a 2 by 6 by 10, onto which we attached 5 short legs and capped with another 2 by 6 by 12
The deck was then jacked up a little more to slide the foot underneath
We also attached a few angled braces to stabilize the foot:
And the foot was screwed onto the 2 by 6 by 12 board we had placed earlier.
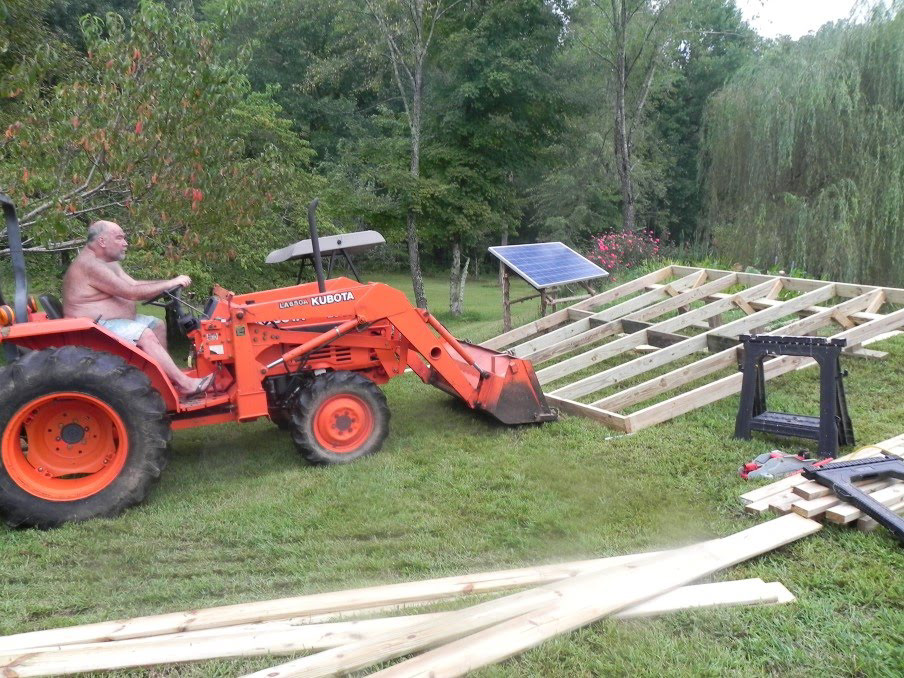
Now was the time to find a mean to move the whole structure into the pond! I though the brute force of the tractor would be a good match, but lifting the deck with a chain was not possible as the whole structure was still very flimsy in spite of it weight.
Thinking back to the pyramid builders we made a temporary sled with some boards on the ground, but that was only a partial solution. If we simply pushed the deck onto the water it would sink in the plant ditch that surrounds the edge of the pond. So the final solution was to use some 2 by 4 to make a temporary bridge over the plant ditch. So first insert the teeth of the bucket under the rim joist
Sliding over some of the floor boards
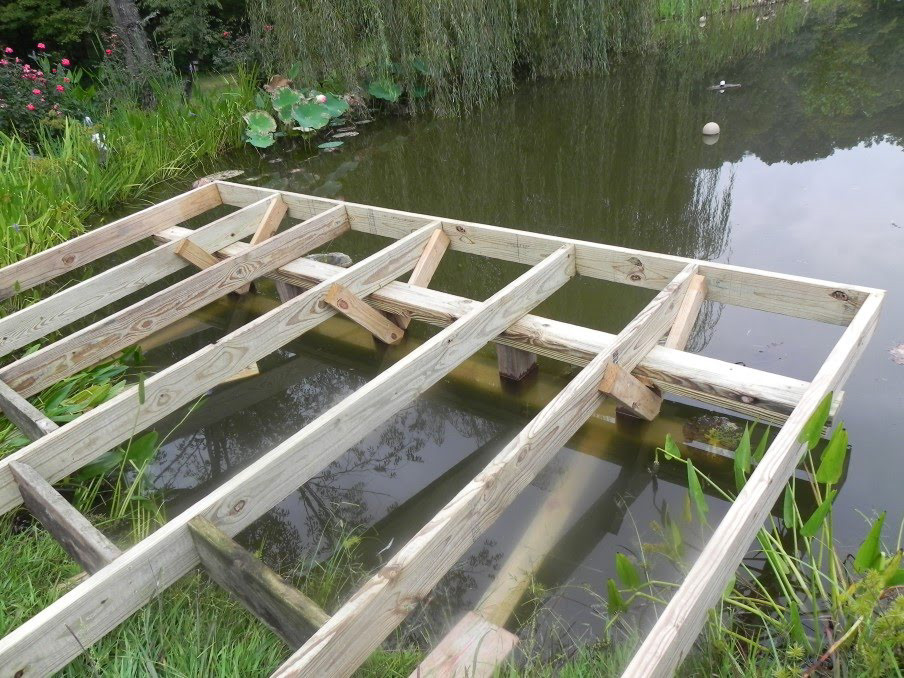
Over the water on the 2 by 4:

In place, with nothing broken!!
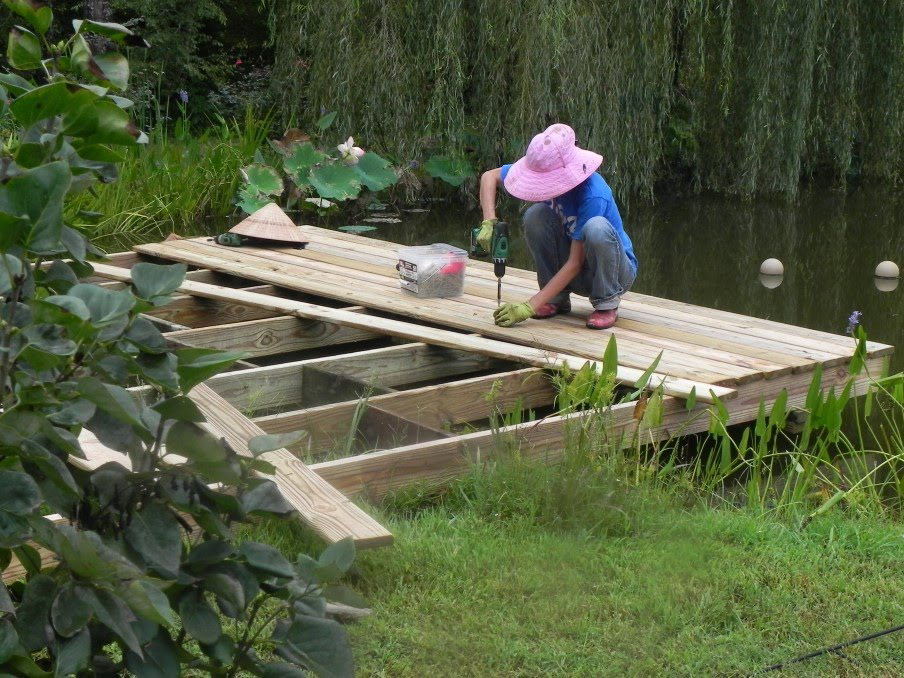
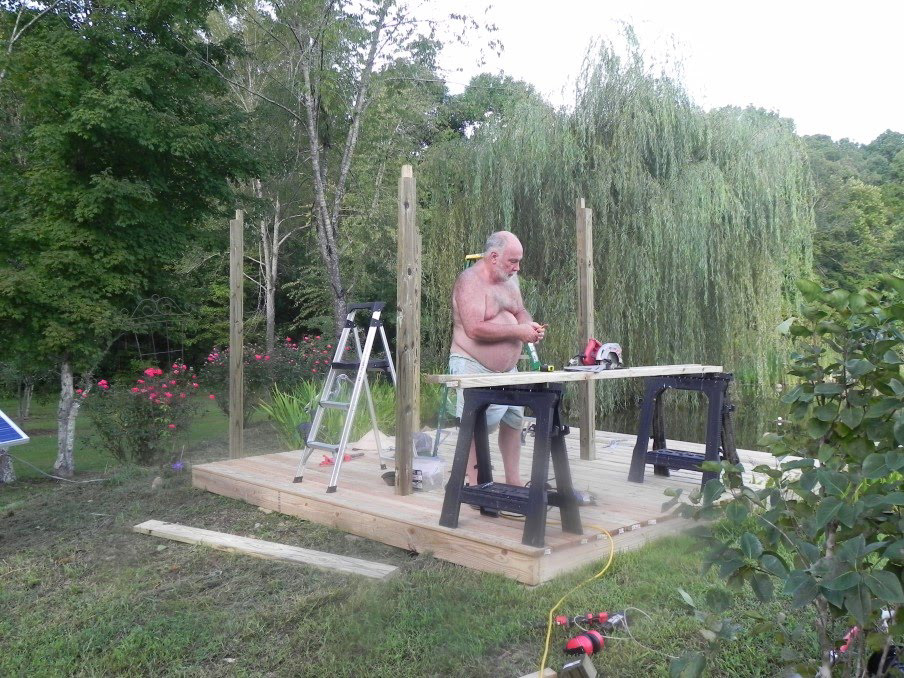
Now the fun part: the first few floor boards:
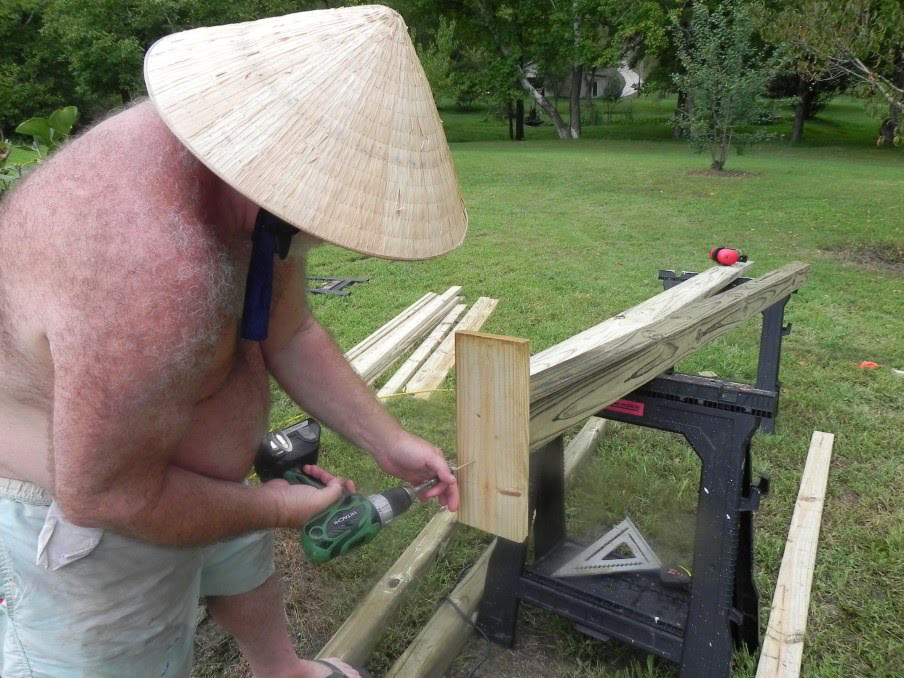
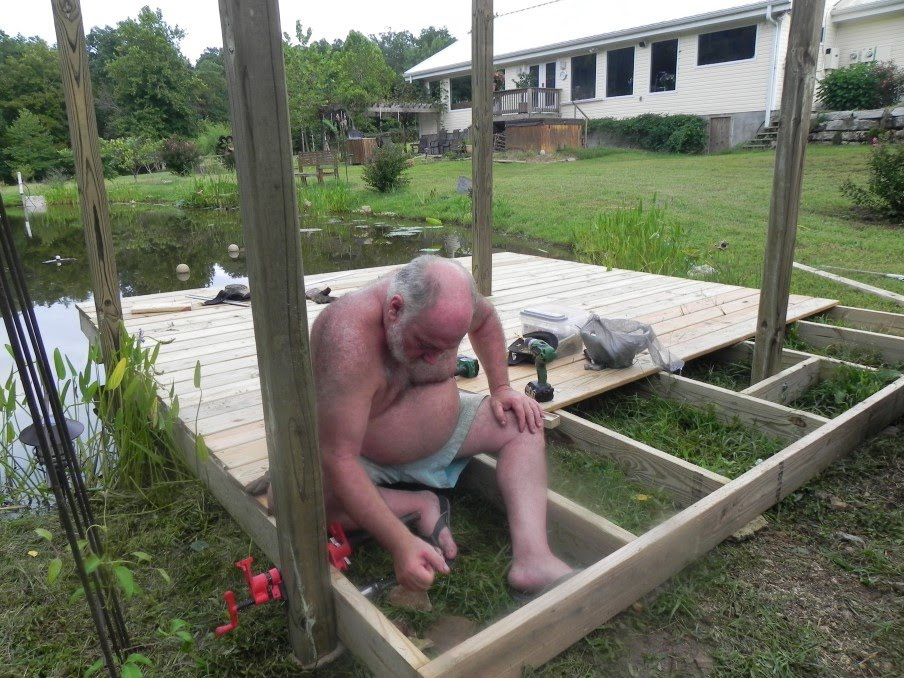
Time to place the first post of the solar shed. After some calculations we cut the bottom of the post and attached a piece of scarp board to prevent the post from damaging the rubber.
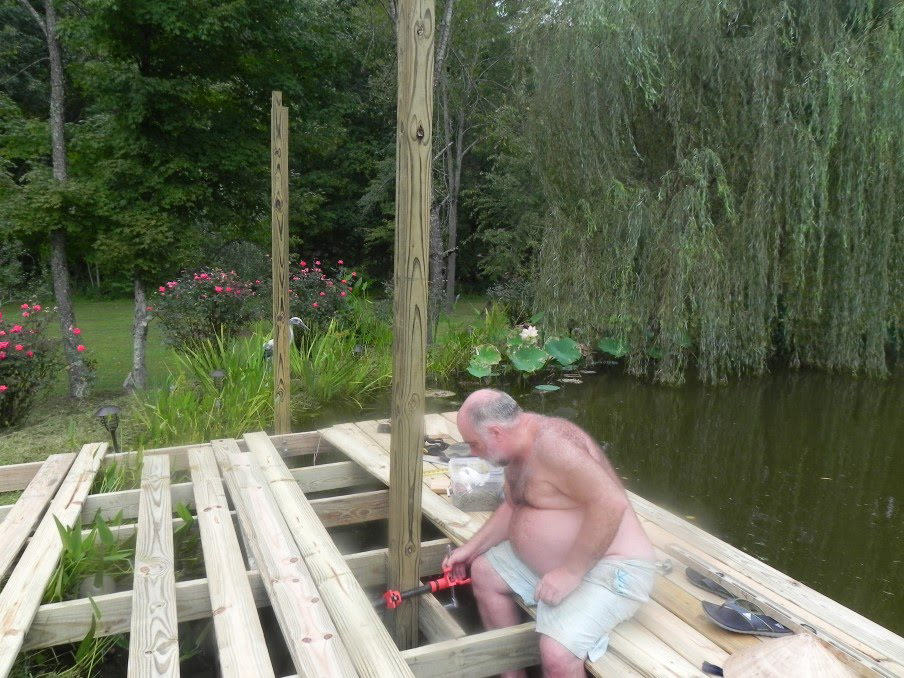
We had to build a brace for the southern post.
More floor boards
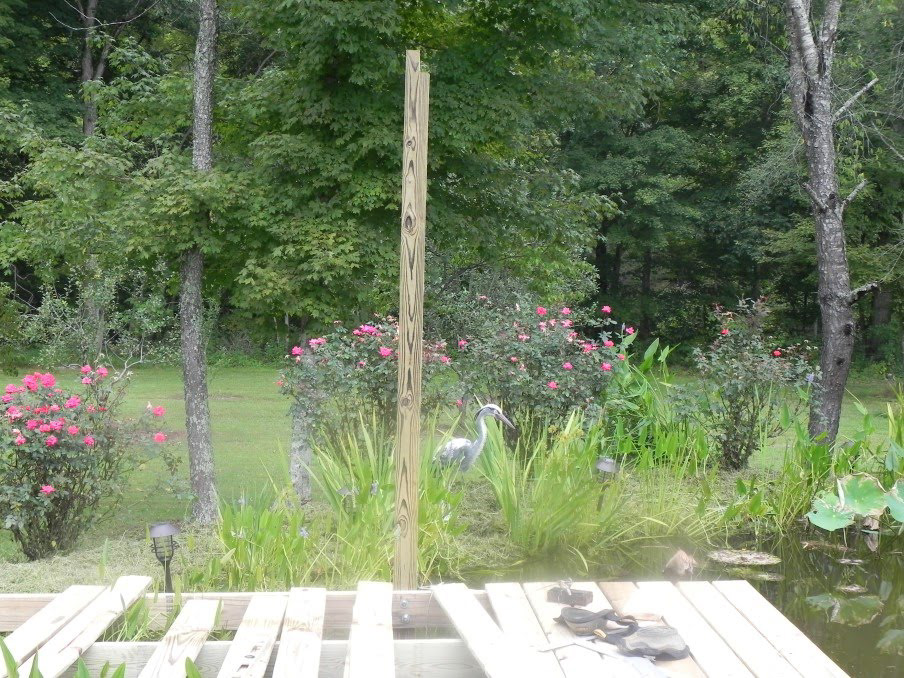
The back post of the shed:
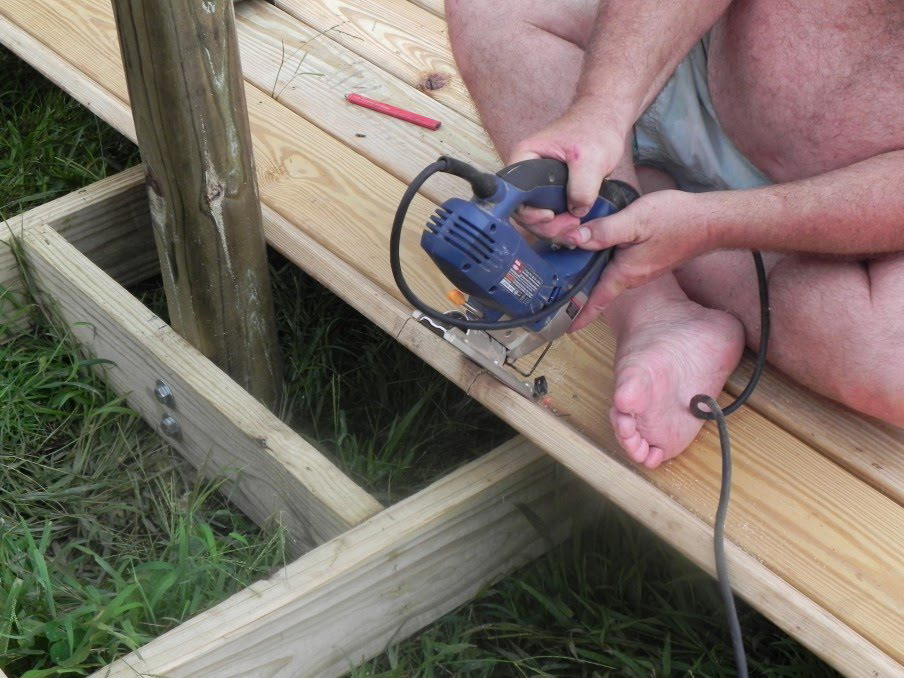
A little trimming and the floor is finished
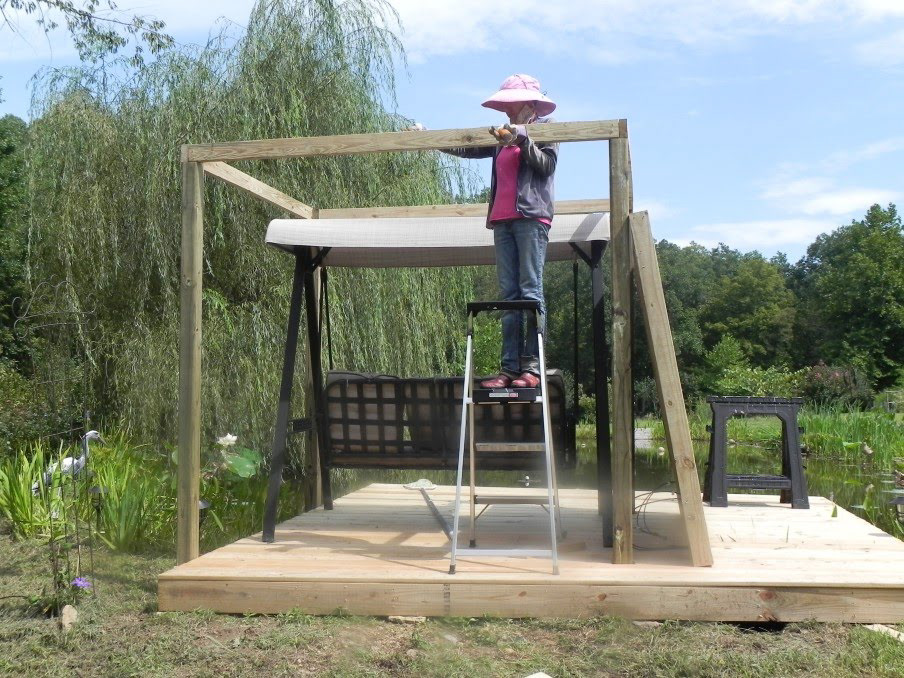
First we put a 2 by 4 on the side to form the first part of the top plate:
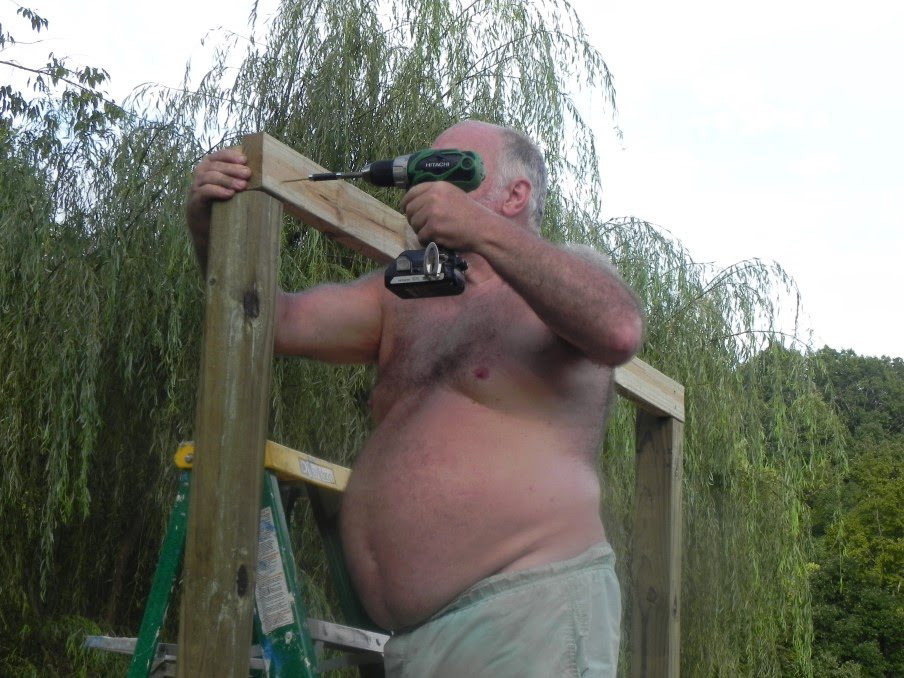
All four !
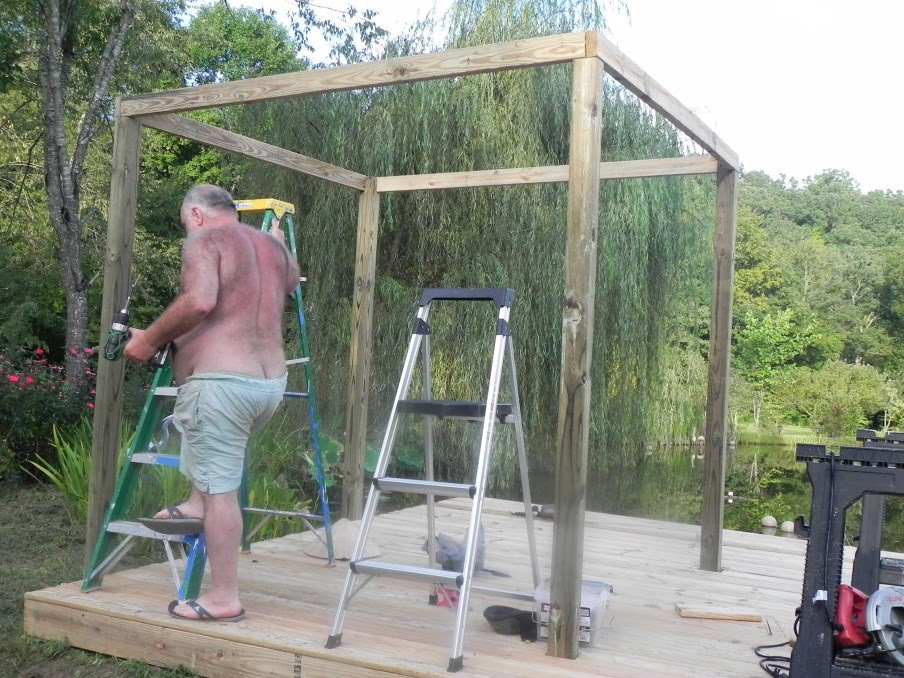
Time to try it !!
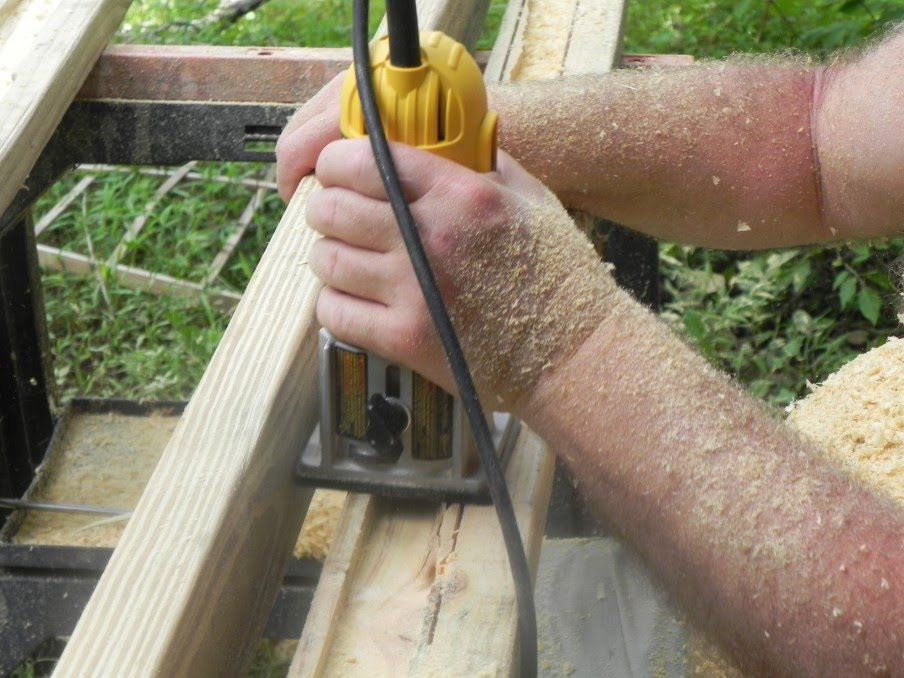
Next part was building a frame to put the solar panel. This worked best by first scoring a 2 by 4 on the table saw, then removing the material with a small router.
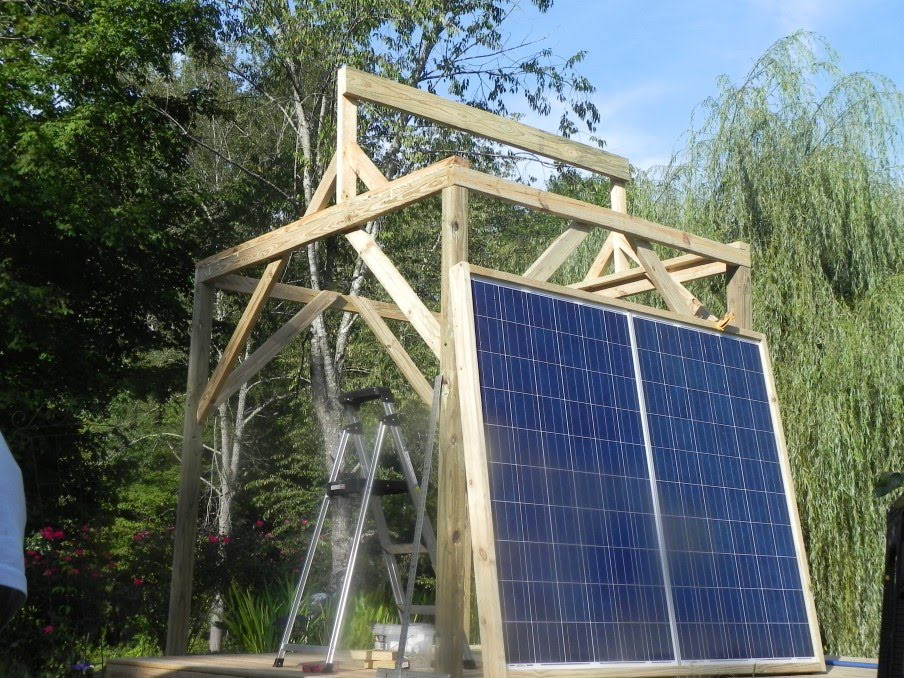
The 2 solar panels and the frame are very heavy! (All that glass in the panels).
Time for major bracing of the structure:
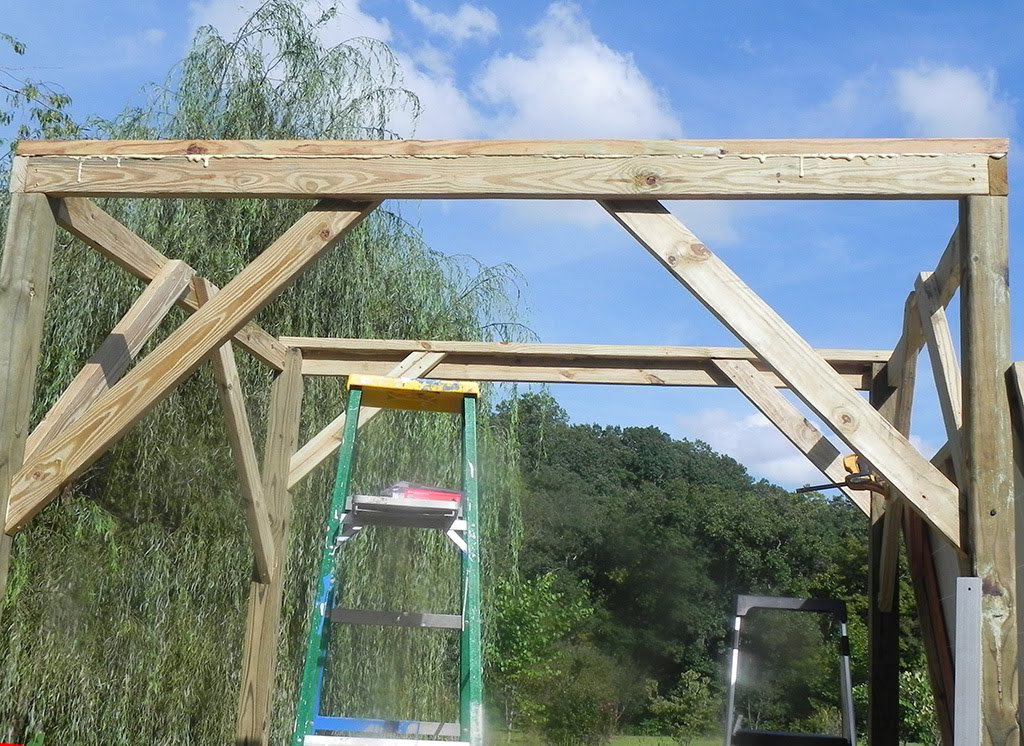
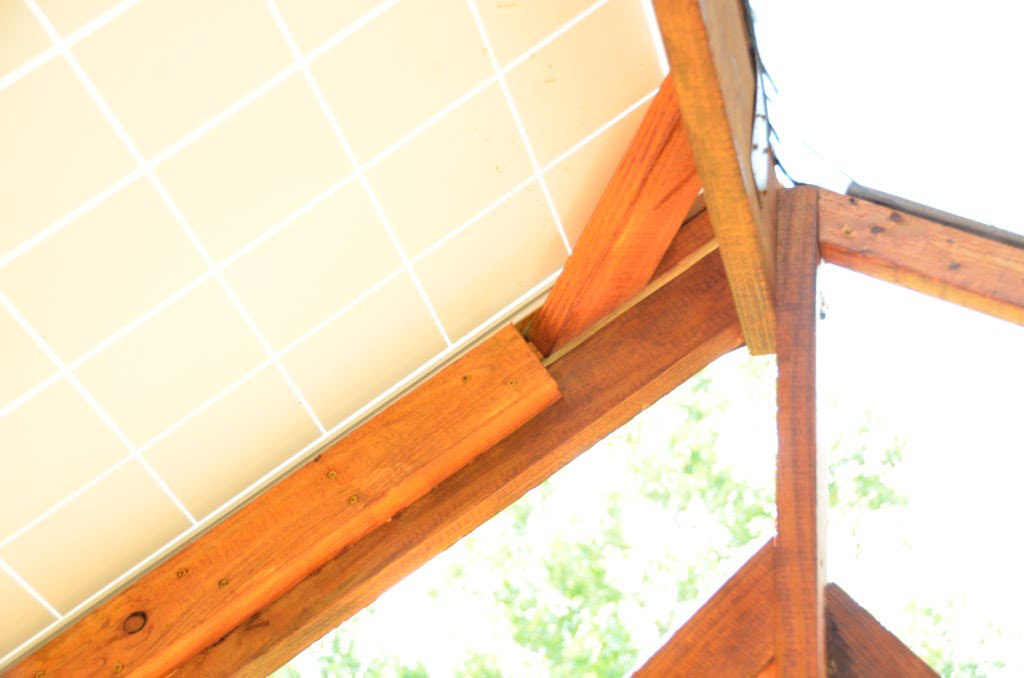
We glued and screwed a second 2 by 4 flat over the east and west top plate. Now the structure is pretty rigid.
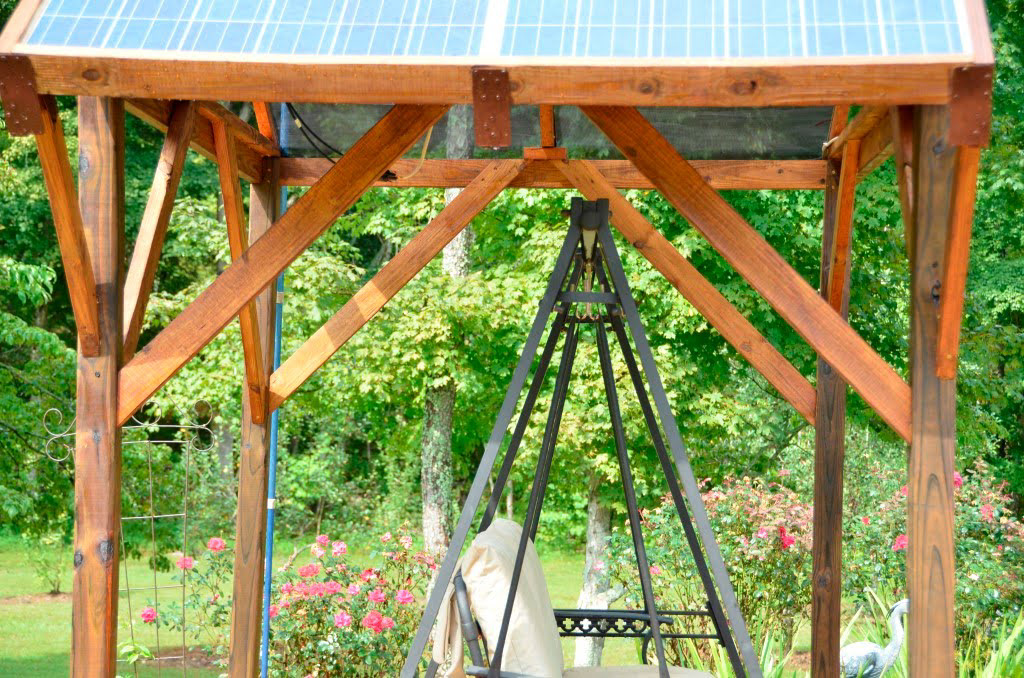
Time to build the top ridge on which the panels will rest. Note that the east bracing (far) are smaller then the west bracings (near) to leave more headroom to get in and out of the chair. We wanted the solar panels to not be totally above the structure as we want them to shade the bench.
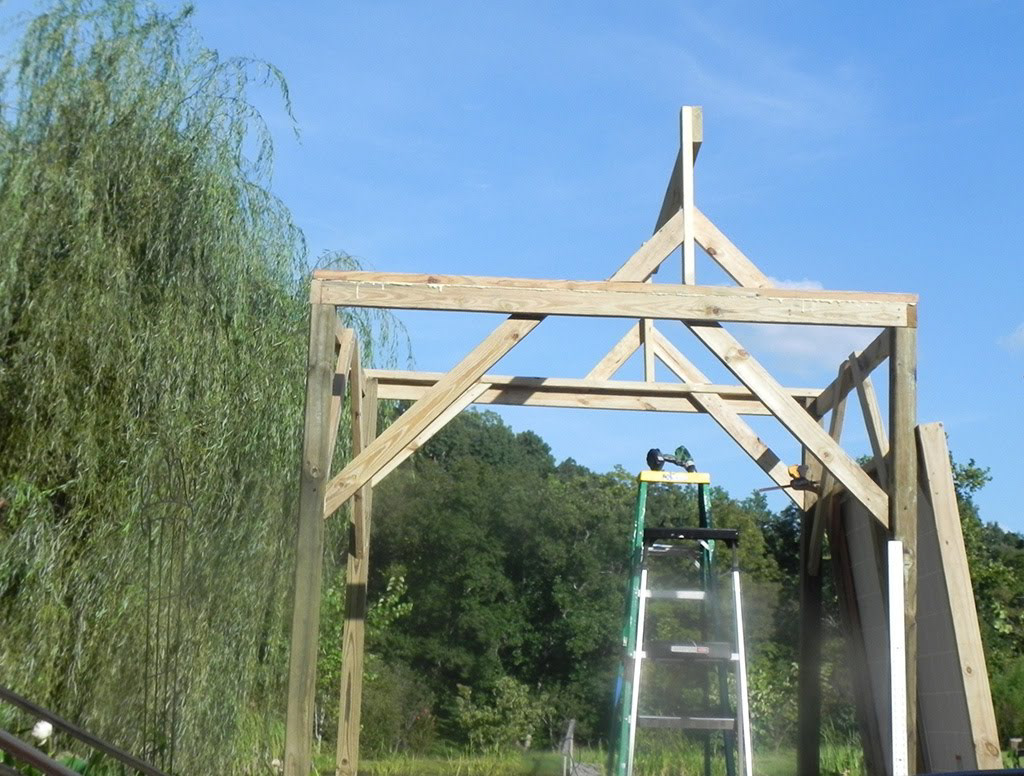
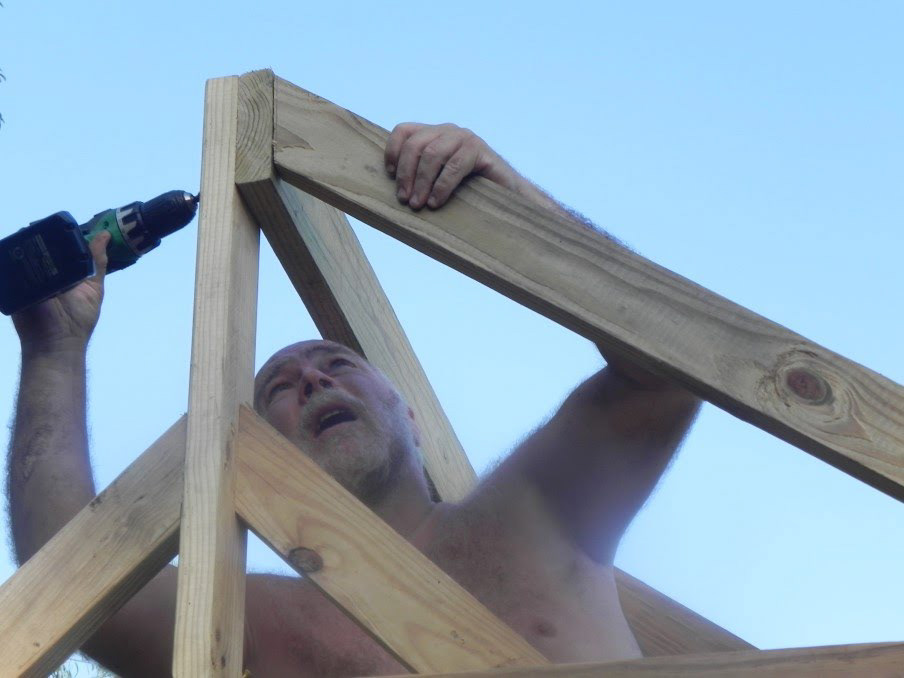
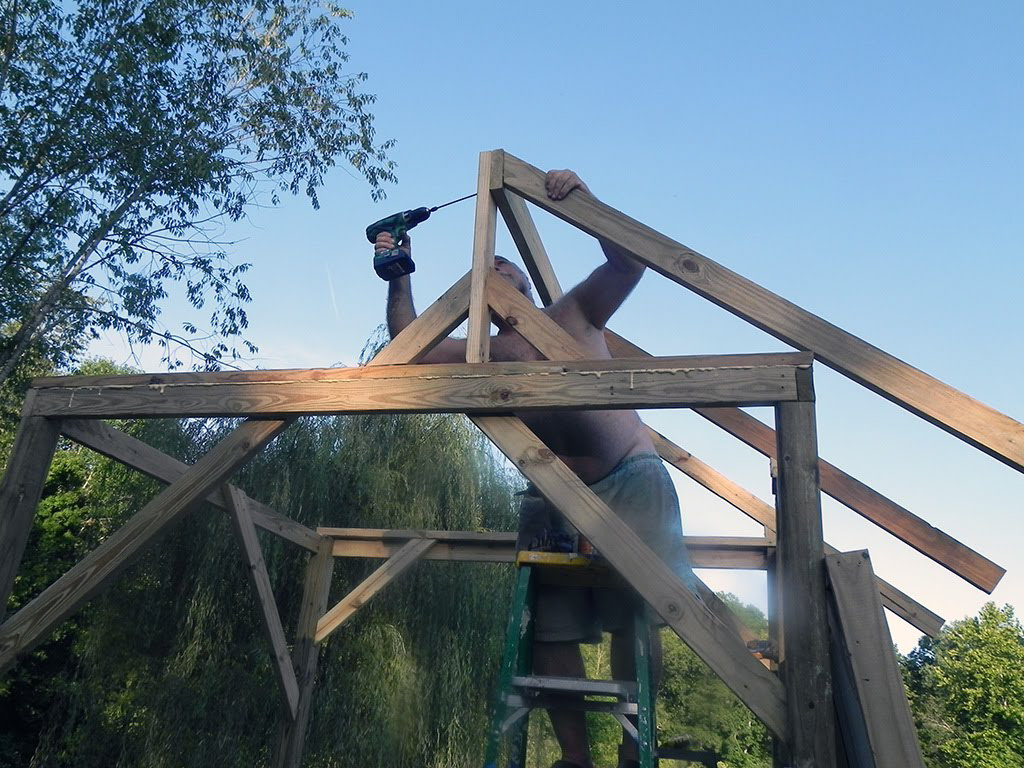
Time to put some rafters:
How to lift this heavy solar panel? Back to the tractor, lifting very slowly over a temporary 2 by 3 used as a fulcrum point and a retainer tool while attaching the solar panel. Sorry no pictures, all hands on deck for that delicate operation.
Magically, Thao painted the whole structure, transforming the ugly pressure treated into beautiful cedar!
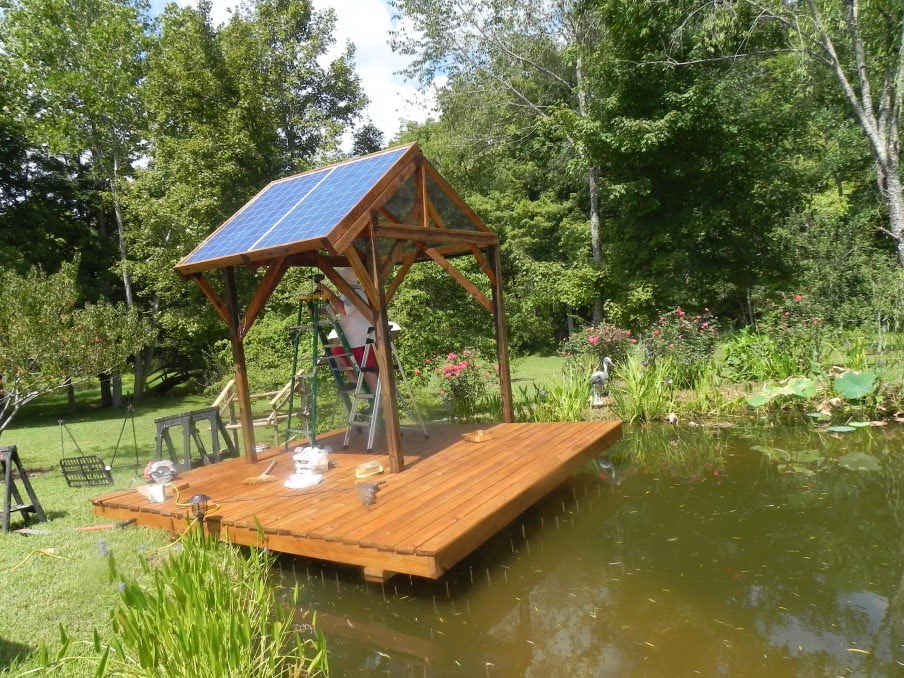
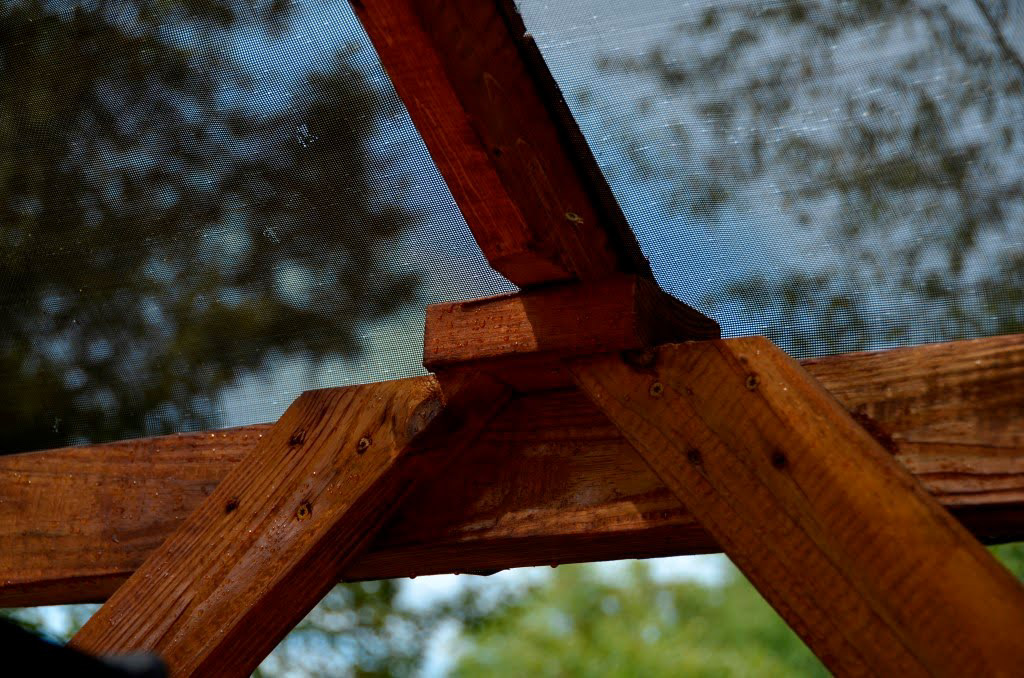
We placed a fabric on the north side to provide more shade and hopefully reduce the sail effect of the solar panel in case of wind!
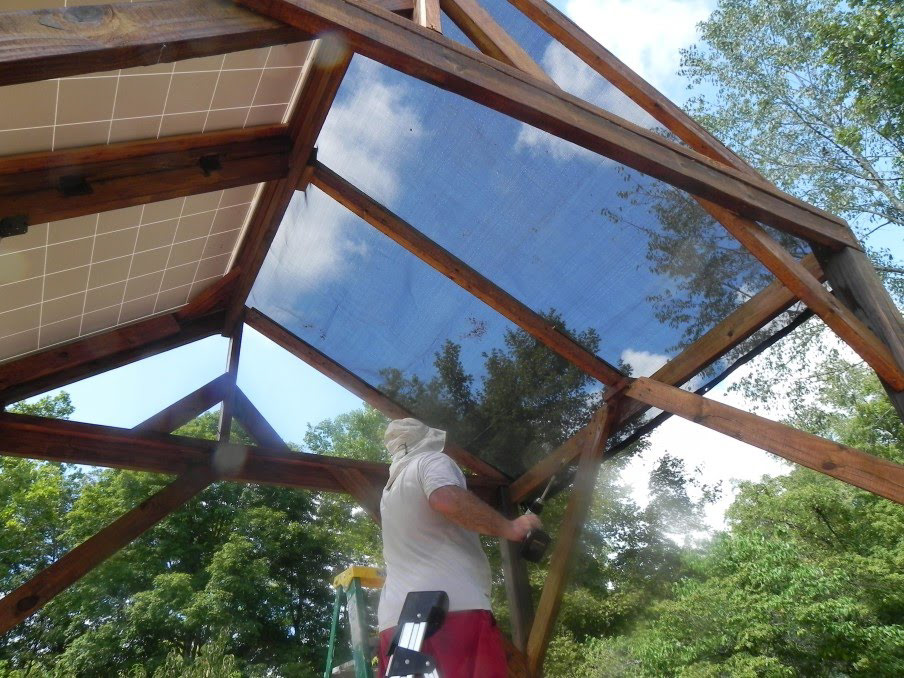
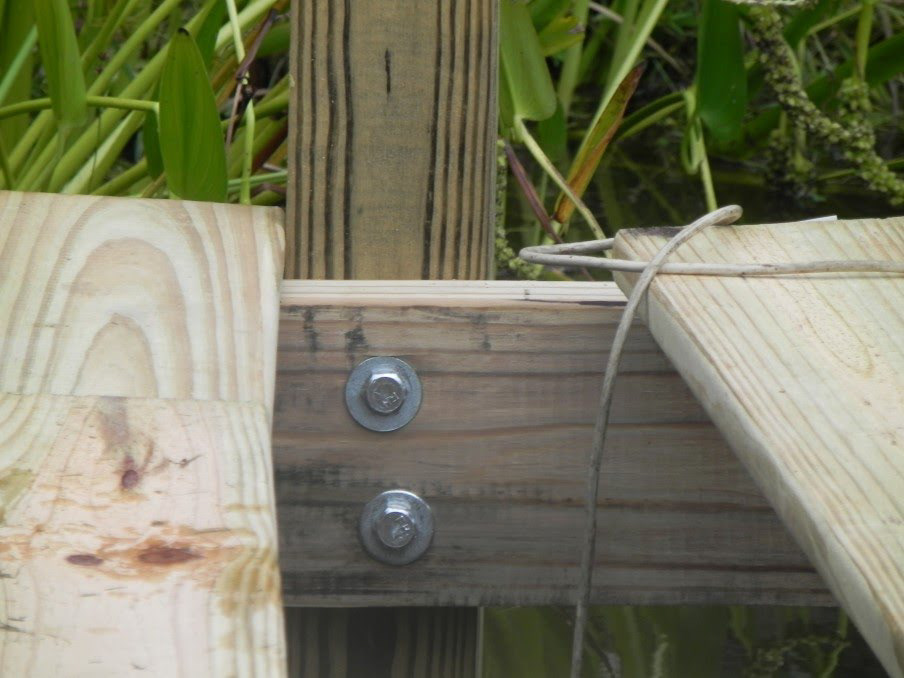
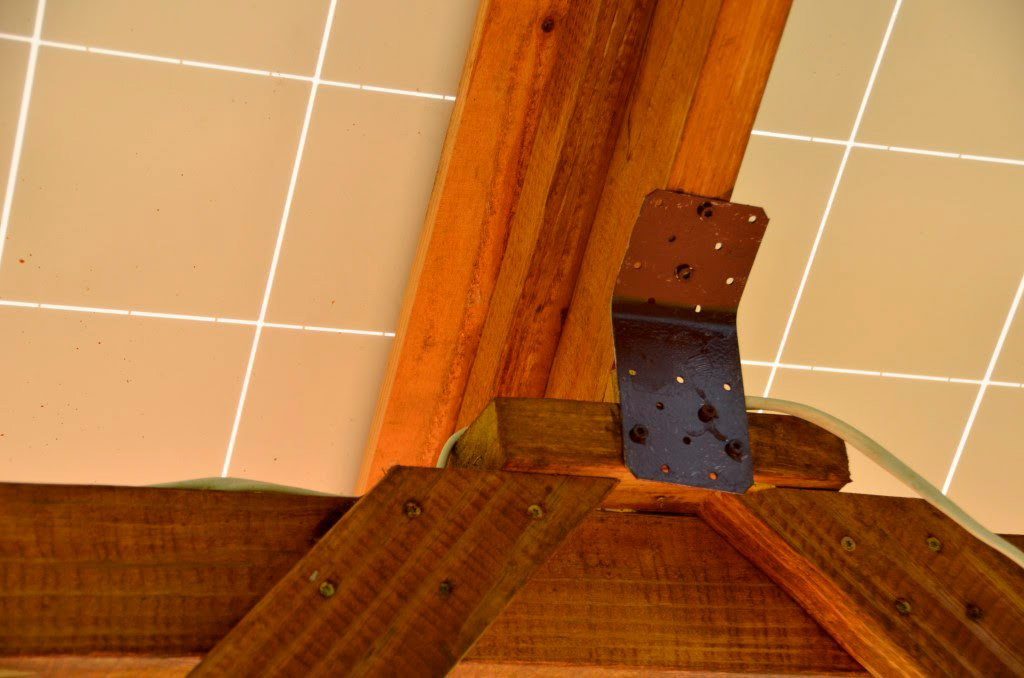
Bracing and metal plates for reinforcement everywhere:
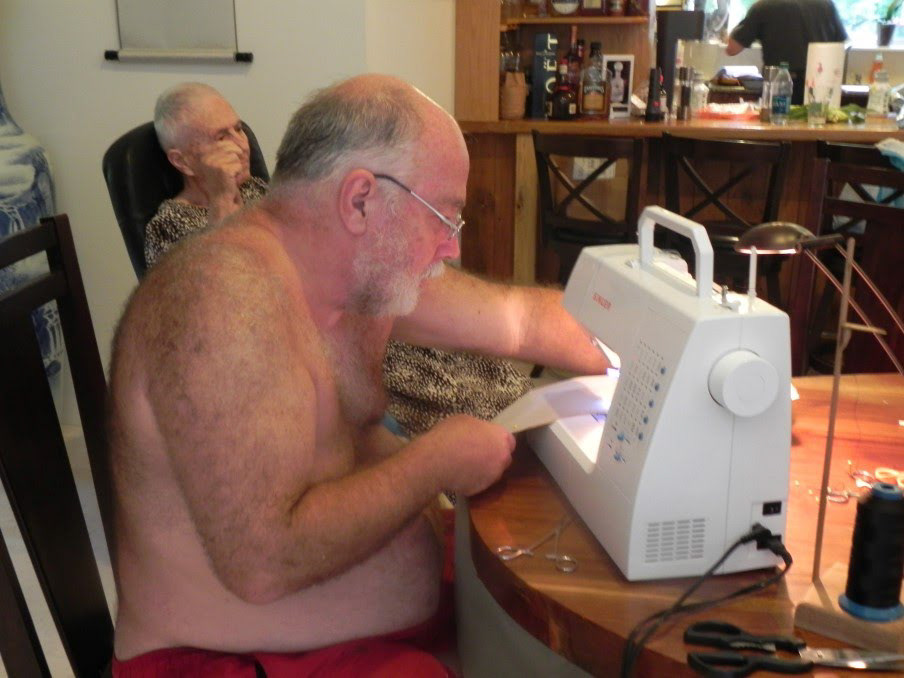
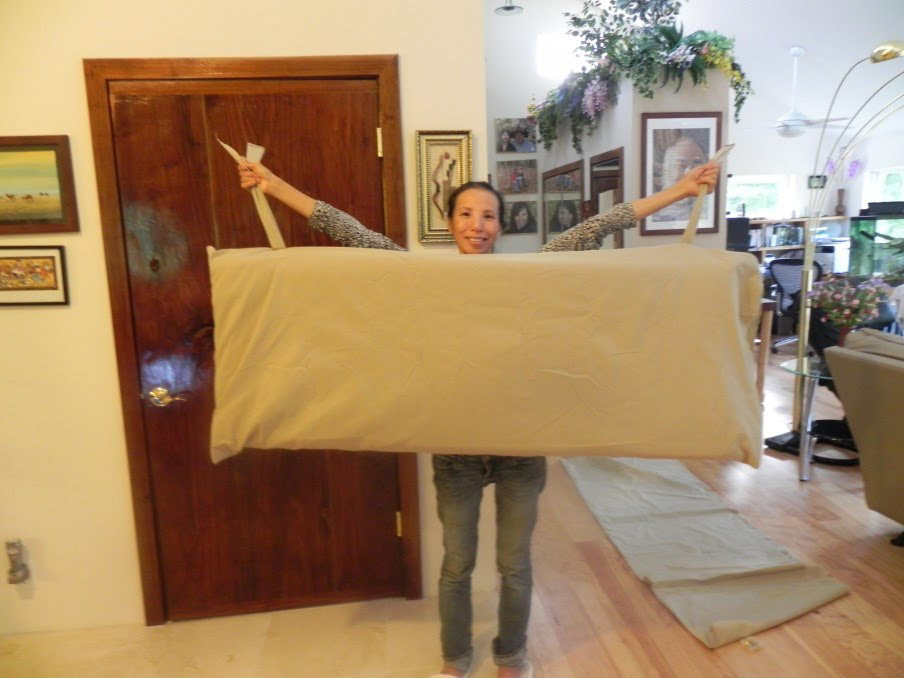
Time to redo the cushion covers that looked miserable:
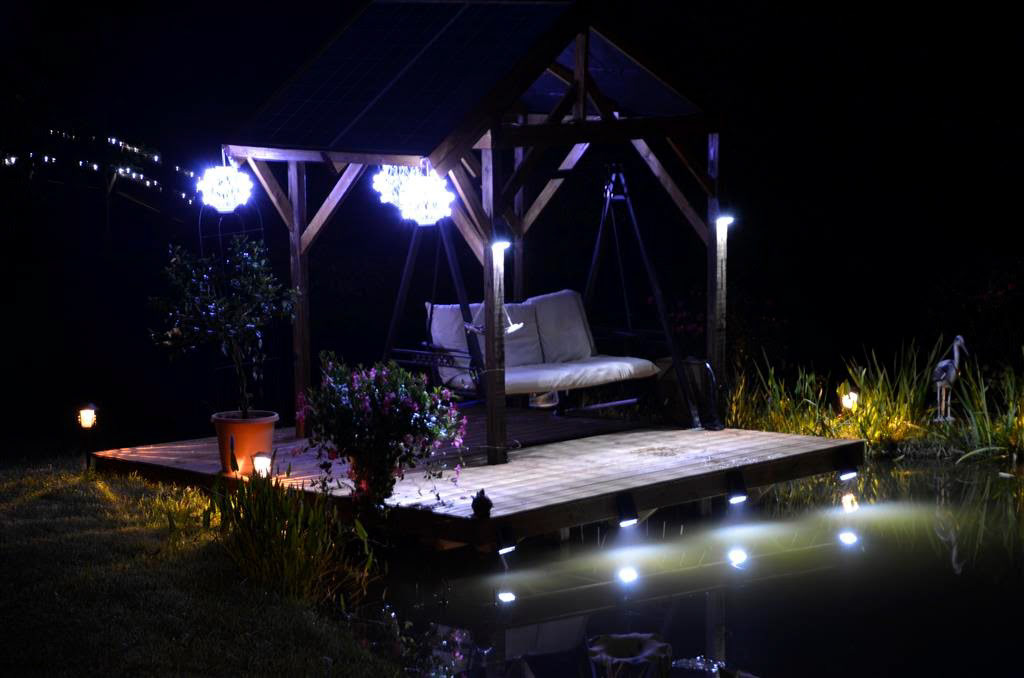
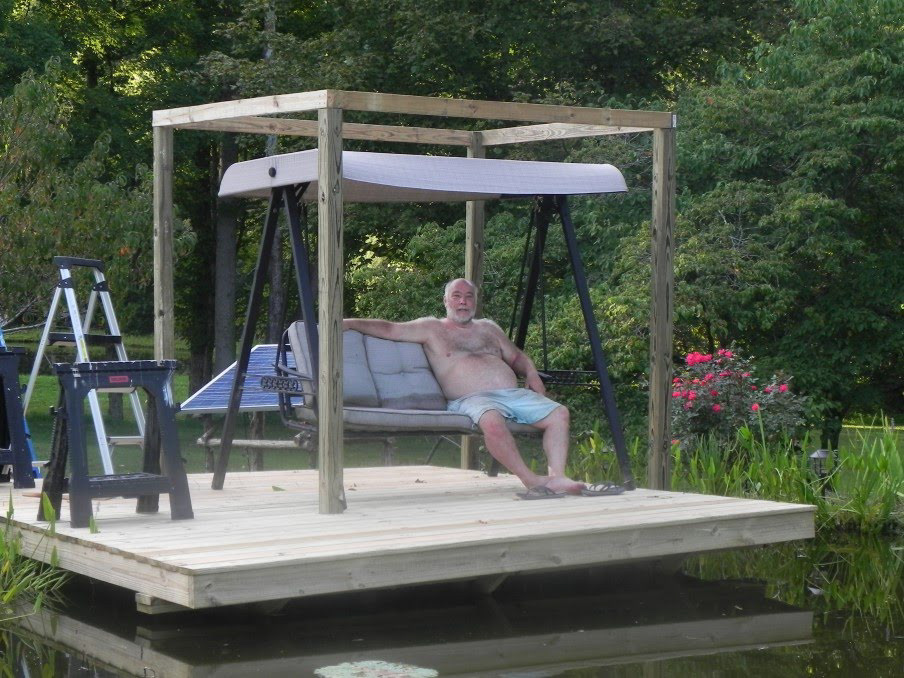
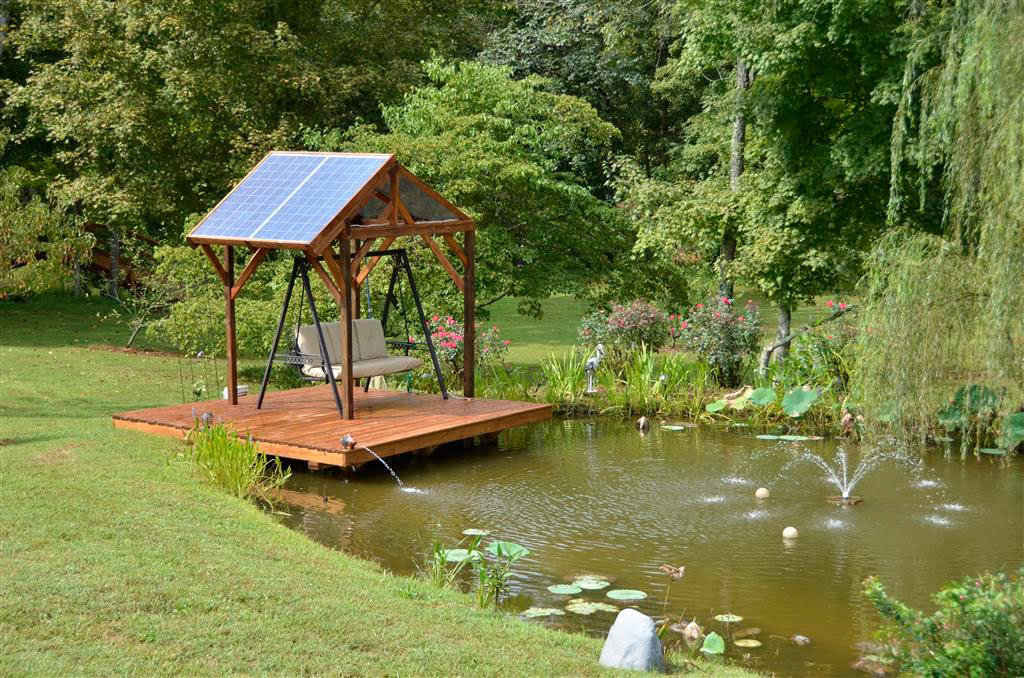
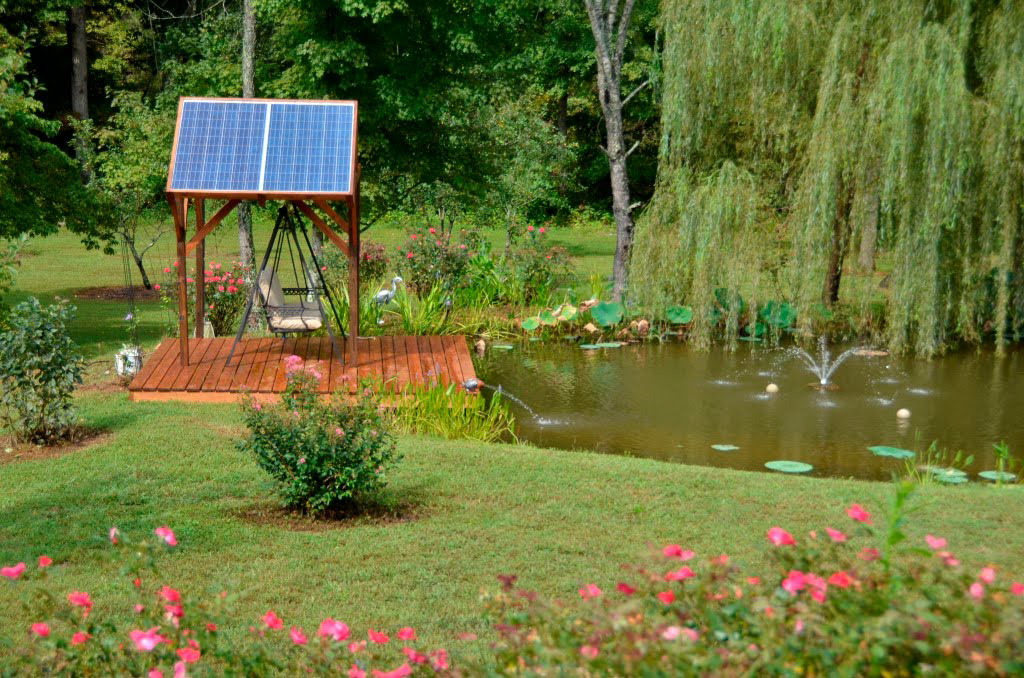
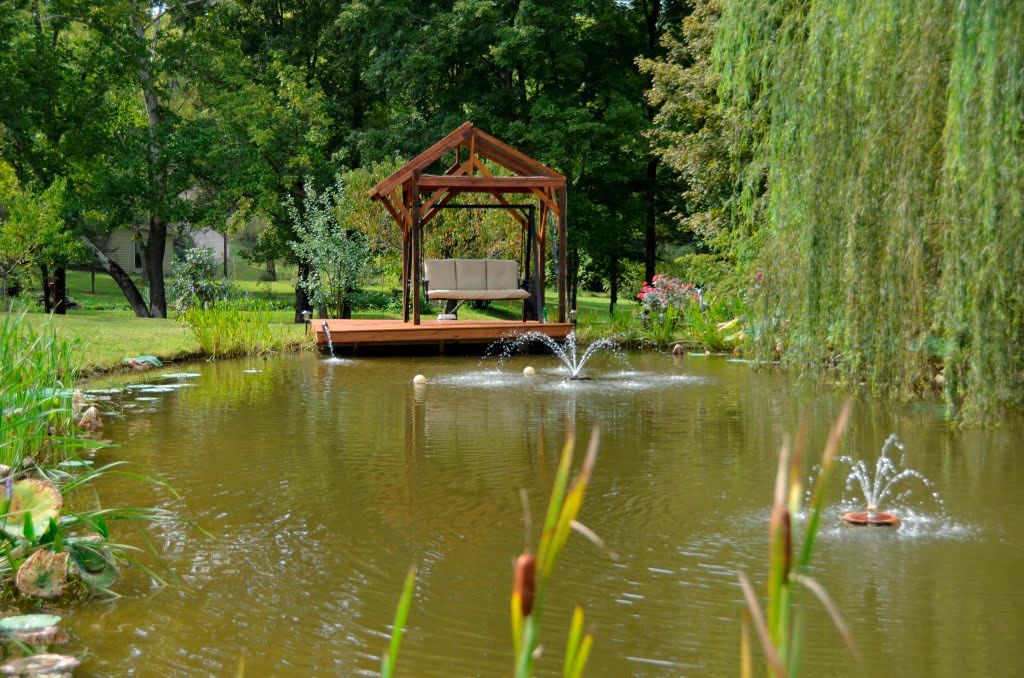
The final pier. Each solar panel drives one of the pump and a 3rd panel far away, pumps fresh water into the pump, via the “fish” to keep the pond topped.
With the solar lights at night: